


Chapter 8 Drive Replacement
Drive replacement procedures will vary depending on which RAID mode you have configured. Refer to the
replacement procedure in the following sections corresponding to the configured RAID mode. The following drive
replacement examples use the case of the TS6400DN series TeraStations.
Replacing Drives
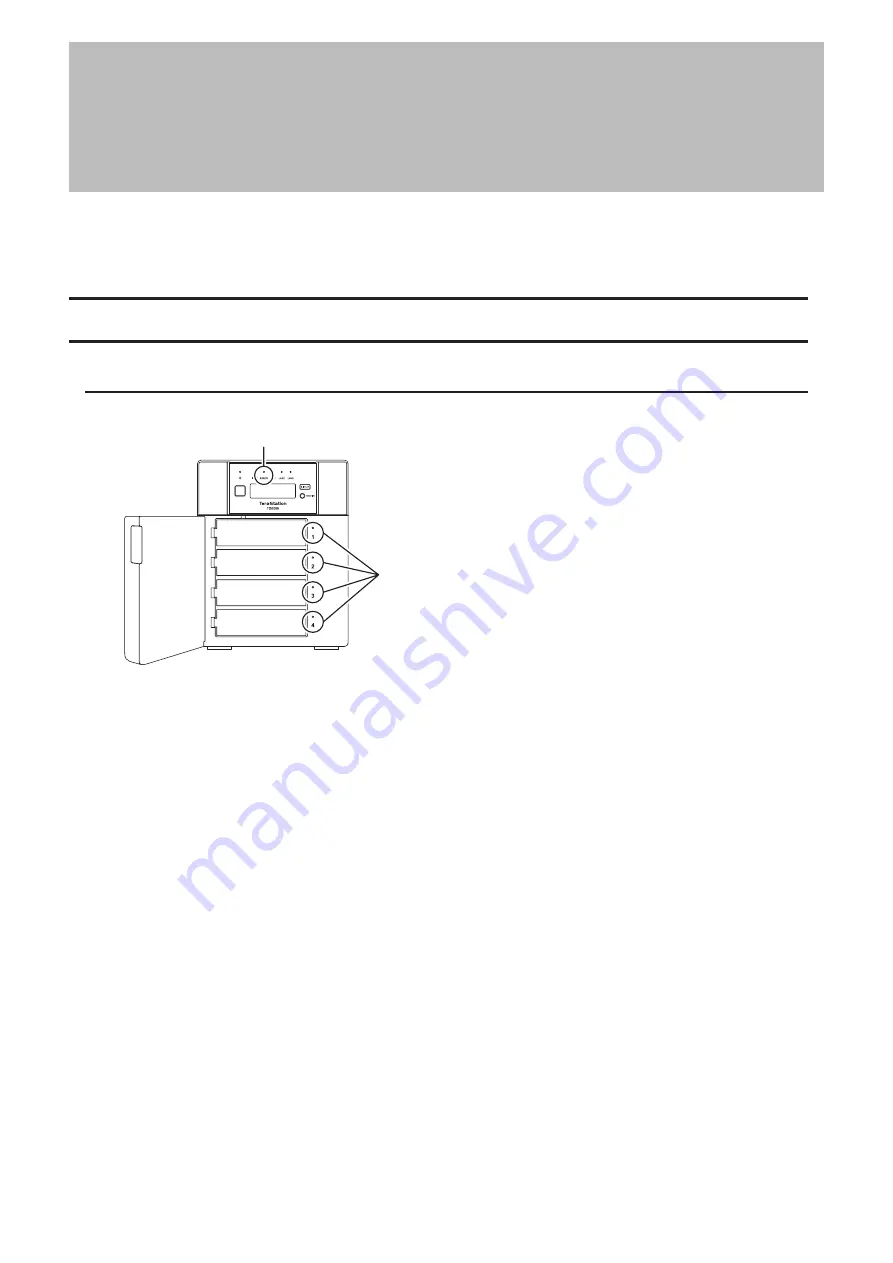
LEDs
Drives in the TeraStation show a green status LED during normal operation. If a drive fails, its error LED will glow red.
1
2
1
Error LED
Glows red if a drive has failed.
2
Status LEDs
The failed drive’s status LED will be glowing a steady red. A drive with a red status LED is ready to hot-swap.
Notes:
• Do not unplug a drive whose status LED is green instead of red. Dismount it first or shut down the TeraStation
before swapping a working drive. If you remove the drive without properly dismounting it, data may be lost or
the TeraStation may malfunction.
• For the replacement drive of other series TeraStations, use a Buffalo OP-HDN series drive. The replacement drive
should be the same size or larger as the original drive. If a larger drive is used, the extra space will not be usable in
a RAID array.
• To avoid damaging the TeraStation with static electricity, ground yourself by touching something made of metal
before handling any sensitive electronic parts.
• After a drive is replaced, it will take about 30 minutes before normal file reading and writing operations are
restored. Settings may not be accessible during this period.
• Do not change the order of the drives in the TeraStation. For example, pulling out drive 1 and replacing it with
drive 2 may cause data to be corrupted or lost.
• If the LCD panel does not change after a new drive is installed, click
Rediscover Drive
in Settings.
202
Chapter 8 Drive Replacement
Summary of Contents for TeraStation 6000 Series
Page 32: ...3 Click Add Group 31 Chapter 3 File Sharing...
Page 120: ...2 Click Time Machine 119 Chapter 5 Backup...
Page 121: ...3 Click Select Backup Disk 4 Select the TeraStation then click Use Disk 120 Chapter 5 Backup...
Page 123: ...7 Time Machine will count down from 120 seconds then backup will begin 122 Chapter 5 Backup...
Page 132: ...5 Click Edit 131 Chapter 6 Remote Access...
Page 144: ...4 Click the Options tab 5 Click Edit 143 Chapter 6 Remote Access...
Page 153: ...4 Click the Options tab 152 Chapter 6 Remote Access...
Page 154: ...5 Click Edit 153 Chapter 6 Remote Access...
Page 169: ...11Click the NFS Rules tab 12Click Add 168 Chapter 7 Advanced Features...


