


Read-only shares and HFS Plus-formatted USB drives will have “(Read Only)” added to comments in File Explorer.
Note:
Configure read-only file attribute in Settings. Configuring them from within Windows is not supported and
may cause unexpected behavior.
Hidden Shares
If hidden shares are enabled, shared SMB folders will not be displayed in Network, and only certain users are allowed
to access them. To hide a shared SMB folder, follow the procedure below.
1
From Settings, navigate to
File Sharing
>
Folder Setup
and choose a shared folder.
2
Click the
Option 2
tab and select the “Hidden share (SMB only)” checkbox, then click
OK
.
Notes:
• If protocols other than “SMB (Windows/Mac)” or “Backup” under “LAN Protocol Support” on the
Basic
tab are
enabled, the hidden shares option will be grayed out and cannot be selected.
• Configure hidden share attribute in Settings. Configuring them from within Windows is not supported and may
cause unexpected behavior.
To access a hidden folder, open File Explorer in your computer and enter “\\TeraStation name\shared folder name$\”
into the address bar. For example, if the TeraStation name is “TSXXX001” and the shared folder name is “share”, enter
“\\TSXXX001\share$\” to open it.
Quotas
You can set a quota for each shared folder, as well as a threshold alert where you will receive an email notification if
the space used exceeds the configured threshold. To configure email notifications for the quota, refer to the
section in chapter 7.
Notes:
• When using quotas, disable the recycle bin or empty the trash folder often. The limited space includes the space
used for trash.
• Quotas cannot be set for external drives connected to the TeraStation.
Follow this procedure to limit the shared folder space available for a user.
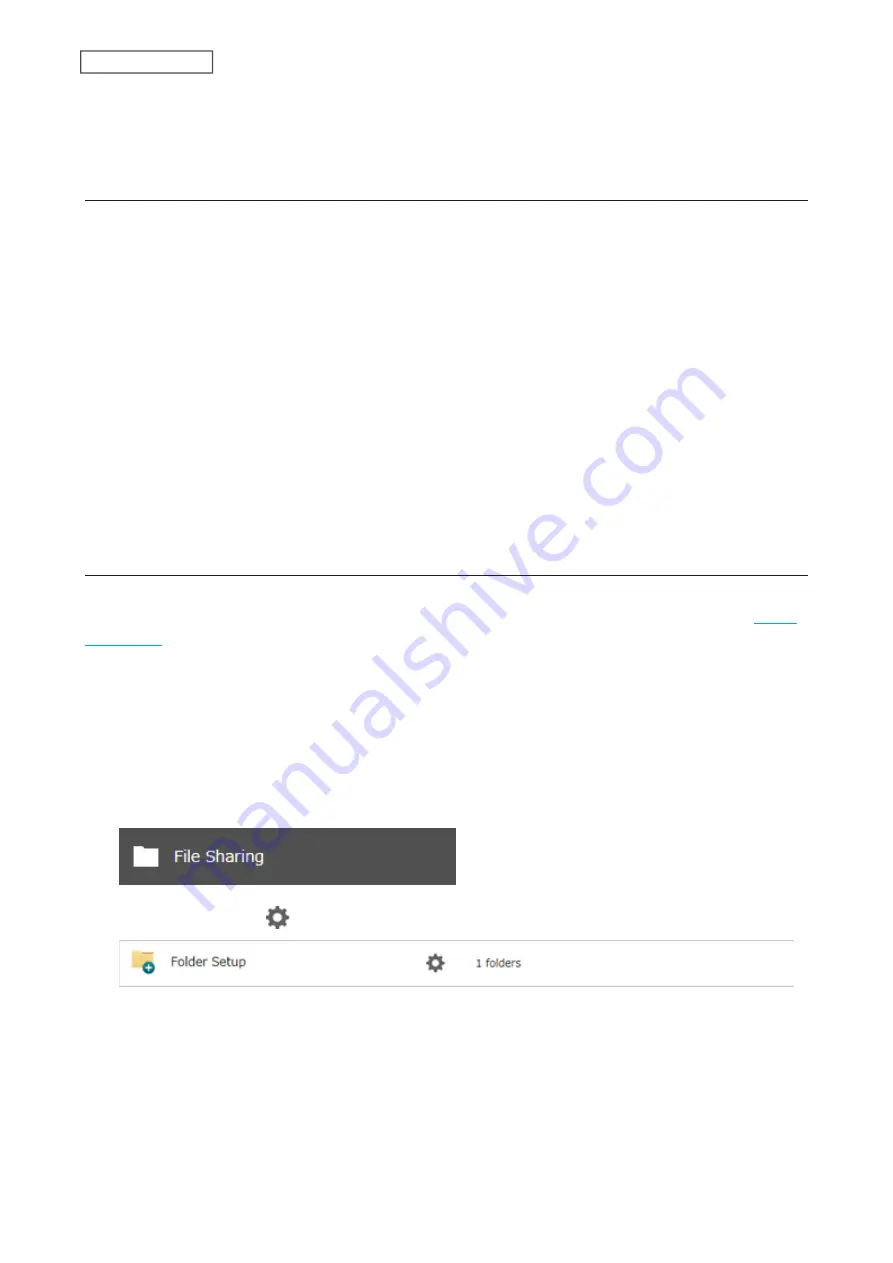
1
From Settings, click
File Sharing
.
2
Click the settings icon (
) to the right of “Folder Setup”.
3
Select the shared folder that will be given a quota.
4
Click the
Option 1
tab.
27
Chapter 3 File Sharing
Summary of Contents for TeraStation 6000 Series
Page 32: ...3 Click Add Group 31 Chapter 3 File Sharing...
Page 120: ...2 Click Time Machine 119 Chapter 5 Backup...
Page 121: ...3 Click Select Backup Disk 4 Select the TeraStation then click Use Disk 120 Chapter 5 Backup...
Page 123: ...7 Time Machine will count down from 120 seconds then backup will begin 122 Chapter 5 Backup...
Page 132: ...5 Click Edit 131 Chapter 6 Remote Access...
Page 144: ...4 Click the Options tab 5 Click Edit 143 Chapter 6 Remote Access...
Page 153: ...4 Click the Options tab 152 Chapter 6 Remote Access...
Page 154: ...5 Click Edit 153 Chapter 6 Remote Access...
Page 169: ...11Click the NFS Rules tab 12Click Add 168 Chapter 7 Advanced Features...


