


1
Double-click the NAS Navigator2 icon ( ) to start NAS Navigator2.
2
Right-click your Buffalo NAS device’s icon and select
Map Share
.
3
An icon for the mapped share will appear in Computer or This PC. You can use this network drive just like any
other drive.
Changing the IP Address
1
Double-click the NAS Navigator2 icon ( ) to start NAS Navigator2.
2
Right-click your Buffalo NAS device’s icon and select
Properties
>
IP Address
.
3
Clear the “Use DHCP” checkbox and enter the desired settings, then click
OK
. If the username and password
prompt appears, enter the admin username and password.
NAS Navigator2 for macOS
NAS Navigator2 is a utility program that makes it easy to display Settings, change the Buffalo NAS device’s IP
address, or check its drive. To install NAS Navigator2, download the installer from
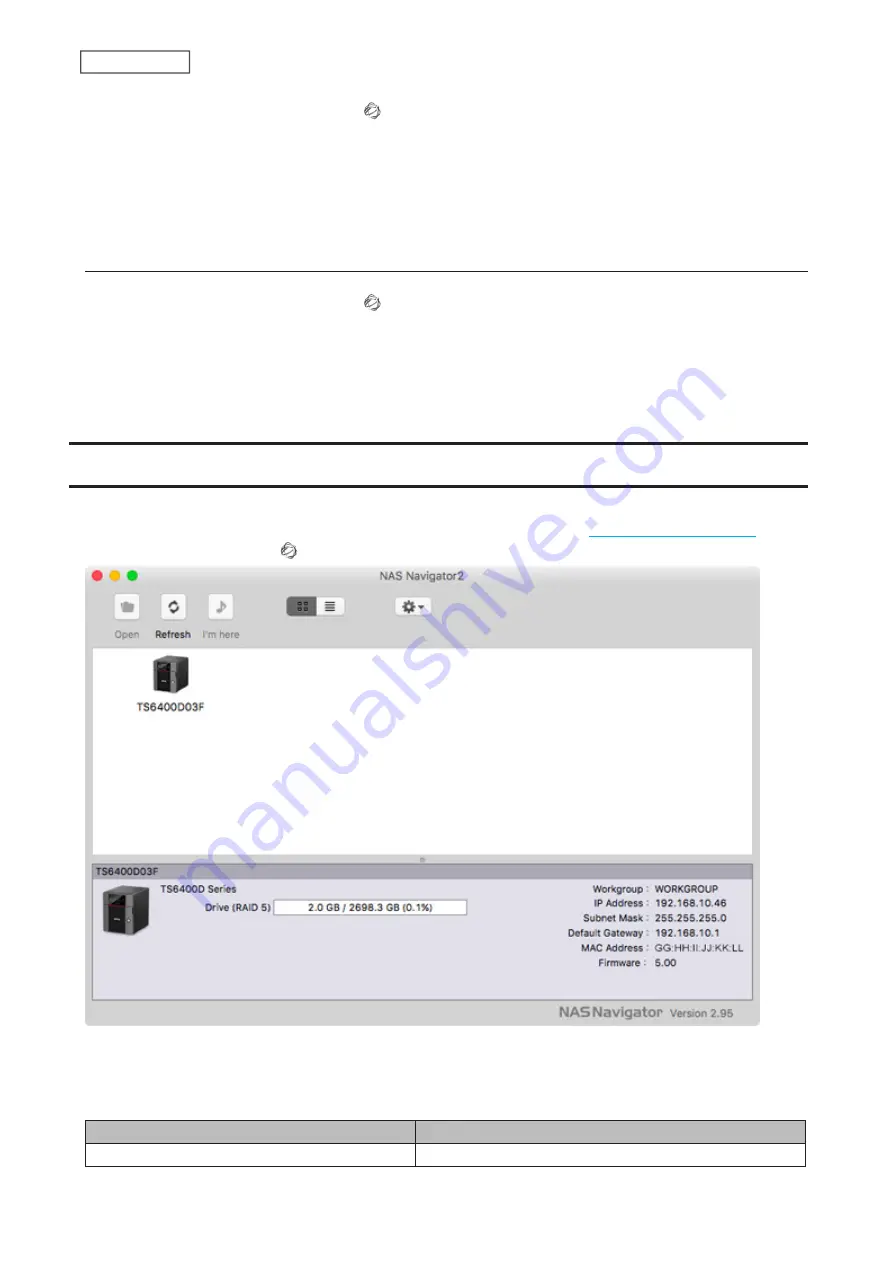
Click the NAS Navigator2 icon ( ) in the Dock to start NAS Navigator2.
Click a Buffalo NAS device’s icon to display total capacity, used space, workgroup name, IP address, subnet mask,
default gateway, MAC address, and firmware version.
Double-click the icon to open a shared folder on the Buffalo NAS device.
Name
Description
Open
Opens the Buffalo NAS device’s shared folders.
212
Chapter 9 Utilities
Summary of Contents for TeraStation 6000 Series
Page 32: ...3 Click Add Group 31 Chapter 3 File Sharing...
Page 120: ...2 Click Time Machine 119 Chapter 5 Backup...
Page 121: ...3 Click Select Backup Disk 4 Select the TeraStation then click Use Disk 120 Chapter 5 Backup...
Page 123: ...7 Time Machine will count down from 120 seconds then backup will begin 122 Chapter 5 Backup...
Page 132: ...5 Click Edit 131 Chapter 6 Remote Access...
Page 144: ...4 Click the Options tab 5 Click Edit 143 Chapter 6 Remote Access...
Page 153: ...4 Click the Options tab 152 Chapter 6 Remote Access...
Page 154: ...5 Click Edit 153 Chapter 6 Remote Access...
Page 169: ...11Click the NFS Rules tab 12Click Add 168 Chapter 7 Advanced Features...


