Note:
All data on the USB drive will be erased!
2
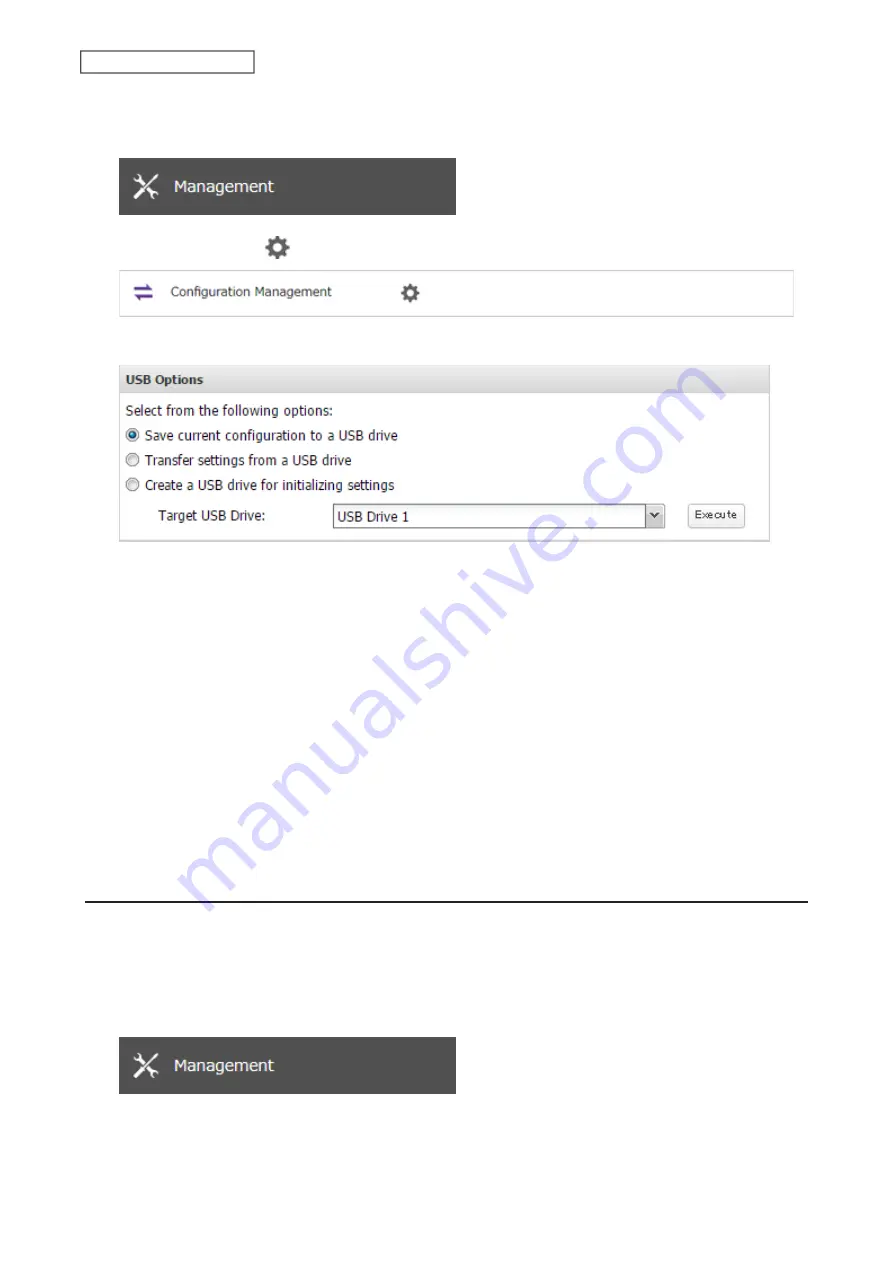
From Settings, click
Management
.
3
Click the settings icon (
) to the right of “Configuration Management”.
4
Select “Save current configuration to a USB drive”.
5
From “Target USB Drive”, select the USB drive that is connected to the USB port on the TeraStation, then click
Execute
.
6
The “Confirm Operation” screen will open. Enter the confirmation number, then click
OK
.
7
The TeraStation will save the settings. When saving settings is completed, click
OK
.
Troubleshooting:
If the settings are not saved to the USB drive successfully, you may receive an error message such as “The specified
operation cannot be executed.”. Verify:
• The USB drive has a capacity of 1 GB or larger.
• The USB drive is not write-protected.
• Failover is configured on the TeraStation.
Applying Settings
The saved settings can be applied to a different TeraStation of the same series. If applying settings to another
TeraStation, the unit’s current firmware version will be changed to the version used to save the settings.
1
Insert the USB drive with the saved settings to a USB port on the TeraStation.
2
From Settings, click
Management
.
173
Chapter 7 Advanced Features
Summary of Contents for TeraStation 6000 Series
Page 32: ...3 Click Add Group 31 Chapter 3 File Sharing...
Page 120: ...2 Click Time Machine 119 Chapter 5 Backup...
Page 121: ...3 Click Select Backup Disk 4 Select the TeraStation then click Use Disk 120 Chapter 5 Backup...
Page 123: ...7 Time Machine will count down from 120 seconds then backup will begin 122 Chapter 5 Backup...
Page 132: ...5 Click Edit 131 Chapter 6 Remote Access...
Page 144: ...4 Click the Options tab 5 Click Edit 143 Chapter 6 Remote Access...
Page 153: ...4 Click the Options tab 152 Chapter 6 Remote Access...
Page 154: ...5 Click Edit 153 Chapter 6 Remote Access...
Page 169: ...11Click the NFS Rules tab 12Click Add 168 Chapter 7 Advanced Features...


