11. Expert operation
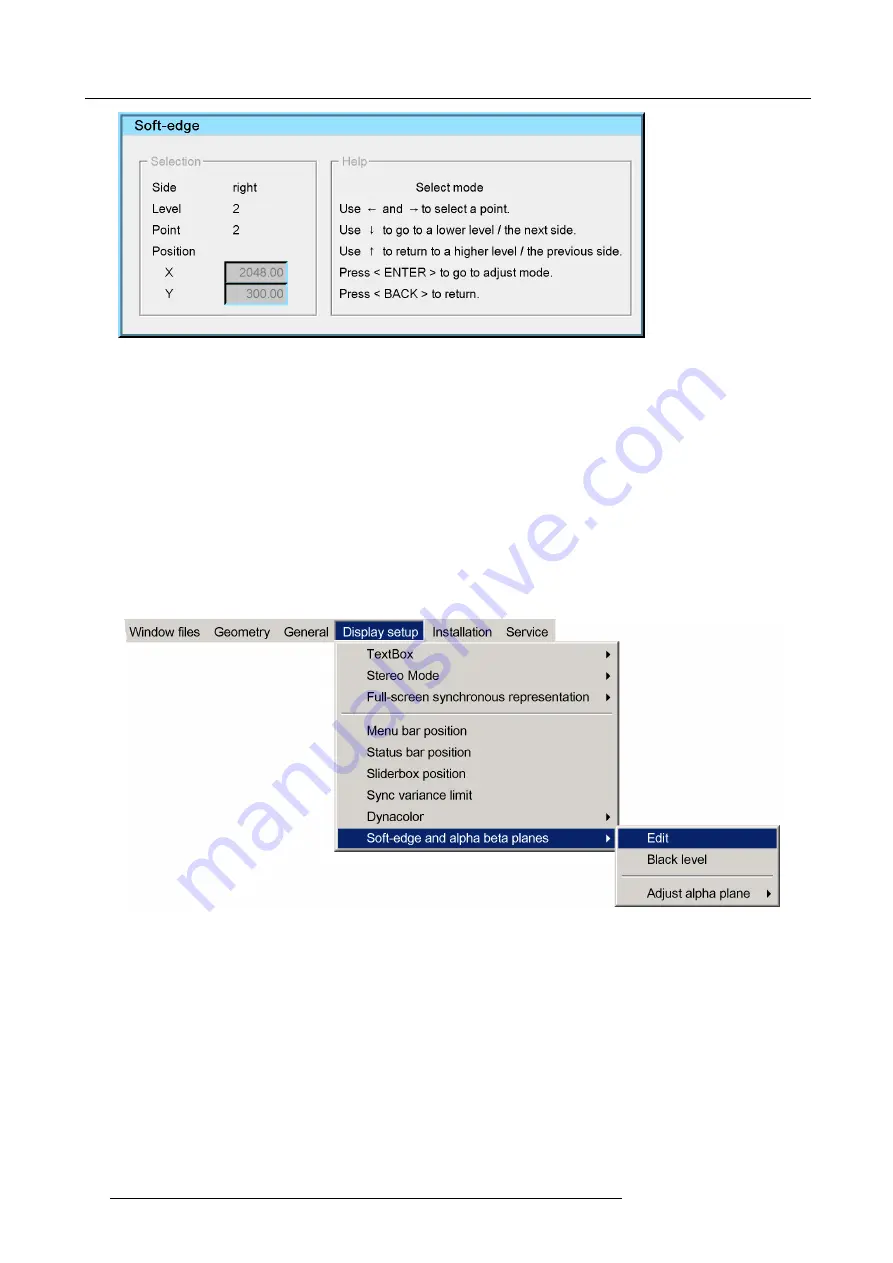
Image 11-33
4. Select one of the edges where a Soft Edge is required. See "Selecting an anchor point", page 100.
5. Select the highest level (i.e. Level 1). See "Selecting an anchor point", page 100.
6. For each of the anchor points of the selected level, adjust the position. See "Selecting an anchor point", page 100, "Moving an
anchor point in small steps", page 100 and "Moving an anchor point in large steps", page 101.
7. If you need to further shape the Soft Edge area on the selected side, proceed to the next lower level. See "Selecting an anchor
8. Repeat step 6 to step 7 until the Soft Edge shape on the selected edge meets the speci
fi
cations.
Note:
If you need a lower level then selected in step 2, you can return to the Soft Edge Selection dialog and change to a lower
Hierarchy level at any time. See "The Soft Edge selection dialog", page 96.
9. Repeat step 4 to step 8 to create the correct Soft Edge shape for each of the other edges.
Creating a blanked area
1. In the OSD, browse to
Display setup > Soft-edge and alpha beta planes > Edit...
and press
ENTER
to open the
Soft Edge
Selection
dialog.
Image 11-34
2. In the
Soft Edge Selection
dialog, enter the following selections:
-
Plane: set checkbox
Internal
;
-
Source: click either
Image
(in case of blanking only) or
Full white
(in case of bl Soft Edge);
-
Edges: set the check boxes of the edges where you want to create not only a blanked area but also a Soft Edge; clear the
check boxes of the edges where you only want to introduce some blanking (i.e. hard edge blanking);
-
Adjustment guide: click
On
(in case of bl Soft Edge) or
Off
(in case of blanking only);
-
Hierarchy levels: select the lowest level you expect to need: no need to select a level lower than four, since only anchor points
zero to four can be used to shape the blanked area.
92
R5909057 MCM-50 17/05/2016
Summary of Contents for MCM-50
Page 1: ...MCM 50 User Guide Optimized for F50 R5909057 02 17 05 2016...
Page 8: ...Table of contents 4 R5909057 MCM 50 17 05 2016...
Page 14: ...1 Safety instructions 10 R5909057 MCM 50 17 05 2016...
Page 20: ...3 Packaging 16 R5909057 MCM 50 17 05 2016...
Page 22: ...4 Facility and system requirements Image 4 1 18 R5909057 MCM 50 17 05 2016...
Page 28: ...5 Physical installation and connections 24 R5909057 MCM 50 17 05 2016...
Page 40: ...6 Setup and configuration Image 6 17 36 R5909057 MCM 50 17 05 2016...
Page 58: ...8 OSD Preferences 54 R5909057 MCM 50 17 05 2016...
Page 118: ...11 Expert operation 114 R5909057 MCM 50 17 05 2016...
Page 136: ...13 MCM 50 Tools 132 R5909057 MCM 50 17 05 2016...
Page 144: ...15 RCU Control 140 R5909057 MCM 50 17 05 2016...


