R5905948 /12
Event Master Devices
317
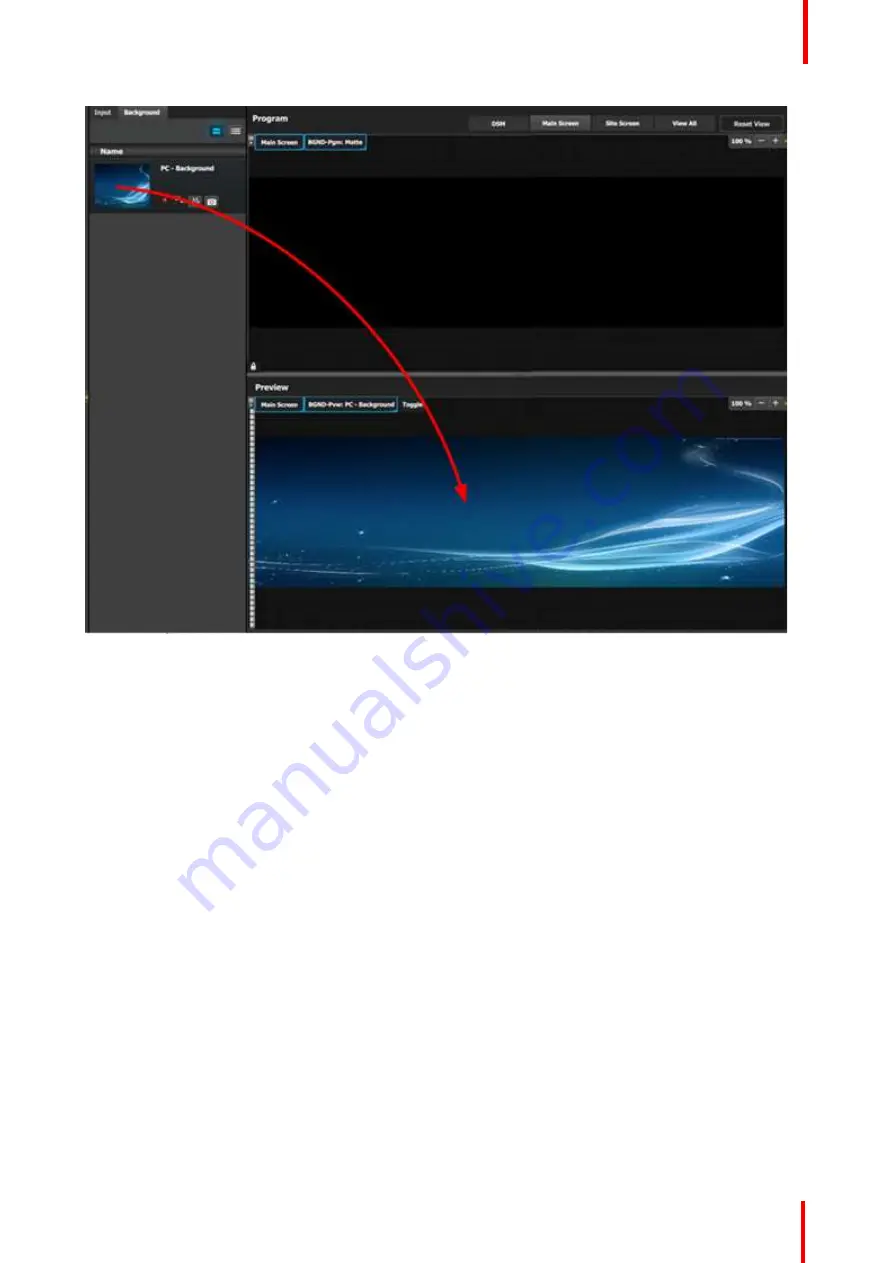
Image 9-16
P5: Drop Layers into Screen Destinations & Sources into layers
In this step we will add layers into each Destination, assign sources to layers and adjust their size and position
parameters.
Part1: Site Screen
1.
On top, click on the
Site Screen
tab to only view the Site Screen.
2.
On the right hand side of the screen click on the
Layers
tab and then click on the arrow next to the Destination
name to reveal all the layers and background that were assigned to the destination.
3.
Drag Layer1 into the preview screen. A black, square box, surrounded by a blue
“
selected
”
border will appear.
Summary of Contents for Event Master E2 Series
Page 1: ...ENABLING BRIGHT OUTCOMES User s Guide Event Master Devices...
Page 12: ...R5905948 12 Event Master Devices 12...
Page 24: ...R5905948 12 Event Master Devices 24 Safety...
Page 52: ...R5905948 12 Event Master Devices 52 General...
Page 82: ...R5905948 12 Event Master Devices 82 Hardware orientation...
Page 102: ...R5905948 12 Event Master Devices 102 Front Panel Menu orientation...
Page 272: ...R5905948 12 Event Master Devices 272 Image 6 137 EM GUI orientation...
Page 304: ...R5905948 12 Event Master Devices 304 Updating firmware...
Page 326: ...R5905948 12 Event Master Devices 326 Image 9 28 General operation example...
Page 382: ...R5905948 12 Event Master Devices 382 Preventive maintenance actions...
Page 444: ...R5905948 12 Event Master Devices 444 E2 Maintenance...
Page 528: ...R5905948 12 Event Master Devices 528 EC 200 EC 210 Maintenance...
Page 569: ...569 R5905948 12 Event Master Devices Troubleshooting C...
Page 572: ...R5905948 12 Event Master Devices 572 Troubleshooting...


