R5905948 /12
Event Master Devices
237
Delete Preset(s)
By pressing this button, the delete
“
x
”
marks will appear next to all presets. Select the presets you like to
delete and then press the red
“
Delete Selected
”
button.
Search edit box
Search Presets by characters in names. A list of the presets will be filtered according to the search criteria.
List is restored to normal once search box is cleared.
Search Number (# icon)
Search Preset by number, User types the number of the preset wanted and this preset will be instantly
selected ready for recall.
Recall buttons
They are not enabled unless a Preset is selected from the list.
1.
Recall Previous button: Recalls the Previous preset. This button is inactive if Preset1 is selected.
2.
Recall Selected button: Recalls the currently selected Preset.
3.
Recall Next button: Recalls the next preset. This button is inactive if the last preset in the list is selected.
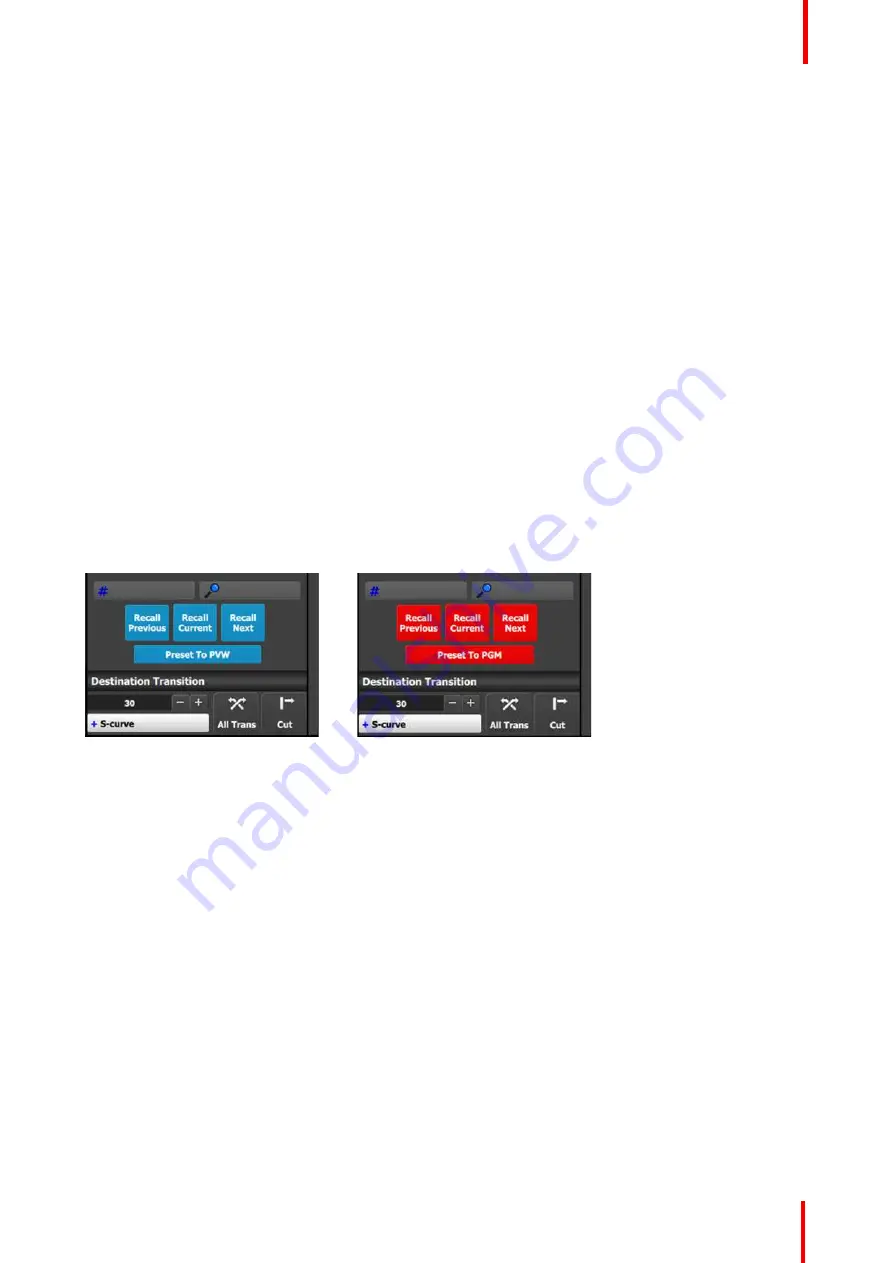
Preset To PVW / Preset To PGM
Pressing this button toggles between recalling Presets to Preview (see Image 6-98) or directly to Program
(see Image 6-99). The functions of recall buttons are the same in either case, but Presets recalled to Program
automatically transition to Program as soon as they are ready to go. This also applies to presets that are drag-
and-dropped onto the Programming workspace.
Image 6-98: Preset to PVW
Image 6-99: Preset to PGM
6.31 Programming Menu > Adjustment area >
Source adjustment
General
Selecting a source in the list does not allow for the contextual adjust controls to appear. In order to adjust any
source it must be used in a Layer or an Aux and selected there. Also note that any adjustments to the source
are only seen on the particular Layer or Aux where the adjustments are made, not the actual Source itself. The
actual Source is updated only when
“
Save Source
”
is pressed.
Description
When a layer with a valid Source is selected, 2 adjustment tabs are shown. It defaults to showing the layer
adjustments. But the user can click on the Source adjustment tab to see the adjustments mentioned in this
section.
Two Tabs for Source adjustment:
•
Main adjustment : Size, position, Aspect ratio, and Bind to User Key.
•
Color adjustment: Contrast, Brightness, Gamma, Hue and Saturation
Summary of Contents for Event Master E2 Series
Page 1: ...ENABLING BRIGHT OUTCOMES User s Guide Event Master Devices...
Page 12: ...R5905948 12 Event Master Devices 12...
Page 24: ...R5905948 12 Event Master Devices 24 Safety...
Page 52: ...R5905948 12 Event Master Devices 52 General...
Page 82: ...R5905948 12 Event Master Devices 82 Hardware orientation...
Page 102: ...R5905948 12 Event Master Devices 102 Front Panel Menu orientation...
Page 272: ...R5905948 12 Event Master Devices 272 Image 6 137 EM GUI orientation...
Page 304: ...R5905948 12 Event Master Devices 304 Updating firmware...
Page 326: ...R5905948 12 Event Master Devices 326 Image 9 28 General operation example...
Page 382: ...R5905948 12 Event Master Devices 382 Preventive maintenance actions...
Page 444: ...R5905948 12 Event Master Devices 444 E2 Maintenance...
Page 528: ...R5905948 12 Event Master Devices 528 EC 200 EC 210 Maintenance...
Page 569: ...569 R5905948 12 Event Master Devices Troubleshooting C...
Page 572: ...R5905948 12 Event Master Devices 572 Troubleshooting...


