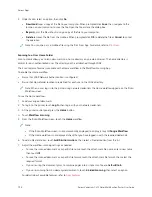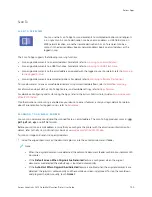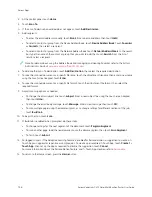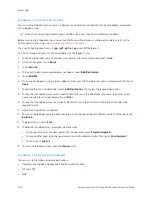
The Scan To Cloud service is a licensed feature. Access to the service requires a feature installation key. To enable
this option, on the Feature Installation page, provide a Scan to Cloud Licensing feature installation key. To purchase
a Scan to Cloud Licensing feature installation key for your device, contact your Xerox representative.
For more information on configuring the Scan To Remote Destination feature, refer to the
System Administrator
Guide
.
Scanning to Cloud Services
Before you scan to a cloud destination, ensure that you configure the printer with the cloud service information. For
details, refer to the
System Administrator Guide
. To scan a document and send it to a cloud service, do the
following:
1.
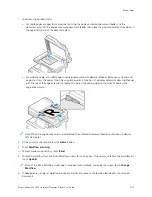
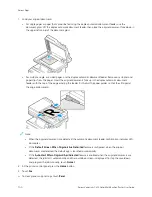
Load the original document on the document glass or into the duplex automatic document feeder.
2.
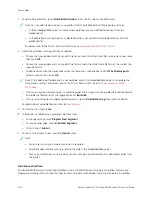
At the control panel, press the H
Hoom
mee button.
3.
Touch SSccaann TToo.
4.
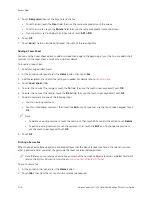
Touch D
Drrooppbbooxx, G
Gooooggllee D
Drriivvee, or M
Miiccrroossoofftt O
Onneeddrriivvee.
5.
If prompted, type a valid user name and password in the login window of the cloud provider, then touch EEnntteerr.
6.
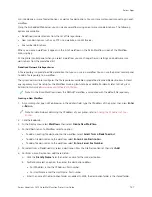
Select a folder location for your scanned document, then touch O
OKK.
7.
To save the scanned document as a specific file name, touch the file name. Enter a new name using the touch
screen keypad, then touch EEnntteerr.
8.
To save the scanned document as a specific file format, touch the file format, then select the required format.
Adjust scanning options as needed.
9.
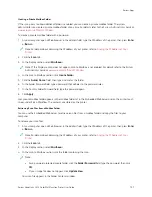
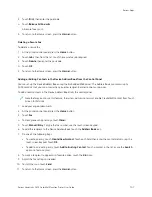
To begin the scan, touch SSccaann.
The printer scans documents to the folder that you specified.
Scanning to FTP or SFTP Server
Before you scan to an FTP or SFTP server, ensure that you configure the printer with the server information. For
details, refer to the
System Administrator Guide
. To scan a document and send it to an FTP or SFTP server, do the
following:
1.
Load the original document on the document glass or into the duplex automatic document feeder.
2.
At the control panel, press the H
Hoom
mee button.
3.
Touch SSccaann TToo.
4.
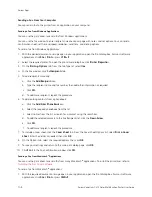
Touch FFTTPPor SSFFTTPP, then enter the server address.
5.
If prompted, enter a valid user name and password, then touch EEnntteerr.
6.
Select a folder location for your scanned document, then touch O
OKK.
7.
To save the scanned document as a specific file name, touch the file name. Enter a new name using the touch
screen keypad, then touch EEnntteerr.
8.
To save the scanned document as a specific file format, touch the file format, then select the required format.
Adjust scanning options as needed.
Xerox
®
VersaLink
®
C415 Color Multifunction Printer User Guide
139
Содержание VersaLink C415
Страница 1: ...VERSION 1 0 JULY 2023 702P08981 Xerox VersaLink C415 Color Multifunction Printer User Guide...
Страница 4: ...4 Xerox VersaLink C415 Color Multifunction Printer User Guide...
Страница 220: ...220 Xerox VersaLink C415 Color Multifunction Printer User Guide Paper and Media...
Страница 246: ...246 Xerox VersaLink C415 Color Multifunction Printer User Guide Maintenance...
Страница 320: ...320 Xerox VersaLink C415 Color Multifunction Printer User Guide Recycling and Disposal...
Страница 321: ...Xerox VersaLink C415 Color Multifunction Printer User Guide 321 Apps Features This appendix contains Apps Features 322...
Страница 322: ...Apps Features 322 Xerox VersaLink C415 Color Multifunction Printer User Guide Apps Features...
Страница 335: ......
Страница 336: ......

