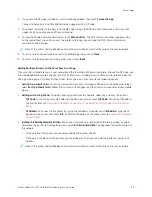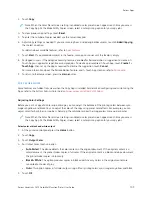
2.
Touch C
Cooppyy.
3.
Touch SSppeecciiaall PPaaggeess >> C
Coovveerrss.
Note: If Paper Supply is set to Auto Paper Select, the Paper Conflict screen appears. Select the required
paper tray, then touch O
OKK.
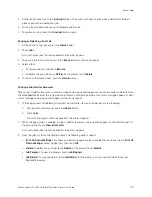
4.
For Covers Options, select an option.
• FFrroonntt &
& B
Baacckk SSaam
mee: This option includes front and back covers from the same tray.
• FFrroonntt &
& B
Baacckk D
Diiffffeerreenntt: This option includes a front and a back cover from different trays.
• FFrroonntt O
Onnllyy: This option includes a front cover only.
• B
Baacckk O
Onnllyy: This option includes a back cover only.
5.
For Printing Options, select an option.
• B
Bllaannkk C
Coovveerr: This option inserts a blank cover.
• PPrriinntt oonn SSiiddee 11 O
Onnllyy: This option prints on the front side of the cover only. To rotate the image on side 2
by 180degrees, touch Rotate Side 2.
• PPrriinntt oonn SSiiddee 22 O
Onnllyy:: This option prints on the back of the cover only. To rotate the image on side 2 by
180degrees, touch Rotate Side 2.
• PPrriinntt oonn B
Bootthh SSiiddeess: This option prints on both sides of the cover.
• RRoottaattee SSiiddee 2
2: If covers are 2-Sided, touch this option to rotate the image on side 2 by 180 degrees.
6.
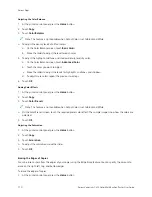
For Paper Supply, touch the required tray.
7.
Touch O
OKK. The options that you selected appear on the Special Pages screen.
8.
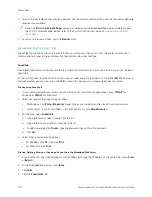
To edit or delete a special page entry, touch the entry in the list. From the menu, touch the required option.
9.
Touch O
OKK.
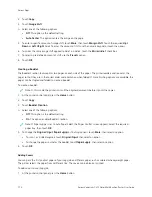
Adding Inserts
You can insert blank pages or pre-printed sheets in specific locations in your copy job. To do this, you specify the
tray that contains the inserts.
To add inserts to a copy job:
1.
At the printer control panel, press the H
Hoom
mee button.
2.
Touch C
Cooppyy.
3.
Touch SSppeecciiaall PPaaggeessIInnsseerrttss.
Note: If Paper Supply is set to Auto Paper Select, the Paper Conflict screen appears. Select the required
paper tray, then touch O
OKK.
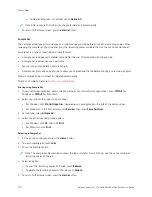
4.
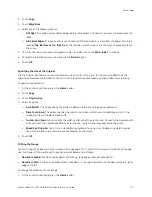
To specify the number of sheets to insert, touch the IInnsseerrtt Q
Quuaannttiittyy field. To enter the number of sheets, use
the numeric keypad, or use the arrows. Touch EEnntteerr.
5.
To enter a location for the insert, touch the IInnsseerrtt A
Afftteerr PPaaggee entry box. To enter a page number, use the
numeric keypad. Touch EEnntteerr.
6.
To specify the paper tray to use for the insert:
Xerox
®
VersaLink
®
C415 Color Multifunction Printer User Guide
113
Содержание VersaLink C415
Страница 1: ...VERSION 1 0 JULY 2023 702P08981 Xerox VersaLink C415 Color Multifunction Printer User Guide...
Страница 4: ...4 Xerox VersaLink C415 Color Multifunction Printer User Guide...
Страница 220: ...220 Xerox VersaLink C415 Color Multifunction Printer User Guide Paper and Media...
Страница 246: ...246 Xerox VersaLink C415 Color Multifunction Printer User Guide Maintenance...
Страница 320: ...320 Xerox VersaLink C415 Color Multifunction Printer User Guide Recycling and Disposal...
Страница 321: ...Xerox VersaLink C415 Color Multifunction Printer User Guide 321 Apps Features This appendix contains Apps Features 322...
Страница 322: ...Apps Features 322 Xerox VersaLink C415 Color Multifunction Printer User Guide Apps Features...
Страница 335: ......
Страница 336: ......

