5.
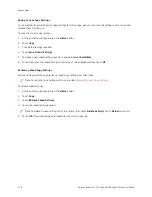
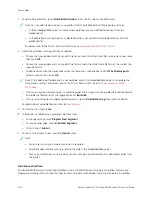
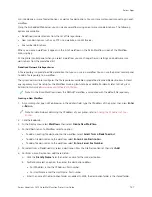
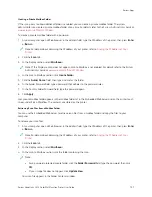
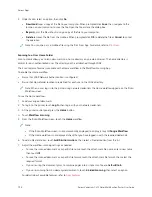
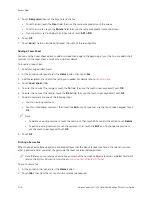
Under Action, select an option, then click G
Goo.
• D
Doow
wnnllooaadd saves a copy of the file to your computer. When prompted, click SSaavvee, then navigate to the
location on your computer to save the file. Open the file or close the dialog box.
• RReepprriinntt prints the file without saving a copy of the file to your computer.
• D
Deelleettee removes the file from the mailbox. When prompted, click O
OKK to delete the file or C
Caanncceell to cancel
the operation.
Note: You can also print a mailbox file using the Print From App. For details, refer to
.
Scanning to a User Home Folder
Scan to Home allows you to scan documents to a home directory on an external server. The home directory is
distinct for each authenticated user. The directory path is established through LDAP.
The Scan to Home feature is available as the Home workflow in the Workflow Scanning App.
To enable the Home workflow:
• Ensure that LDAP Network Authentication is configured.
• Ensure that Home folder locations are defined for each user in the LDAP directory.
Note: When a user logs in to the printer using network credentials, the Home workflow appears on the Pick a
Workflow screen.
To use the Home workflow:
1.
Load your original documents.
2.
To log in to the printer, touch LLoogg IInn, then log in with your network credentials.
3.
At the printer control panel, press the H
Hoom
mee button.
4.
Touch W
Woorrkkfflloow
w SSccaannnniinngg.
5.
From the Pick a Workflow screen, touch the H
Hoom
mee workflow.
Note:
• If the Pick a Workflow screen is not automatically displayed, to display it, touch C
Chhaannggee W
Woorrkkfflloow
w.
• If the Home workflow is not displayed, check that you have logged in with the required credentials.
6.
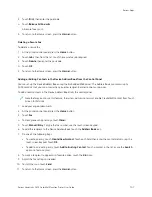
To add a file destination, touch A
Adddd FFiillee D
Deessttiinnaattiioonnss, then select a file destination from the list.
7.
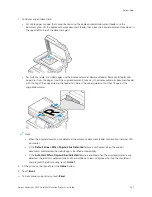
Adjust the workflow scanning settings as needed.
• To save the scanned document as a specific file name, touch the attachment file name, enter a new name,
then touch O
OKK.
• To save the scanned document as a specific file format, touch the attachment file format, then select the
required format.
• If you are using the document glass, to combine pages into a single scan file, enable B
Buuiilldd JJoobb.
• If you are scanning from 2-sided original documents, touch 22--SSiiddeedd SSccaannnniinngg, then select an option.
For details about available features, refer to
.
132
Xerox
®
VersaLink
®
C415 Color Multifunction Printer User Guide
Содержание VersaLink C415
Страница 1: ...VERSION 1 0 JULY 2023 702P08981 Xerox VersaLink C415 Color Multifunction Printer User Guide...
Страница 4: ...4 Xerox VersaLink C415 Color Multifunction Printer User Guide...
Страница 220: ...220 Xerox VersaLink C415 Color Multifunction Printer User Guide Paper and Media...
Страница 246: ...246 Xerox VersaLink C415 Color Multifunction Printer User Guide Maintenance...
Страница 320: ...320 Xerox VersaLink C415 Color Multifunction Printer User Guide Recycling and Disposal...
Страница 321: ...Xerox VersaLink C415 Color Multifunction Printer User Guide 321 Apps Features This appendix contains Apps Features 322...
Страница 322: ...Apps Features 322 Xerox VersaLink C415 Color Multifunction Printer User Guide Apps Features...
Страница 335: ......
Страница 336: ......

