284 ULEAD PHOTOIMPACT USER GUIDE
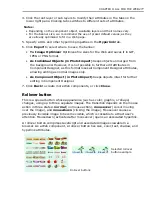
Advanced rollover button
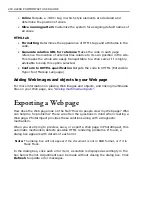
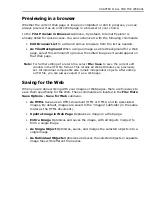
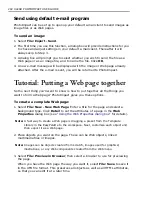
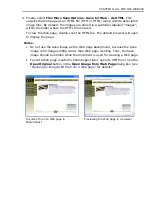
In addition to the rollover button presets in Component Designer, PhotoImpact
maximizes your creative potential with tools for developing unique rollover buttons
(objects) from scratch. Once created, the rollover object will be placed onto your
current PhotoImpact document directly. To edit it later, right-click the rollover then
select
Edit Rollover Object
.
As with other Web objects, rollover buttons that overlap other objects should be in
the highest layer to prevent errors when generating the Web page. Care should
also be taken to ensure that Web objects are placed wholly within the document
boundaries to avoid errors.
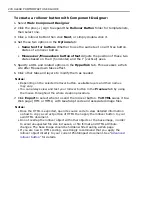
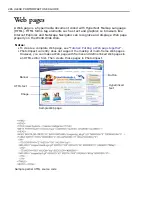
To create a rollover button:
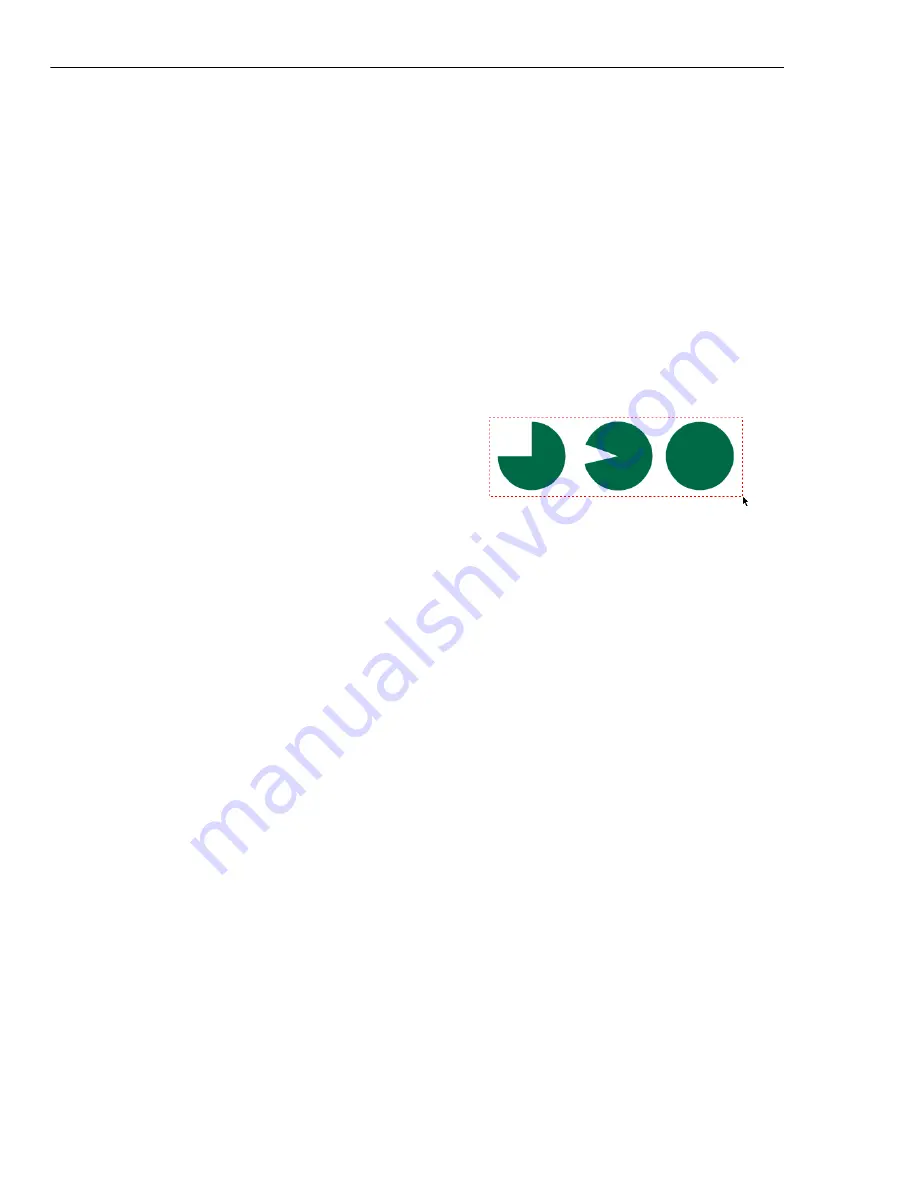
1. Select two or three objects from your
True-Color PhotoImpact document.
2. Select
Web: Rollover
.
3. The object furthest to the left is used
when there is no mouse action on the
rollover. You can change the object from
the object list by clicking the arrow below it.
4. Select the
Mouseover
and
Mousedown
options to use different images for the
rollover.
5. Use the
X
,
Y
axis offset boxes, or click one of the
Align
buttons (below the
offset boxes) to further adjust the rollover appearance as needed.
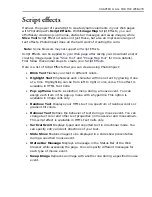
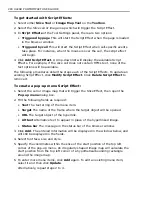
6. Enter hyperlink information.
Note:
The Preview area in the upper right pane displays the preview result. Move
your mouse over the preview image to test the mouseover effect, and click
the object to test the mousedown effect. You can also click
Preview in
Browser
below the Preview area to test the rollover within a browser.
7. Select a file format (JPG, GIF or PNG) for object saving then click
Image
Optimizer
to optimize the image when saving.
8. Click
OK
. The rollover button (object) is now in the current document.
Содержание PHOTOIMPACT 11
Страница 1: ...User Guide Ulead Systems Inc August 2005 ...
Страница 295: ...9 Appendix COMMANDS ...


