112 ULEAD PHOTOIMPACT USER GUIDE
Working with selections
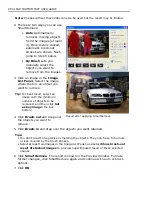
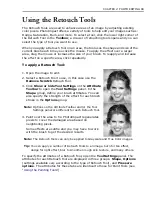
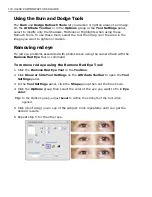
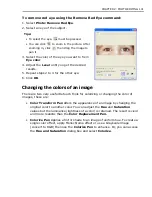
When no area has been selected in an image, any command that you apply affects
the entire image. To restrict the command to a certain area of an image, you need
to create a selection area. Click the
Selection Tools
in the
Toolbox
, then choose
a type of selection tool to use.
Tips:
• You can start and end your selection outside the image canvas making it easier
to select the corners of your image.
• Press the
[Spacebar]
to toggle between showing and hiding a selection
marquee.
Pick Tool
The
Pick Tool
is used mainly to select objects and static selections. With this tool
you can perform the following functions:
• Click an object or static selection to make it active.
• Select multiple objects by dragging the
Pick Tool
from an empty area across
the edges of a group of objects (or enclose them within the selection area).
• Select a set of objects by pressing
[
Ctrl
]
or
[
Shift]
as you click them.
• Merge all the objects together as a single object: first select all the objects,
and then select
Object: Merge as Single Object
, or right-click any object
in the group then select
Merge as Single Object
.
With the
Pick Tool
, you can change the layers of objects by using the four order
arrow buttons on the
Attribute Toolbar
, as well as change the alignment using
the buttons in
Align
(or by selecting
Object: Align
).
Standard Selection Tool - selecting regularly shaped
areas
The
Standard Selection Tool
lets you select areas of an image based on a preset
size and/or shape, such as a rectangle or circle. You can also use this to convert
selection areas into objects by dragging the selection.
Содержание PHOTOIMPACT 11
Страница 1: ...User Guide Ulead Systems Inc August 2005 ...
Страница 295: ...9 Appendix COMMANDS ...

