266 ULEAD PHOTOIMPACT USER GUIDE
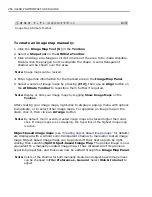
To create an image map manually:
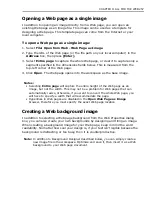
1. Click the
Image Map Tool [U]
in the
Toolbox
.
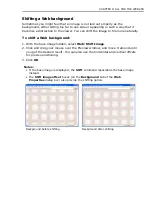
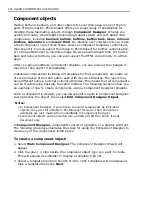
2. Select a
Shape tool
on the
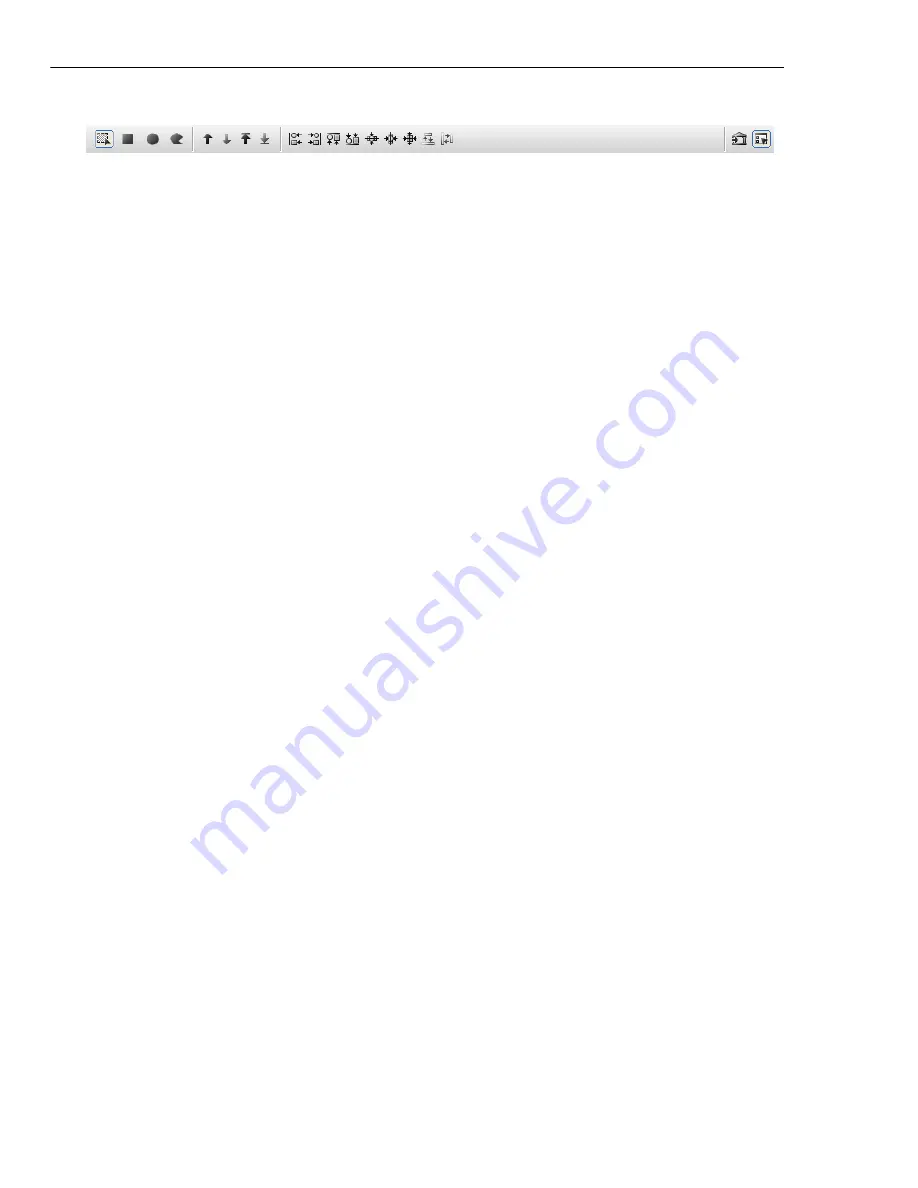
Attribute Toolbar
.
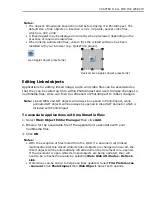
3. Click and drag a rectangle or circle to mark out the area to be made clickable.
Double-click the polygon tool to complete the shape. A semi-transparent
shadow will be shown over the area.
Note:
Image maps can be resized.
4. Enter hyperlink information for the marked area in the
Image Map Panel
.
5. Select a series of image maps by pressing
[Ctrl]
, then use an
Align
button on
the
Attribute Toolbar
to reposition them further if required.
Note:
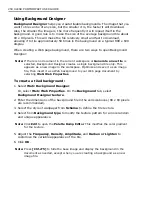
Display or hide your image maps by toggling
Show Image Maps
on the
Toolbox
.
After creating your image maps, right-click to display a pop-up menu with options
to duplicate, or to select other image maps. To reposition an image map in the
stack, click it, then click an
Arrange
button.
Note:
By default, more recently created image maps are stacked higher than older
ones. If image maps are overlapping, the hyperlink of the highest image map
is active.
Object-based image maps
(see
“Creating object-based image maps”
for details)
are displayed with a similar semi-transparent shadow to manually created image
maps. Object-based image maps can be peeled off their host objects by right-
clicking then selecting
Split Object-based Image Map
. The peeled image is now
equivalent to a manually created image map. It has retained all of its previous
hyperlink properties, and these can now be edited through the
Image Map Panel
.
Note:
Colors of the shadow for both manually created and object-based image maps
can be changed in
File: Preferences - General
. Select
Web & Internet
to
adjust.
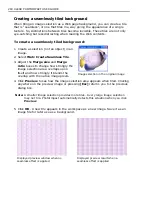
Image Map Attribute Toolbar
Содержание PHOTOIMPACT 11
Страница 1: ...User Guide Ulead Systems Inc August 2005 ...
Страница 295: ...9 Appendix COMMANDS ...

