130 ULEAD PHOTOIMPACT USER GUIDE
Grouping and ungrouping objects
While editing an image, it may be convenient to group objects so that you can
move them as a unit or edit them collectively.
To group objects:
1. Press
[
Ctrl]
as you click the thumbnails of the objects you want to group in the
Layer Manager
.
2. Select
Group
from
Thumbnail menu commands
(or right-click a
thumbnail) to group the selected objects together.
When
is pressed, thumbnails of the objects are merged as one and are
marked as
Group 1
with all the images displayed in a single object.
When
is not pressed, the objects that belong to the group are highlighted.
Notes:
• You can also regroup grouped objects up to 16 times and increase the group
level each time by 1.
• To ungroup objects, select
Ungroup
from
Thumbnail menu commands
(or
right-click a thumbnail and select
Ungroup
).
• Ungrouping decreases the group level by one.
Changing an object’s layer in an image
When an object is created, it is automatically placed on the top layer of an image.
Converting a selection to an object places the object on the lowest layer. There are
different ways to position several objects on different layers:
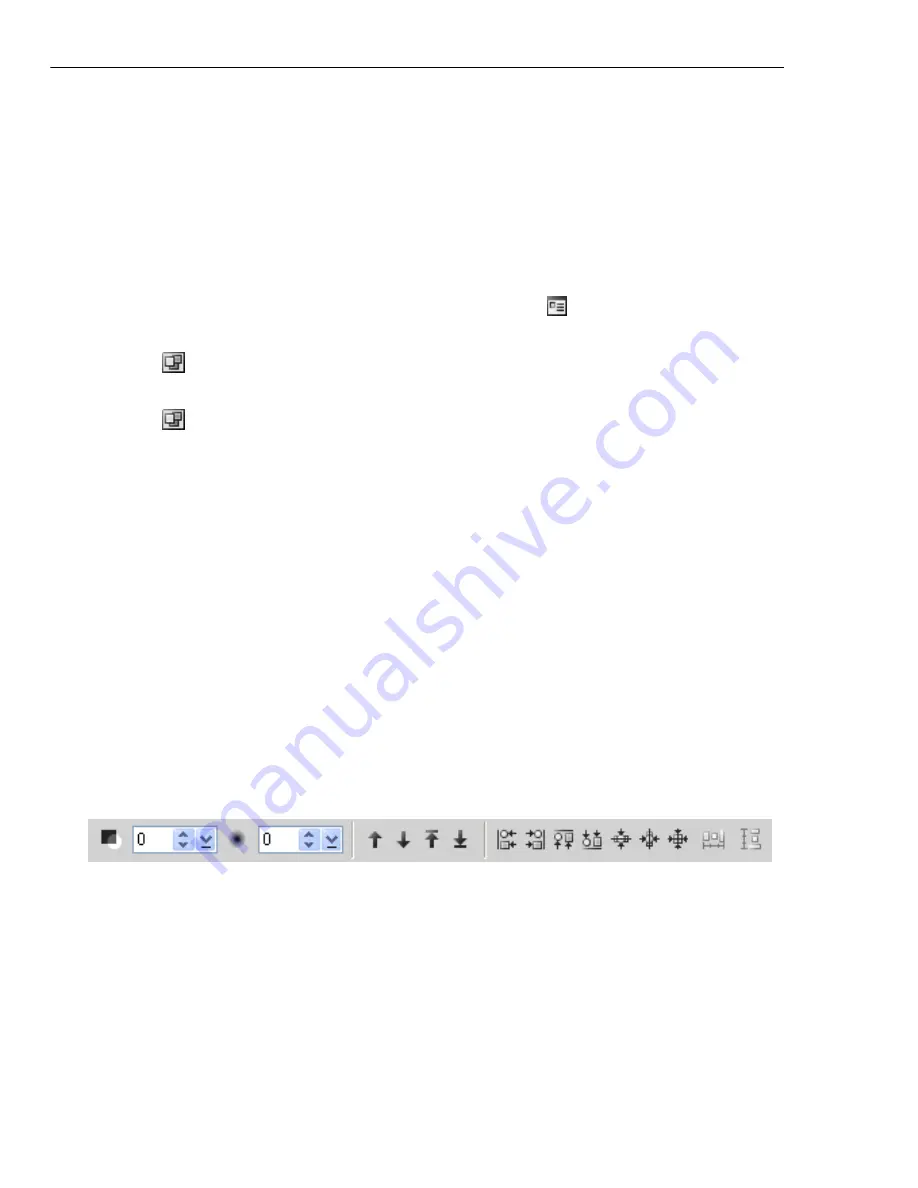
• Select the
Pick Tool
then use the four
Arrange
arrow buttons on the
Attribute Toolbar
. These buttons move an object up one level, down one
level, to the top level, and to the bottom level.
• Select
Object: Arrange Order
(or right-click an object and select
Arrange
)
and use one of the four submenu commands.
• In the
Layer Manager
, drag a thumbnail to the desired layer in the image.
Содержание PHOTOIMPACT 11
Страница 1: ...User Guide Ulead Systems Inc August 2005 ...
Страница 295: ...9 Appendix COMMANDS ...

