238 ULEAD PHOTOIMPACT USER GUIDE
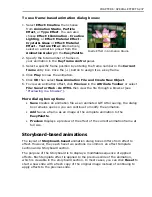
To use storyboard-based animation dialog boxes:
1. Select
Effect: Material Effect - Artist
Texture
, or
Effect: Artistic - Creative
Warp
, or
Effect: Distort - Creative
Transform
.
2. Click
Advanced
to display the
Storyboard. (Not necessary for the
Transform dialog box).
3. Select a template effect to apply, then
click
Insert
to add it to the Storyboard.
Repeat this procedure to apply as many
effects as you like. You can insert up to
ten frames in the animation.
4. Modify a storyboard entry by clicking
the corresponding thumbnail image and
then selecting another template effect.
Click
Delete
to remove an entry or
Delete All
to start over.
5. Click
Save
to create an animation file.
After saving, the
Effect
dialog box
remains open so you can continue
modifying the effects settings. (See
Saving Animations below for details).
6. Click
OK
to close the dialog box and
apply the current frame position's effect
settings to the image.
Note:
In most Transform effects, you can
move your mouse over the preview
window and paint over the image to
manually adjust the effect.
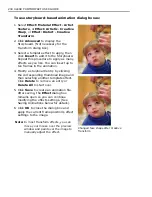
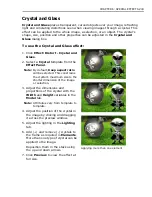
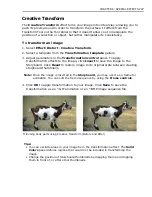
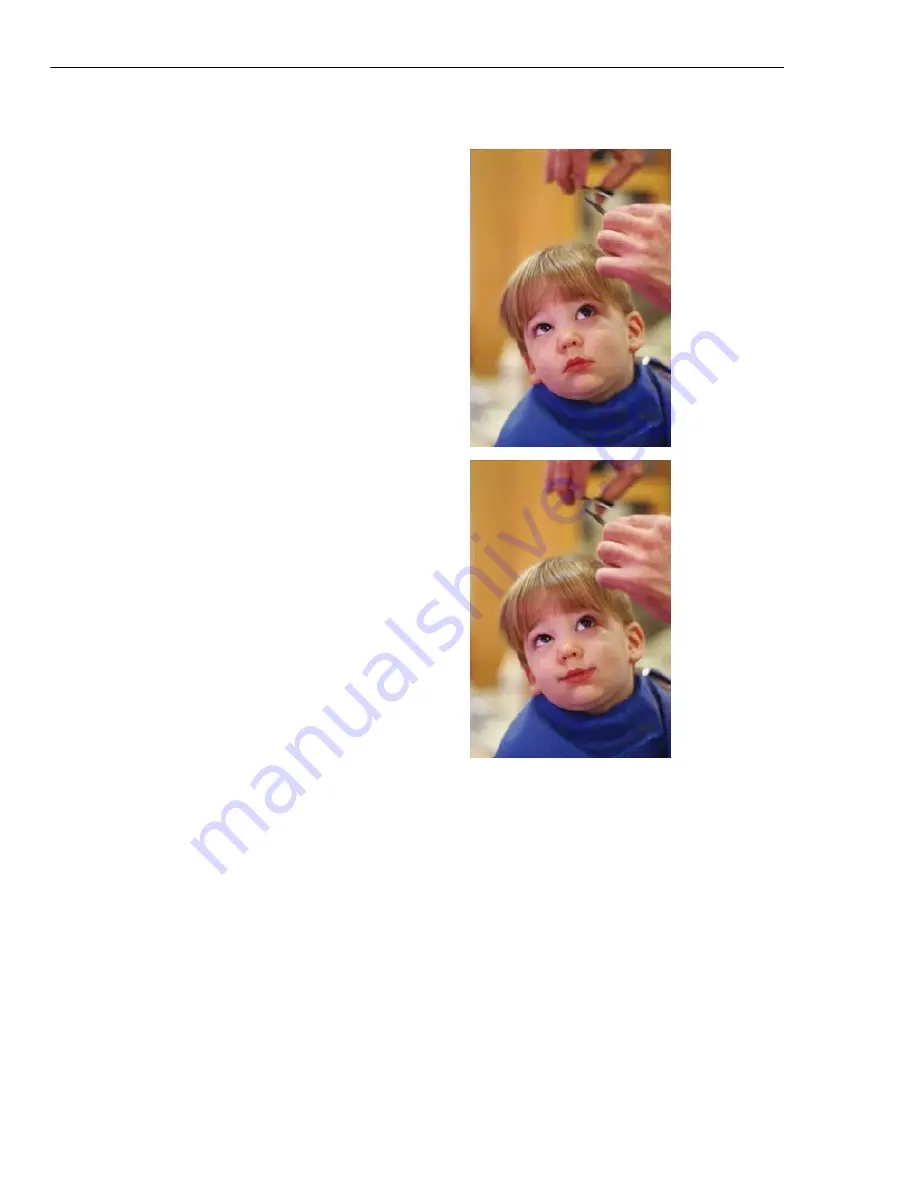
Changed face shape after Creative
Transform
Содержание PHOTOIMPACT 11
Страница 1: ...User Guide Ulead Systems Inc August 2005 ...
Страница 295: ...9 Appendix COMMANDS ...


