CHAPTER 3: SELECTIONS & OBJECTS 121
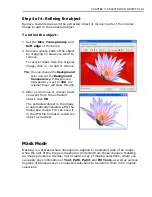
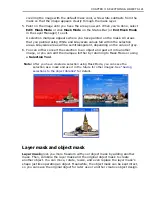
covering the image with the default mask color, while white subtracts from the
mask so that the image appears clearly through the mask layer.
5. Paint on the image until you have the area you want. When you’re done, select
Edit: Mask Mode
or click
Mask Mode
on the Status Bar (or
Exit Mask Mode
in the Layer Manager) to exit.
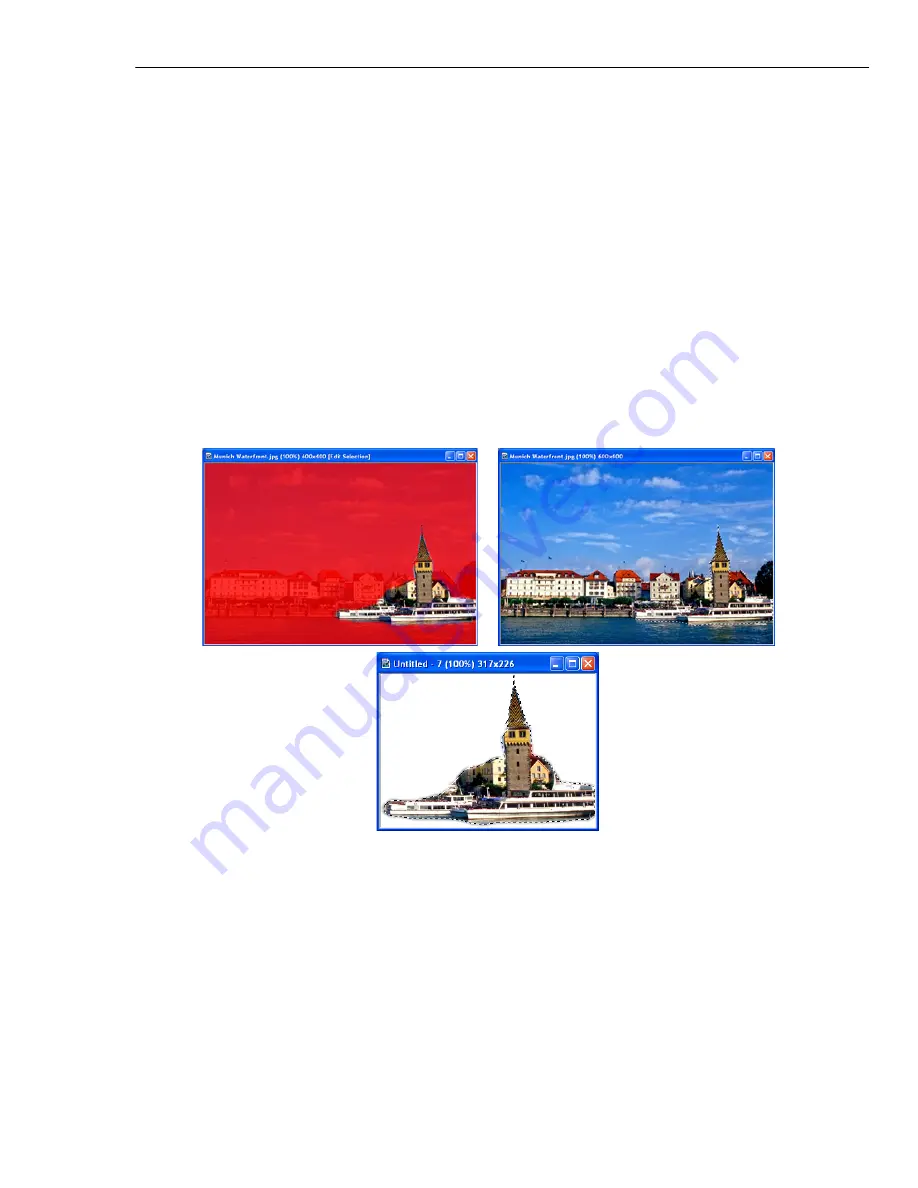
A selection marquee appears where you have painted on the mask. All areas
that you painted using White and Grayscale values fall within the selection
areas. Grayscale areas will be semitransparent, depending on the value of gray.
6. You can either convert the selection to an object and paste it into another
image, or you can edit the marquee further by returning to Mask Mode or using
a
Selection Tool
.
Note:
After you have created a selection using Mask Mode, you can save the
selection as a mask and use it in the future for other images. See
“Saving
selections to the object libraries”
for details.
Layer mask and object mask
Layer mask
gives you more freedom with your object mask by adding another
mask. Then, combine the layer mask and the original object mask to create
another object. You can move, rotate, resize, and even replace the layer mask’s
shape just like operating an object. Meanwhile, the object mask can be kept intact,
so you can save the original object for later use or another creative object design.
Содержание PHOTOIMPACT 11
Страница 1: ...User Guide Ulead Systems Inc August 2005 ...
Страница 295: ...9 Appendix COMMANDS ...

