Exam Preparation 4-3
Tap to select the desired field. The field box is highlighted and a flashing cursor appears.
Information can be entered or selected from the options.
Information includes:
1. General information
Patient ID
The Patient ID is generated automatically by the system after starting a new patient, and can
be modified manually.
The ID can also be obtained using the bar code reader.
Tip: you can change patient ID when there is no other exams of the current patient in the
system (including the recycle bin) and the exam is the current active exam.
Name
Gender
DOB (date of birth):
Age
Auto-generated age: once the DOB is obtained, the system displays an auto-generated
age in the field box. The unit can be “Years”, “Months” or “Days.” If the age is less than
one year, the system will automatically calculate the age in months or days.
You can also enter the age manually.
2. Exam information
Exam application type
You can select from: ABD (Abdomen), OB (Obstetrics), GYN (Gynecology), CARD (Cardiac),
VAS (Vascular), URO (Urology), SMP (Small Part) and BREAST (Breast).
Select the exam type drop-down list to enter exam-specific information.
General information:
Primary indications:
To enter the primary indications (reason for performing the exam.)
Accession #
To enter the exam number used in DICOM.
MRN:
To enter the secondary indications.
Diagnostician:
Person responsible for the exam.
Operator:
Person responsible for image collection and scanning.
Ref. Physician:
Person who requires the operator to carry out the ultrasound.
Comment:
To enter the exam-specific explanation or remarks.
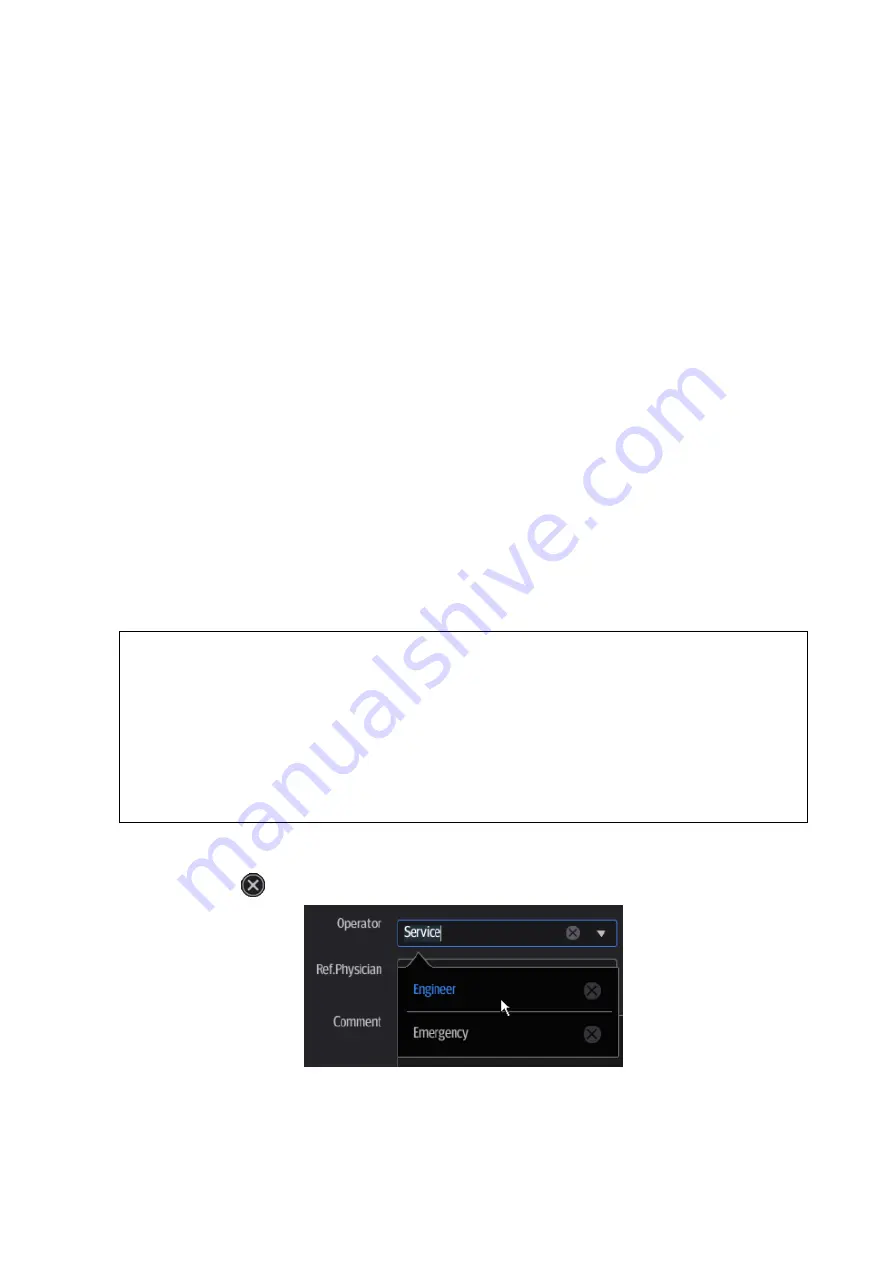
To delete history entered information:
a) Tap and hold the drop-down list of the item: Operator, Diagnostician or Ref. Physician.
b) Tap
to delete.
Содержание TE5
Страница 1: ...TE7 TE5 Diagnostic Ultrasound System Operator s Manual Basic Volume ...
Страница 2: ......
Страница 6: ......
Страница 12: ......
Страница 24: ......
Страница 36: ......
Страница 54: ......
Страница 56: ...4 2 Exam Preparation 4 1 1 New Patient Information The Patient Info screen is shown as follows 2 1 3 ...
Страница 110: ......
Страница 115: ...Display Cine Review 6 5 6 Tap Return on the screen or tap Freeze to exit image compare ...
Страница 120: ......
Страница 124: ......
Страница 156: ......
Страница 174: ......
Страница 192: ...12 18 Setup Select Advanced and do as follows Select MAPS and do as follows ...
Страница 202: ...13 2 Probes and Biopsy C5 2s L12 4s L7 3s P4 2s L14 6s C11 3s L14 6Ns V11 3Ws P7 3Ts 7LT4s ...
Страница 203: ...Probes and Biopsy 13 3 7L4s P10 4s L20 5s P7 3s L14 5sp SC6 1s SP5 1s 6CV1s L9 3s C5 1s L11 3VNs C4 1s ...
Страница 222: ...13 22 Probes and Biopsy No Name Description 8 Grooves of the needle guided bracket Matched with the tabs of the probe ...
Страница 226: ...13 26 Probes and Biopsy NGB 034 NGB 035 ...
Страница 250: ......
Страница 272: ......
Страница 276: ...A 4 Wireless LAN Tap Add Manually create a network profile to set ...
Страница 282: ......
Страница 318: ......
Страница 322: ......
Страница 323: ...P N 046 006959 07 1 0 ...

