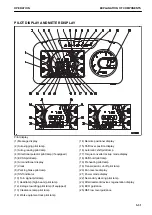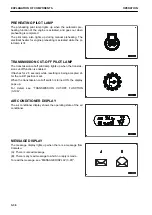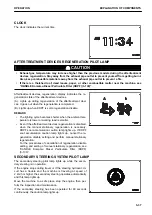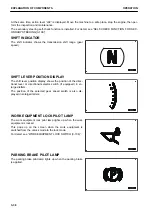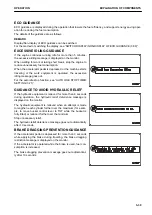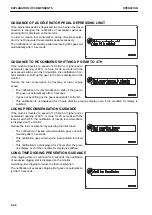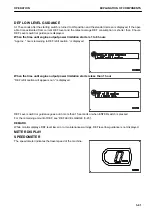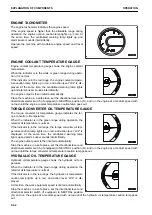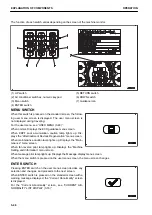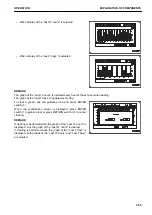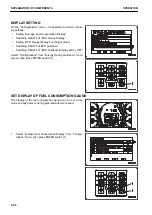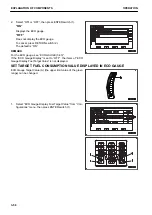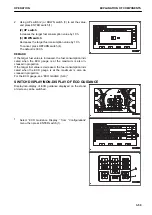
Fuel consumption gauge display
Indicates the average fuel consumption of the machine.
(C): Average fuel consumption in a day
(D): Split fuel consumption (under measuring)
(E): Split fuel consumption (when measuring is stopped)
REMARK
Display on the fuel consumption gauge can be switched be-
tween the average fuel consumption per day (from 0:00 am of
the day to 0:00 am of the next day) and the average fuel con-
sumption during an selected period (split fuel consumption).
For details of the fuel consumption gauge and the method of
switching the display, see “SET DISPLAY OF FUEL CON-
SUMPTION GAUGE (3-56)”.
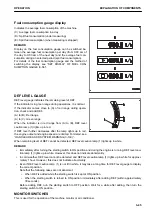
DEF LEVEL GAUGE
DEF level gauge indicates the remaining level of DEF.
If the indicator is in green range during operations, it is normal.
If the indicator comes close to (A) of red range during opera-
tion, check and add DEF.
(A) to (B): Red range
(A) to (C): Green range
When the indicator is in red range from (A) to (B), DEF level
caution lamp (1) lights up in red.
If DEF level further decreases after the lamp lights up in red,
the engine output and engine speed are limited. For detail, see
“HANDLE UREA SCR SYSTEM WARNING (3-139)”.
When remaining level of DEF cannot be detected, DEF level caution lamp (1) lights up in white.
REMARK
• Immediately after turning the starting switch to ON position and during the engine is running, DEF level cau-
tion lamp (1) lights up in white. However, this does not indicate abnormality.
• In cold weather, DEF level cannot be detected and DEF level caution lamp (1) lights up in white for approxi-
mately 1 hour. However, this does not indicate abnormality.
• Even if DEF level caution lamp (1) is not lit in white, it may take a long time for DEF level gauge to display
the correct position.
Note that the following cases are not abnormal:
• When DEF is added while the starting switch is kept at ON position.
• When the starting switch is turned to ON position immediately after adding DEF (within approximately
30 seconds).
Before adding DEF, turn the starting switch to OFF position. Wait for a while after adding, then turn the
starting switch to ON position.
MONITOR SWITCHES
This is used for the operation of the machine monitor or air conditioner.
OPERATION
EXPLANATION OF COMPONENTS
3-45
Содержание WA480-8
Страница 2: ......
Страница 19: ...Distributor name Address Phone Fax Service personnel FOREWORD PRODUCT INFORMATION 1 17...
Страница 29: ...LOCATION OF SAFETY LABELS SAFETY SAFETY LABELS 2 3...
Страница 69: ...OPERATION Please read and make sure that you understand the SAFETY section before reading this section 3 1...
Страница 76: ...Outside of cab 1 Slow blow fuse 2 Dust indicator 3 Articulation lock pin 4 Toolbox GENERAL VIEW OPERATION 3 8...
Страница 159: ...SWITCHES 1 ECSS switch 2 Front working lamp switch OPERATION EXPLANATION OF COMPONENTS 3 91...
Страница 302: ...Securing position Fixing angle A 61 B 53 C 33 D 38 TRANSPORTATION OPERATION 3 234...
Страница 324: ......
Страница 325: ...MAINTENANCE Please read and make sure that you understand the SAFETY section before reading this section 4 1...
Страница 397: ...Viewed from the rear side of the machine MAINTENANCE MAINTENANCE PROCEDURE 4 73...
Страница 402: ......
Страница 403: ...SPECIFICATIONS 5 1...
Страница 405: ...1 Value when bucket dump angle is 45 B I A G E H F D C 9 J W0 1 4 5 6 SPECIFICATIONS SPECIFICATIONS 5 3...
Страница 406: ......
Страница 422: ......
Страница 423: ...REPLACEMENT PARTS 7 1...
Страница 439: ......
Страница 440: ...WA480 8 WHEEL LOADER Form No VENAM51500 2018 KOMATSU All Rights Reserved Printed in Europe 07 2018...

