13 Tools
444
Too
ls
13
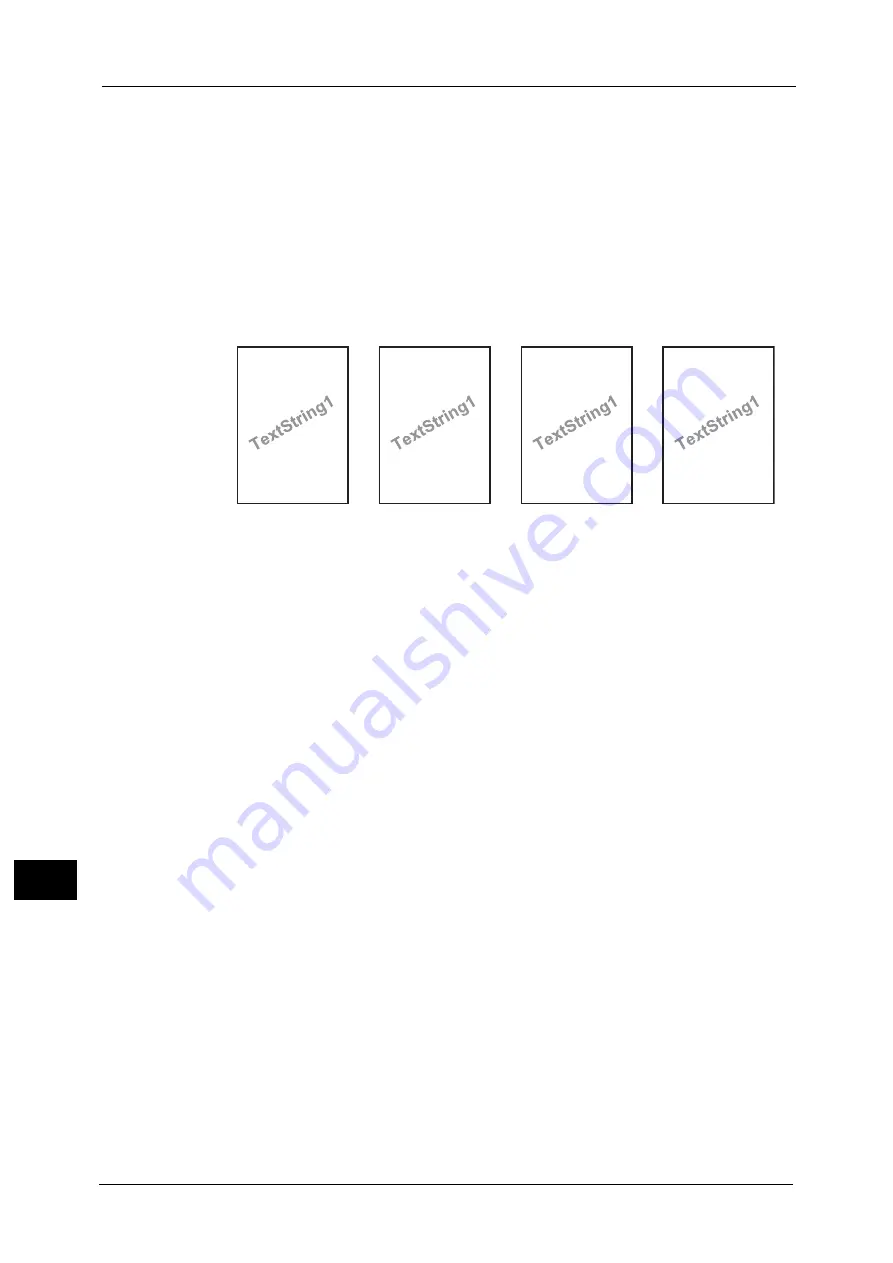
The following items are printed at the bottom right for Preset 1 or bottom left for Preset
2 of paper.
- First line: file name and the IP address of the computer that send a print job
- Second line: user name, user ID, card ID, and date and time
z
Preset 3 and Preset 4
The string registered on [Create Text String 1] is printed as watermark at an angle in the
center of paper.
The following items are printed at the bottom right for Preset 3 or bottom left for Preset
4 of paper.
- User ID and date and time
Note
•
Some items may not be printed depending on the job type and performance conditions.
•
Force annotation is not printed on a blank paper generated by the machine.
•
A time printed as a watermark using the Force Annotation feature may differ from the time the print
job is submitted depending on the status and settings of the machine and the contents of the print
job. In this case, the print job start time is printed as a watermark.
For information about how to enter characters, refer to "Entering Text" (P.90).
Apply Layout Template to Copy/Print Jobs
Set the association between jobs and layout templates. You can associate layout templates
with the following jobs:
z
Copy
z
Client Print
z
Print Stored File
z
Media Print
z
Print E-mail
z
Report
Note
•
You can associate a layout template with Client Print when a print job is sent from a computer.
•
You can associate a layout template with Print Stored File when printing a file in a folder.
Delete Layout Template
Deletes a layout template.
Important •
The provided layout templates, Preset 1 to Preset 4, cannot be deleted.
Create Text String
Register text strings for the Force Annotation feature. You can register up to eight types of
strings in [Create Text String 1] to [Create Text String 8]. You can enter up to 64 single-byte
characters.
Important •
The available text for the provided layout templates, Preset 1 to Preset 4, is the text strings
registered in [Create Text String 1].
DocName-192.0.2.1
UserName-CardID-UserID-2013/09/01 13:08
DocName-192.0.2.1
UserName-CardID-UserID-2013/09/01 13:08
UserID-2013/09/01 13:08
UserID-2013/09/01 13:08
Preset1
Preset2
Preset3
Preset4
Содержание Versant 80 Press
Страница 1: ...User Guide Versant 80 Press ...
Страница 18: ...18 Index 1007 ...
Страница 159: ...Image Quality 159 Copy 4 2 Select a button to adjust the color tone ...
Страница 214: ...4 Copy 214 Copy 4 ...
Страница 304: ...5 Scan 304 Scan 5 ...
Страница 382: ...11 Job Status 382 Job Status 11 ...
Страница 562: ...14 CentreWare Internet Services Settings 562 CentreWare Internet Services Settings 14 ...
Страница 580: ...16 E mail Environment Settings 580 E mail Environment Settings 16 ...
Страница 618: ...18 Encryption and Digital Signature Settings 618 Encryption and Digital Signature Settings 18 ...
Страница 916: ...22 Problem Solving 916 Problem Solving 22 ...
Страница 980: ...23 Appendix 980 Appendix 23 11 Click Reboot Machine After rebooting the machine the setting will be enabled ...
Страница 1018: ...1018 Index ...
Страница 1019: ...Versant 80 Press User Guide ME6843E2 2 Edition 1 September 2014 Fuji Xerox Co Ltd Copyright 2014 by Fuji Xerox Co Ltd ...


