
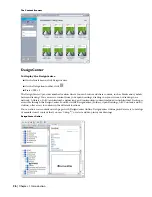


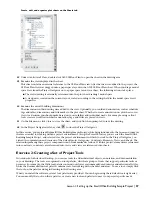


The Scheduling palette is added to your existing tool palettes. You can use the Content Browser to access additional
content and tools that are not displayed in the default tool palettes. It is also an option to share palettes. Managing
shared tool palettes ensures that all project team members use the most current tools created or modified for a
particular project or function. When a tool palette is shared from a catalog, the Refresh icon (
) is displayed in
the lower right corner of the palette to allow updates from the source palette.
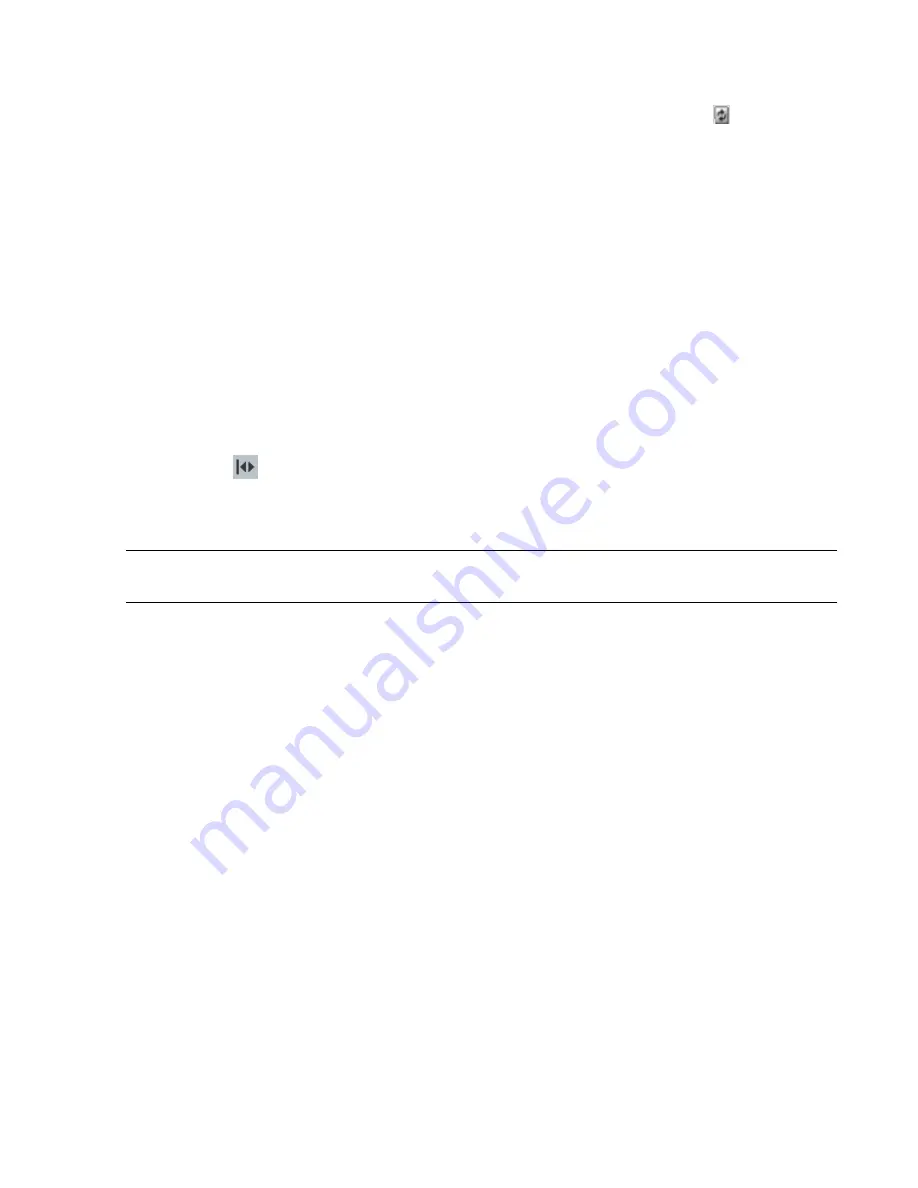
Working with floating tool palettes
7
You can work with tool palettes in two ways: floating or docked. Floating tool palettes can be moved within the
drawing area, resized, and hidden. Docked tool palettes are placed in a specific location in the drawing area, and
they remain in that location unless you turn off the docking option and move the tool palettes. If your tool palettes
are docked and you want to switch to floating tool palettes to complete this exercise, right-click the top edge of
the tool palettes, and then click Allow Docking.
Resize the tool palettes set by dragging the bottom edge of the tool palettes set down until all tabs are visible.
8
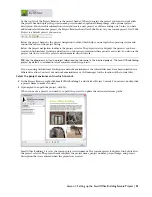
Right-click on the tool palette bar and select Design.
9
Click the Doors tab to view the contents of this tool palette.
Each tool palette contains a group of related tools. You can modify the tools on a palette, or create new tools and
palettes.
10
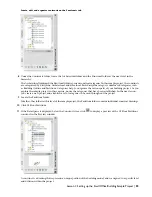
Click the stacked tabs on the tool palettes set to display the list of available palettes, and click Windows.
The Windows tool palette is displayed. When there are more tool palettes than can be displayed within the current
height of the tool palettes set, the tabs are “stacked” at the bottom. The list of tool palettes shows all available
palettes. The tab names that are displayed below the line on the list are the ones that are hidden.
11
Click Auto-hide (
) on the title bar of the tool palettes set, and move the cursor off the tool palettes set.
When you select Auto-hide on any palette title bar, only the palette title bar is displayed when the cursor moves
off the palette. You may prefer to minimize palettes to their title bars when working in the drawing area. If you
click the Auto-hide button again, the full palette is displayed when the cursor moves off the palette.
TIP:
You can rearrange the order of the tool palettes. To move a tool palette, right-click its tab, and click Move Up or
Move Down.
12
Right-click on the tool palette bar and select the project palette group, Small Office Building_I.
In this exercise, you added the Scheduling palette to the collection of tools available on the Tool palettes. Using the
Content Browser, you opened the Sample Palette Catalog, and dragged the Scheduling palette onto the Tool palettes.
In this lesson, you reviewed the structure of a project within the Project Navigator and were introduced to the terms
and concepts that are essential to working within a project environment. You then added a palette for you project from
the Content Browser.
In the remainder of this tutorial, you create a project template, which you reuse for buildings of the same type (small
office project).
Next, you define the building elevations in the Project Navigator. You work in the Project Navigator for the remainder
of the tutorial to develop and document your building model.
Lesson 2: Setting up Your Project Template
In this lesson, you create a new project and refine it for use as a template. You use drawings from a previous project to
establish standards for object styles and create project tools. You learn how to quickly convert linework sketches to
building objects using tools.
This lesson shows how to define building levels and add categories to the Small Office Building template. The additions
you make to your project environment and building model in this lesson lay the groundwork for developing future
projects and managing their project standards.
As you set up a new project, you work with two key components of the project environment: the Project Browser and
the Project Navigator. In the last lesson, you used the Project Browser to create the new project. In this lesson, you
define building elevations and categories for the new project using the Project Navigator.
Lesson 2: Setting up Your Project Template | 39
Содержание 18506-091462-9305 - Architectural Desktop 2006
Страница 1: ...AUTODESK ARCHITECTURAL DESKTOP 2006 Imperial Tutorials Update August 2005 ...
Страница 6: ...iv Contents ...
Страница 142: ...136 Chapter 3 DevelopingYour Building Model Design ...
Страница 290: ...284 Chapter 5 Creating a Steel Framed Residence ...


