3D Systems, Inc.
17
p/n: 15-D100, rev. D
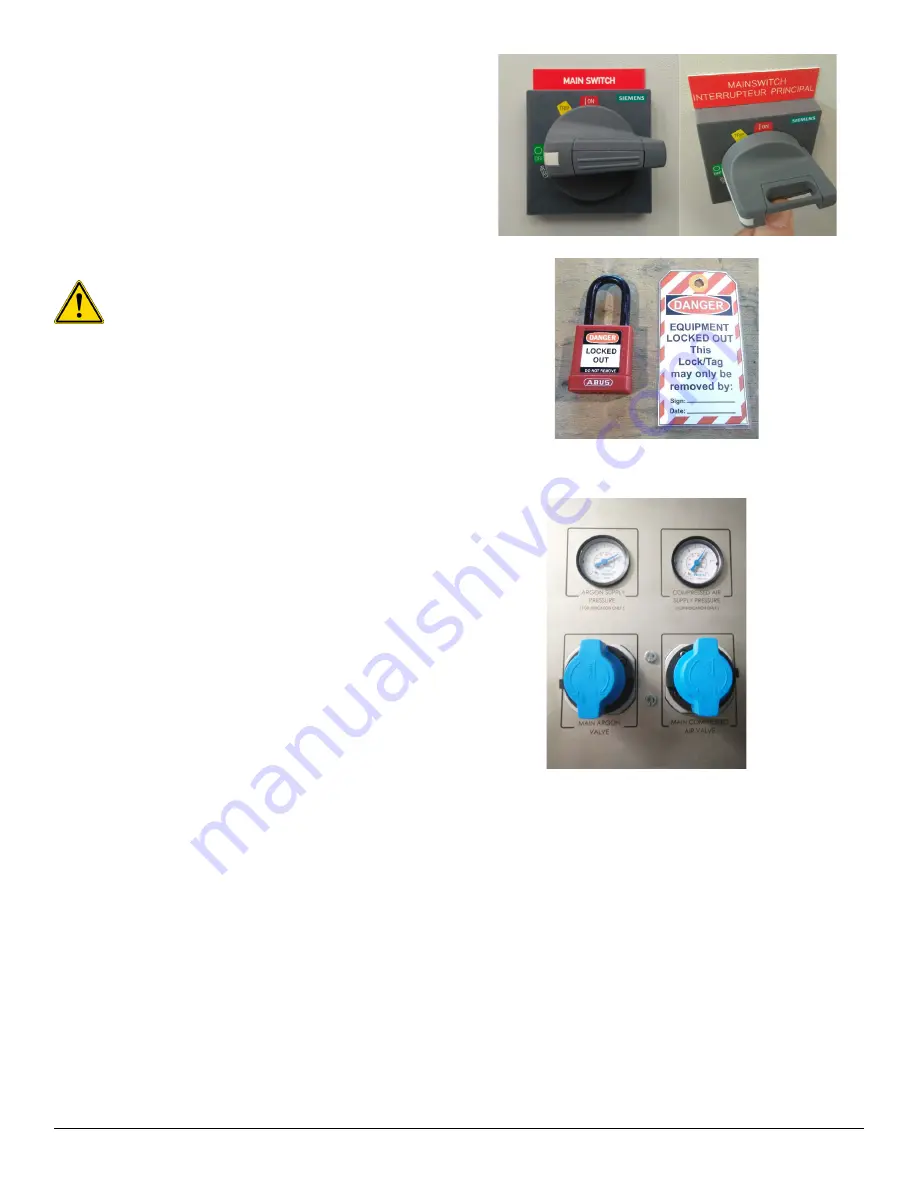
2. When the main power switch is in the OFF / 0 position (see
image), a padlock can be inserted.
3. Secure the main power switch with a padlock and attach a
warning tag.
Caution: Make sure the padlock is in the secured
position and maintain possession of the padlock
key during the entire operation.
4. Verify zero energy status by using the operating controls
(buttons on the control panel).
5. Open the electrical cabinet and measure if any electrical
energy is present on the secondary side of the main power
switch.
2.5.5 Remove Energy Stored in Argon and Compressed Air Lines
The main argon valve and main compressed air valve are
located at the rear of the printer.
1. Turn these valves counterclockwise to cut off the main
argon and compressed air supply. This will also remove any
stored pressure in the system.
2. Install a lock on both control knobs to make certain the
compressed air and argon gas supplies cannot be turned
on accidentally while the system is being serviced.
2.5.6 Restore Equipment to Service
When the job is complete and equipment is ready for testing or normal service, check the equipment area to see that no one
is exposed. When equipment is all clear, remove all locks. The energy isolating devices may be operated to restore energy to
equipment.
2.5.7 Procedure Involving More than One Person
• In the preceding steps, if more than one individual is required to lock out equipment, each shall place his own
personal lock on the energy isolating device(s). One designated individual of the work crew or a supervisor, with
the knowledge of the crew, may lock out equipment for the whole crew. In such cases, it shall be the responsibility
of the individual to carry out all steps of the lockout procedure and inform the crew when it is safe to work on the
equipment. Additionally, the designated individual shall not remove a crew lock until it has been verified that all
individuals are clear..
Содержание DMP Flex 350
Страница 1: ...DMP Flex 350 Production printer User guide Original instructions ...
Страница 11: ...3D Systems Inc 6 p n 15 D100 rev D 1 x on the printer door 1 x on the scanner 2 1 4 Laser Safety Label ...
Страница 119: ...3D Systems Inc 114 p n 15 D100 rev D 8 BASIC REGULATIONS 8 1 EC Declaration of Conformity DoC ...


