100
CHAPTER 9
•
CLICK 110
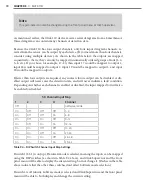
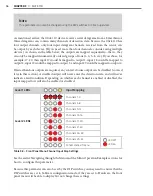
Because this parameter can also be set by the DIP switches, you may need to ensure that the
DIP switches are set to Software configuration mode; if they are set to Hardware, the front
panel menu will be able to display but not change these settings.
Fault Latch
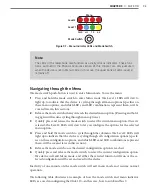
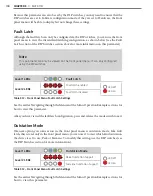
Although the fault latch can only be configured via the DIP switches, you can use the front
panel menu to view the current fault latching configuration, as shown below (see the Fault
Latch section of the DIP Switches section above for more information on this parameter).
Note
This parameter can only be viewed on the front panel menu; it can only configured
using the DIP switches.
Level 1 LEDs
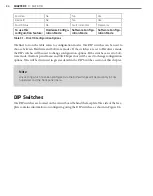
Fault Latch
Level 2 LEDs
Fault latch enabled
LED off
LED on
Fault latch disabled
Table 9.12 – Front Panel Menu Fault Latch Settings
See the earlier Navigating through the Menu and the Menu Operation Example sections for
how to view this parameter.
After you have viewed the fault latch configuration, press and release the mode switch to exit.
Outstation Mode
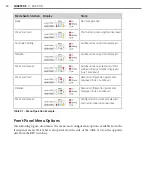
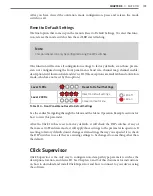
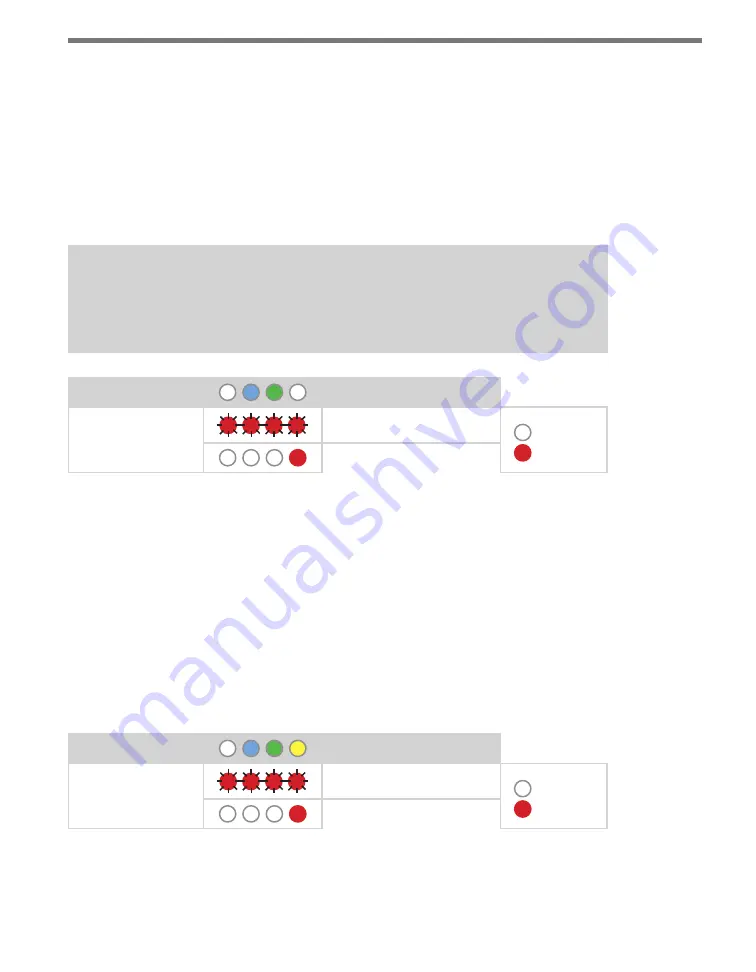
The next option you come across in the front panel menu is outstation mode. Like fault
latch, this is read-only in the front panel menu; you can use it to view which kind outstation
the device is set to use, Peek or Siemens. To modify this setting, use the DIP switches (see
the DIP Switches section for more information).
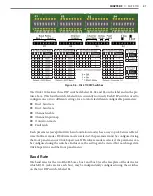
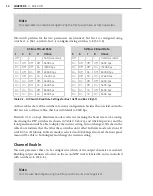
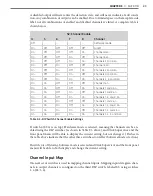
Level 1 LEDs
Outstation Mode
Level 2 LEDs
Peek Outstation Support
LED off
LED on
Siemens Outstation Support
Table 9.13 – Front Panel Menu Fault Latch Settings
See the earlier Navigating through the Menu and the Menu Operation Example sections for
how to view this parameter.
Summary of Contents for Click 100
Page 1: ...Click 100 400 Series USER GUIDE...
Page 11: ......
Page 17: ......
Page 27: ......
Page 41: ......
Page 43: ......
Page 79: ......
Page 129: ......
Page 145: ......
Page 161: ......
Page 175: ......
Page 183: ......
Page 187: ......
Page 207: ......
Page 219: ......
Page 225: ......
Page 245: ......
Page 259: ......
Page 260: ...www wavetronix com...

