2 Installing Client Software for Windows
52 Installing Client Software for Raw TCP/LPR Printing
5
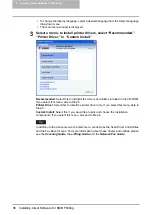
Select “Create a new port” and select “Standard TCP/IP Port” in the
“Type of port” drop down menu. Then click [Next].
y
The Add Standard TCP/IP Printer Port Wizard dialog box appears.
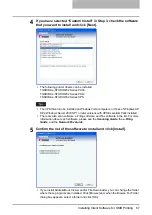
6
Click [Next].
y
If you are using Windows Vista, the above screen is not displayed.
7
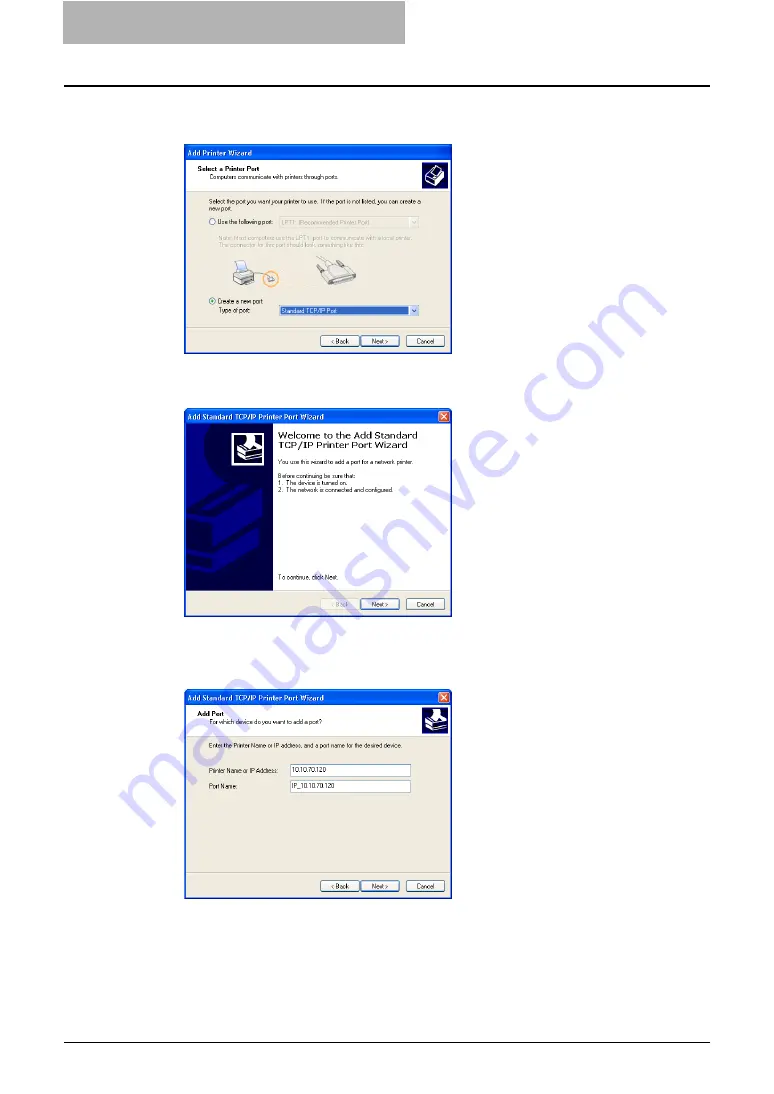
Enter the IP address of this equipment in the “Printer Name or IP
Address” field and click [Next].
y
If your network uses a DNS or WINS server, enter the printer name of this equipment
provided from DNS or WINS in the “Printer Name or IP Address” field.
y
In the “Port Name” field, the port name is automatically entered according to the IP
address or DNS name entered in the “Printer Name or IP Address” field.
y
When using Windows Vista, enter the IP address of this equipment in the “host name
or ip Address“ field and click [Next].
y
The very first “IP“ is not displayed on Windows Vista.
Summary of Contents for e-studio202L
Page 1: ...MULTIFUNCTIONAL DIGITAL SYSTEMS Printing Guide ...
Page 2: ......
Page 10: ......
Page 14: ...12 INDEX 349 ...
Page 20: ......
Page 200: ......
Page 332: ......
Page 354: ......


