USO
RESTRITO
Names and Functions of Parts of the Control Panel
49
Name
Description
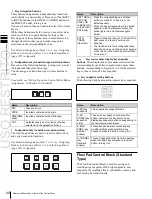
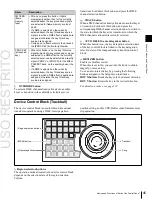
DEV1 to DEV6 Assign external devices DEV1 to DEV12.
FM1 CLIP, FM2
CLIP
Assign frame memory clips FM1 to FM8.
Ch
a
p
te
r 2
M
e
n
u
s
and
Co
n
tr
o
l P
a
n
e
l
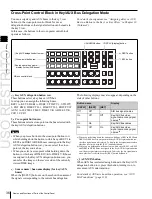
When the resizer control mode is enabled
Move for operations in the X-, Y-, and Z-axes.
When the following buttons are held down, the joystick
operation is switched to fine control (fine mode).
•
The button on the end of the joystick
•
[LOC SIZE] button
•
[LOC XYZ] button
•
[ASP PS] button
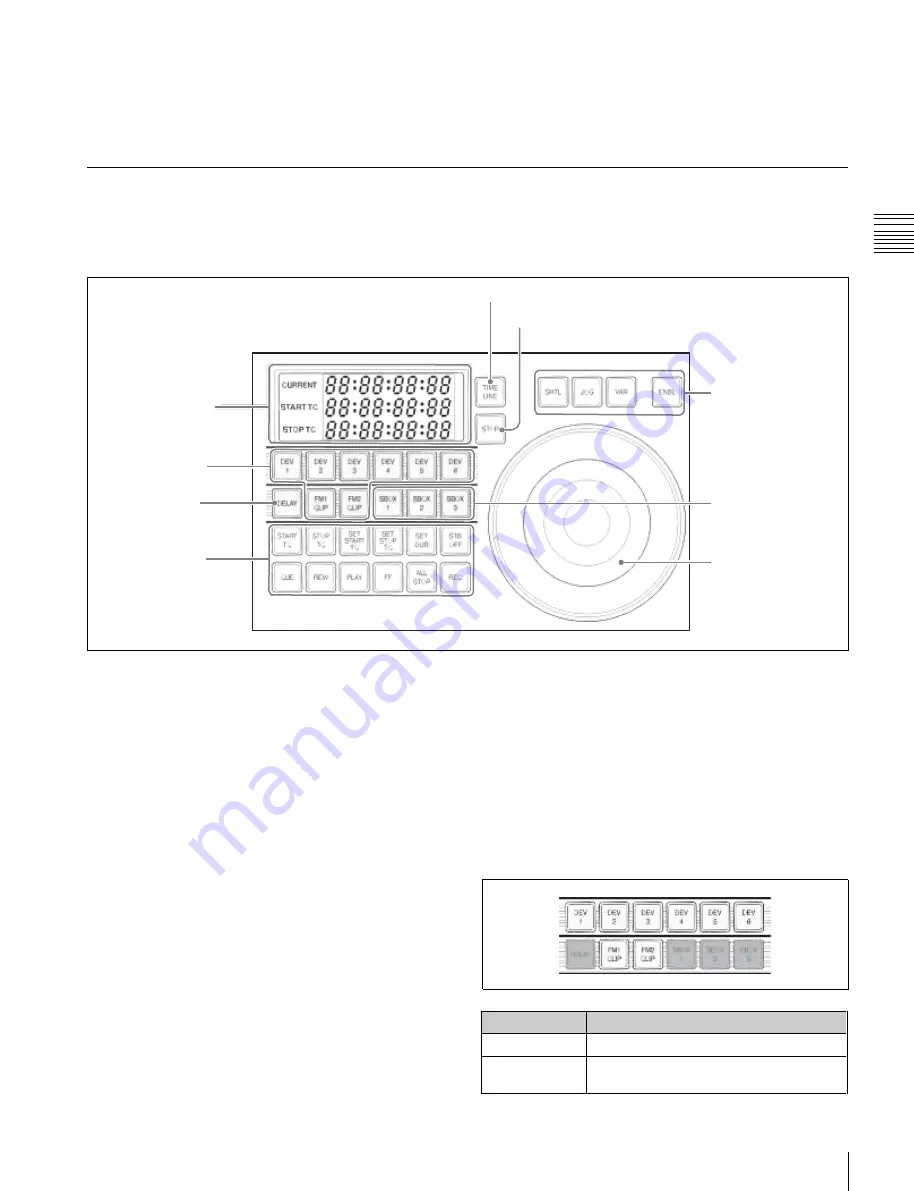
Device Control Block (Search Dial)
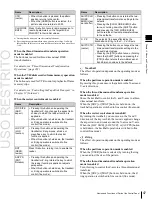
Using the device control block (search dial), you can
directly operate an XDCAM, disk recorder, VTR, other
external device, frame memory clip, or shotbox. The
device control block (trackball) and device control block
(joystick) can be used together.
7
TIMELINE button
8
STOP button
1
Timecode display
2
Device selection
buttons
4
DELAY button
5
Editing buttons
6
External device
operation buttons
3
SBOX buttons
9
Search dial
a
Timecode display
This shows the current time (CURRENT) and the start and
stop point timecode values for the current reference device
(START TC, STOP TC). When you press a device
selection button, the button lights, selecting the assigned
device as the reference device, and displaying its setting
value.
In the case of the SBOX buttons, the display does not
change. When the operation applies to a VTR/disk
recorder, the displayed setting value depends on whether
the [TIMELINE] button is on or off, as follows.
When the [TIMELINE] button is on:
Displays the start
and stop points of the last set keyframe on the timeline.
When the keyframe number is changed and the last
register and keyframe change, the display also changes
(timeline setting mode).
When the [TIMELINE] button is off:
Displays the
Cueup & Play (rewind action) start and stop points.
b
Device selection buttons
These buttons are used for selecting assigned external
devices or frame memory clips.
Each button can only be assigned to a single device. Carry
out the assignment in the Setup menu.
For details, see “Assigning Functions to the Device
Control Block” in Chapter 19 (Volume 2).
To select an assigned device, press the corresponding
button, which lights green. To select more than one device
simultaneously, hold down the button for the first
selection, while pressing the buttons for the other
selections in turn. The second and subsequent selected
buttons light amber. If you press another button without
holding down the first selected button, the second button
will be the reference device and light green.
Summary of Contents for MVS-8000X SystemMVS-7000X System
Page 358: ...USO RESTRITO 358 Wipe Pattern List Appendix Volume 1 Enhanced Wipes Rotary Wipes ...
Page 360: ...USO RESTRITO Random Diamond DustWipes 360 1 w pe PaternLO ...
Page 362: ...USO RESTRITO 362 DME Wipe Pattern List Appendix Volume 1 Door 2D trans 3D trans ...
Page 364: ...USO RESTRITO 364 DME Wipe Pattern List Appendix Volume 1 Page turn Page roll ...
Page 377: ...USO RESTRITO Menu Tree 377 Appendix Volume 1 AUX Menu AUX button CCR Menu CCR button ...
Page 379: ...USO RESTRITO Menu Tree 379 Appendix Volume 1 DME Menu DME button ...
Page 381: ...USO RESTRITO Menu Tree 381 Appendix Volume 1 Macro Menu MCRO button ...
Page 382: ...USO RESTRITO 382 Menu Tree Appendix Volume 1 Key Frame Menu KEY FRAME button ...
Page 383: ...USO RESTRITO Menu Tree 383 Appendix Volume 1 Effect Menu EFF button ...
Page 384: ...USO RESTRITO 384 Menu Tree Appendix Volume 1 Snapshot Menu SNAPSHOT button ...
Page 385: ...USO RESTRITO Menu Tree 385 Appendix Volume 1 Shotbox Menu SHOTBOX button ...
Page 386: ...USO RESTRITO 386 Menu Tree Appendix Volume 1 File Menu FILE button ...
Page 391: ...USO RESTRITO Menu Tree 391 Appendix Volume 1 ENG SETUP button to previous pages ...
Page 413: ...USO RESTRITO MVS 8000X System MVS 7000X System SY 4 470 637 01 1 Sony Corporation 2013 ...
Page 706: ...USO RESTRITO MVS 8000X System MVS 7000X System SY 4 470 637 01 1 Sony Corporation 2013 ...


