338
Testing and Calibrating the Digital Level
2
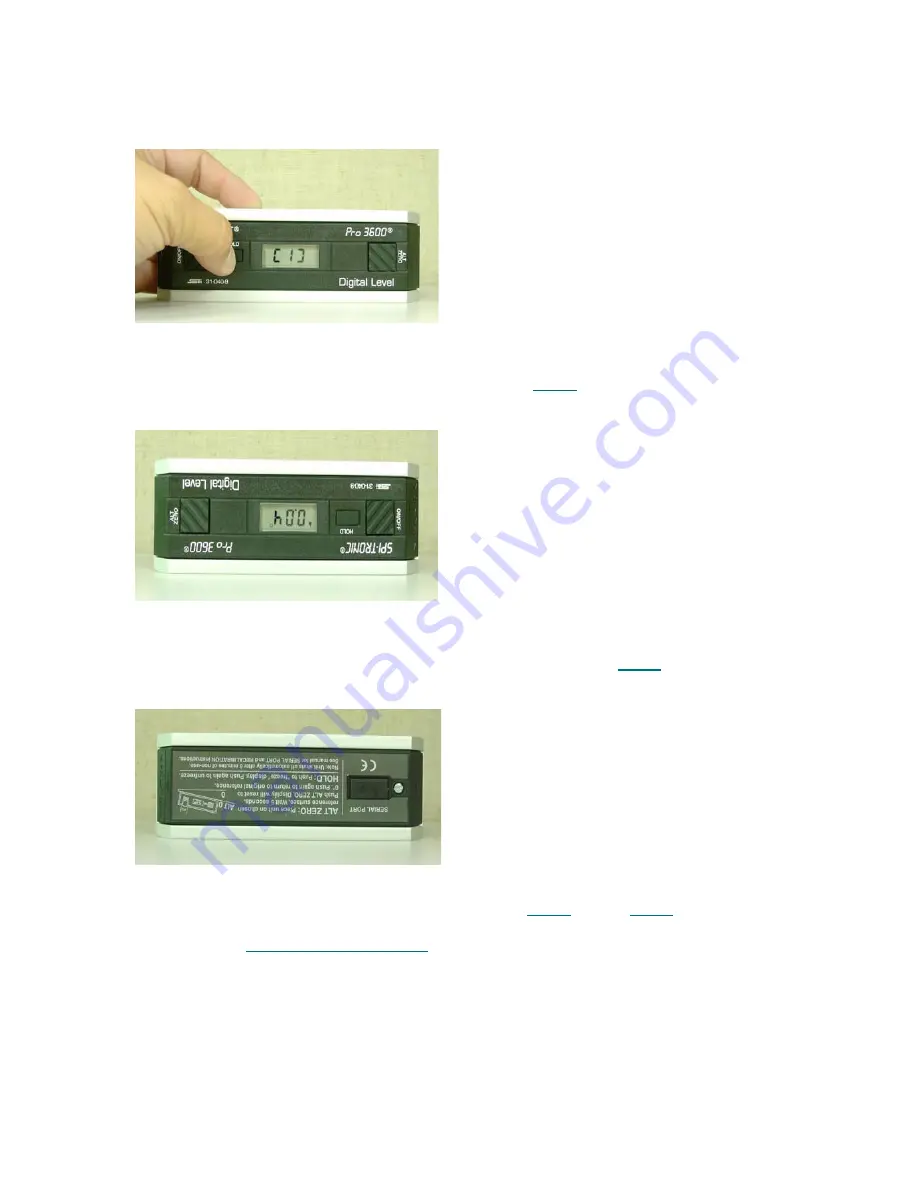
Rotate the level end-for-end so the display is facing away from you. The screw on the back of the level
should be on the left side. Be sure to set the level in the exact spot as in Step 1. Wait 10 seconds for
the level to completely settle and take note of the angle on the display.
3
Roll the level toward you so that the display is facing you, but the lettering on the face of the unit is
upside down. Be sure to set the level in the exact spot as in
on page 337. Wait 10 seconds for
the level to completely settle and take note of the angle on the display.
4
Rotate the level end-for-end so the display is facing away from you. The screw on the back of the level
should be on the right side. Be sure to set the level in the exact spot as in
on page 337. Wait 10
seconds for the level to completely settle and take note of the angle on the display.
5
Compare the level display readings that you captured from
through
. If any of the four
readings vary from one another more than 0.1 degree, you must recalibrate the level. For more
information, see
on page 339. If the variance between the readings are
within the 0.1 degree limit, the level is within compliance and is ready to be used.
Summary of Contents for Scalar i6000
Page 20: ...8 About This Guide and Your Product...
Page 38: ...26 Installing a Stand Alone Control Module...
Page 104: ...92 Installing a Multi Module Library...
Page 156: ...144 Installing Cartridges...
Page 164: ...152 Setting up Your Library for Access...
Page 242: ...230 Configuring the Library...
Page 304: ...292 Adding Optional Hardware eight 2 5 mm screws...
Page 318: ...306 Adding Optional Hardware...
Page 336: ...324 Installation Testing and Verification Figure 35 Example Test Log Output...
Page 356: ...344 Testing and Calibrating the Digital Level...
Page 362: ...350 LBX Board and Terminator...
Page 380: ...368 Glossary...
Page 384: ...372 Index...


