3 System Preparation
Operator’s Manual
3 - 9
2.
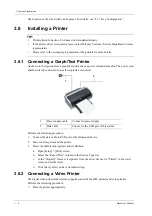
Connect the power cord of the printer to a receptacle. Connect the USB port of the system to
the USB port of the printer with USB cable.
3.
Load a paper roll and turn on the system and printer.
4.
Add a print service:
a.
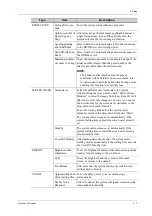
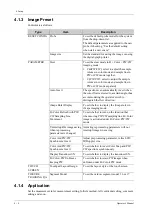
Open [Setup] > [Print] screen.
b.
Click [Add Service] to enter the page.
c.
Select the service type and enter the service name manually.
d.
Click [OK] to return to the page.
e.
Select the target printer from the drop-down list in the “Property” box and set other
printing properties.
f.
Click [OK] to complete.
3.8.3 Connecting a Wireless Printer
The system supports the wireless graph/text printer for the report print.
Perform the following procedure:
1.
Plug the printer power cord to an appropriate outlet.
2.
Power on the system and the printer.
3.
Make sure the ultrasound machine and the printer are connected to a same LAN, and turned on
the W-LAN function of the printer.
4.
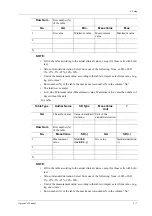
Select [Setup] > [Print] to choose the report to be printed. Select the printer from the wireless
printer list, and set the printer.
5.
Click [Save] to exit the preset and make the settings effective.
Summary of Contents for Anesus ME7T
Page 2: ......
Page 58: ...This page intentionally left blank ...
Page 154: ...This page intentionally left blank ...
Page 164: ...This page intentionally left blank ...
Page 182: ...This page intentionally left blank ...
Page 190: ...This page intentionally left blank ...
Page 208: ...This page intentionally left blank ...
Page 254: ...This page intentionally left blank ...
Page 264: ...This page intentionally left blank ...
Page 280: ...This page intentionally left blank ...
Page 311: ......
Page 312: ...P N 046 018839 00 5 0 ...


