CentreVu Supervisor Version 8 Installation and Getting Started
Installing CentreVu Supervisor on a Shared Network Drive
Installation Procedures
3-6
The setup program expands all program files and all language versions into
the network directory specified in the Select Network Location dialog box.
14. Check the Current Free Disk Space and the Free Disk Space After Install to
assure that you have enough disk space to install the application to the
specified drive.
15. Choose one of the following:
●
If you want to install the Supervisor files in the default installation
path displayed, go to Step
.
●
If you want to install the CentreVu Supervisor files in a different drive
or folder, go to Step
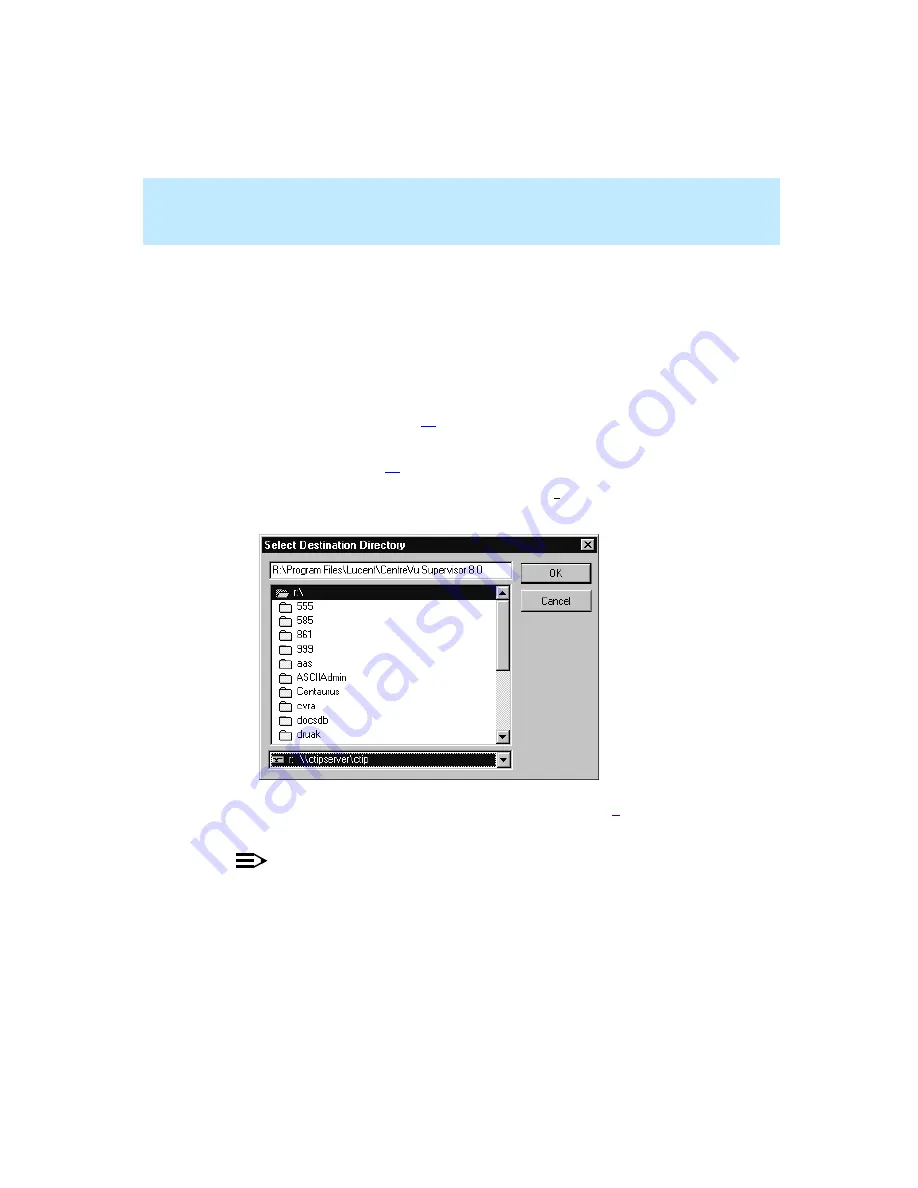
16. In the Select Network Location dialog box, use the Browse option to
display the Select Destination Folder dialog box.
17. Navigate to the drive containing the folder you created in Step
, and
double-click on the folder to select it.
NOTE:
If performing a Supervisor upgrade, the upgrade must be installed in the
same folder containing the previous Supervisor Version 8 software. It is the
system administrator’s responsibility to make sure that the client’s PC is
mapped to the network drive and folder containing the Supervisor Version
8 software.
Summary of Contents for CentreVu Supervisor
Page 6: ...Introduction...
Page 12: ...CentreVu Supervisor Version 8 Installation and Getting Started xii...
Page 270: ...CentreVu Supervisor Version 8 Installation and Getting Started Overview A 8...
Page 284: ...CentreVu Supervisor Version 8 Installation and Getting Started GL 14...
Page 306: ......


