


Getting Started
31
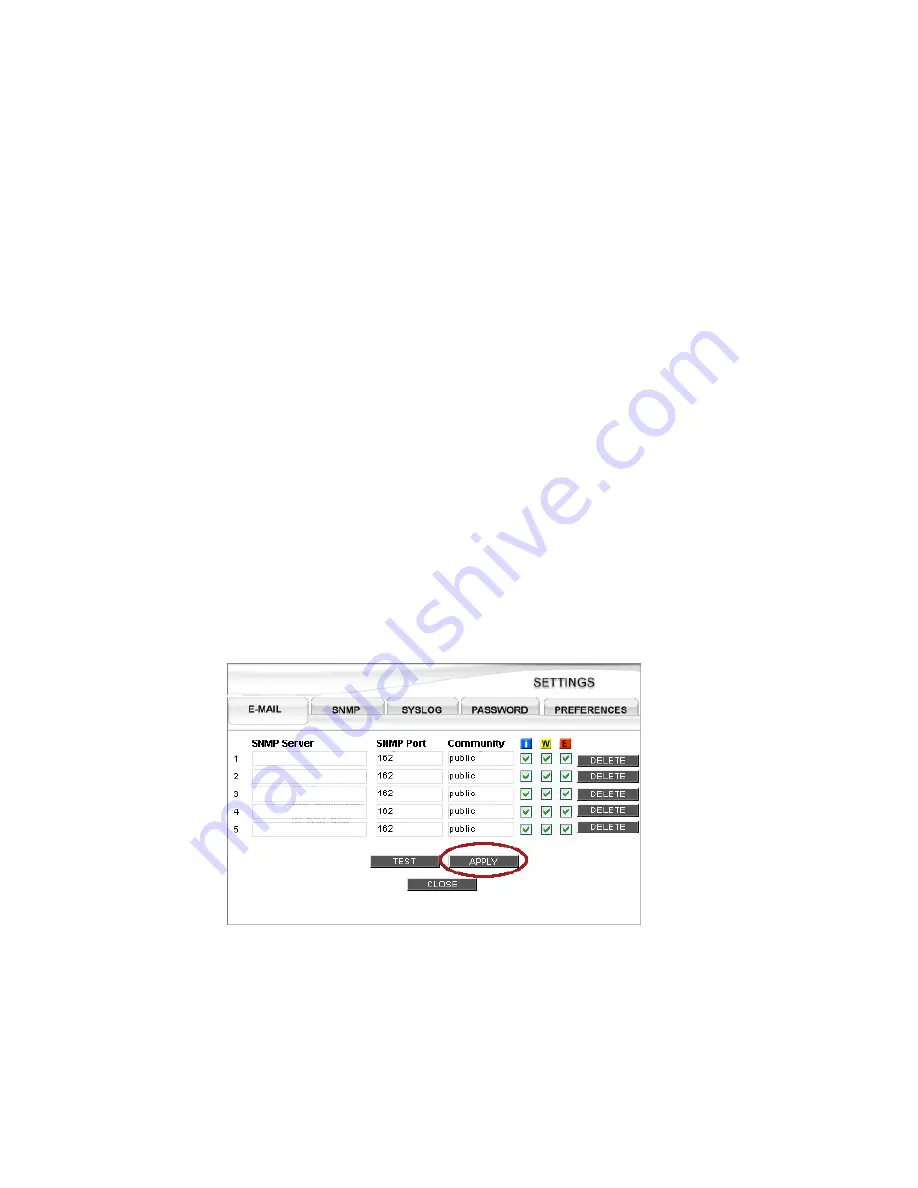
4.4 SNMP
4.4.1 Configuring SNMP Traps
StorView can be configured to send SNMP traps to any network management system. These traps carry
all the information that appears in the log entries for each level of severity.
Note
If your system requires a MIB file, it is located in the following directory “C:\Program Files\StorView\alerts-
snmp.mib.”
All SNMP traps sent from StorView will be received by the host SNMP Servers designated in the settings
window for the specified port and community.
1
From the Main screen click on the
SETTINGS
button.
2
Click the
SNMP
tab.
3
Enter the SNMP Server name or IP address of the host you wish to receive SNMP traps.
4
Enter the IP port on which the SNMP Server expects to receive traps. The default is
162
.
5
Enter the Community to which the traps belongs. The default is
public
.
SNMP Servers may belong to several different communities or receive packets for different communities.
6
Select the level of events you wish to be included in the traps. You can select from Information, Warning
and Error types. For more information,
see ”Event Logs” beginning on page 143.
7
Click the
APPLY
button.
8
Test the configurations by clicking the
TEST
button.
Figure 4–4
Settings Screen - SNMP Tab
Summary of Contents for 131018 - StorView Snapshot - Mac
Page 28: ...StorView RAID Module 20...
Page 34: ...StorView RAID Module 26...
Page 76: ...StorView RAID Module 68...
Page 79: ...SAN LUN Mapping 71 Figure 7 2 SAN LUN Mapping Screen RS 1220 F4 5402E Shown...
Page 88: ...StorView RAID Module 80...
Page 98: ...StorView RAID Module 90...
Page 150: ...StorView RAID Module 142...
Page 184: ...StorView RAID Module 176...
Page 202: ...StorView RAID Module 194...
Page 208: ...StorView RAID Module 200...
Page 214: ...StorView RAID Module 206...


