


Using Snapshot
123
2
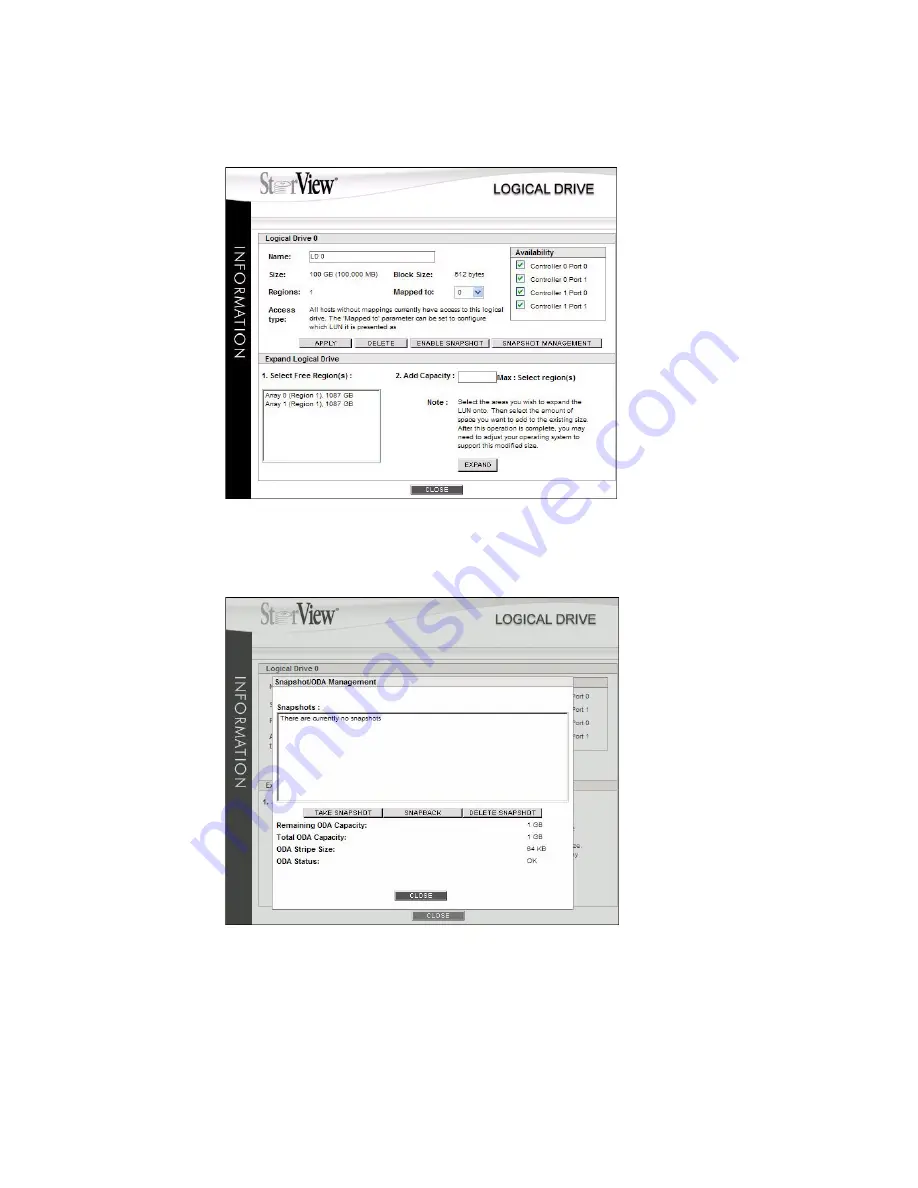
From the Logical Drive window, click the
SNAPSHOT MANAGEMENT
button.
3
Click the
TAKE SNAPSHOT
button to begin the snapshot procedure.
You will receive a notice, prompting you to ensure the applications have been synchronized and the
logical drive is dismounted to ensure a valid snapshot is taken.
You will see a confirmation window once it is complete. Click the
CLOSE
button.
Figure 11–5
Logical Drive Information Screen - Before Taking a Snapshot
Figure 11–6
Taking a Snapshot
Summary of Contents for 131018 - StorView Snapshot - Mac
Page 28: ...StorView RAID Module 20...
Page 34: ...StorView RAID Module 26...
Page 76: ...StorView RAID Module 68...
Page 79: ...SAN LUN Mapping 71 Figure 7 2 SAN LUN Mapping Screen RS 1220 F4 5402E Shown...
Page 88: ...StorView RAID Module 80...
Page 98: ...StorView RAID Module 90...
Page 150: ...StorView RAID Module 142...
Page 184: ...StorView RAID Module 176...
Page 202: ...StorView RAID Module 194...
Page 208: ...StorView RAID Module 200...
Page 214: ...StorView RAID Module 206...


