1
62
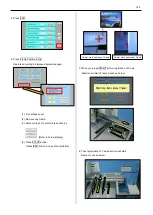
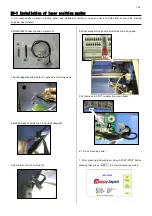
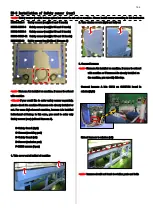
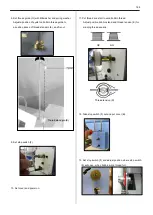
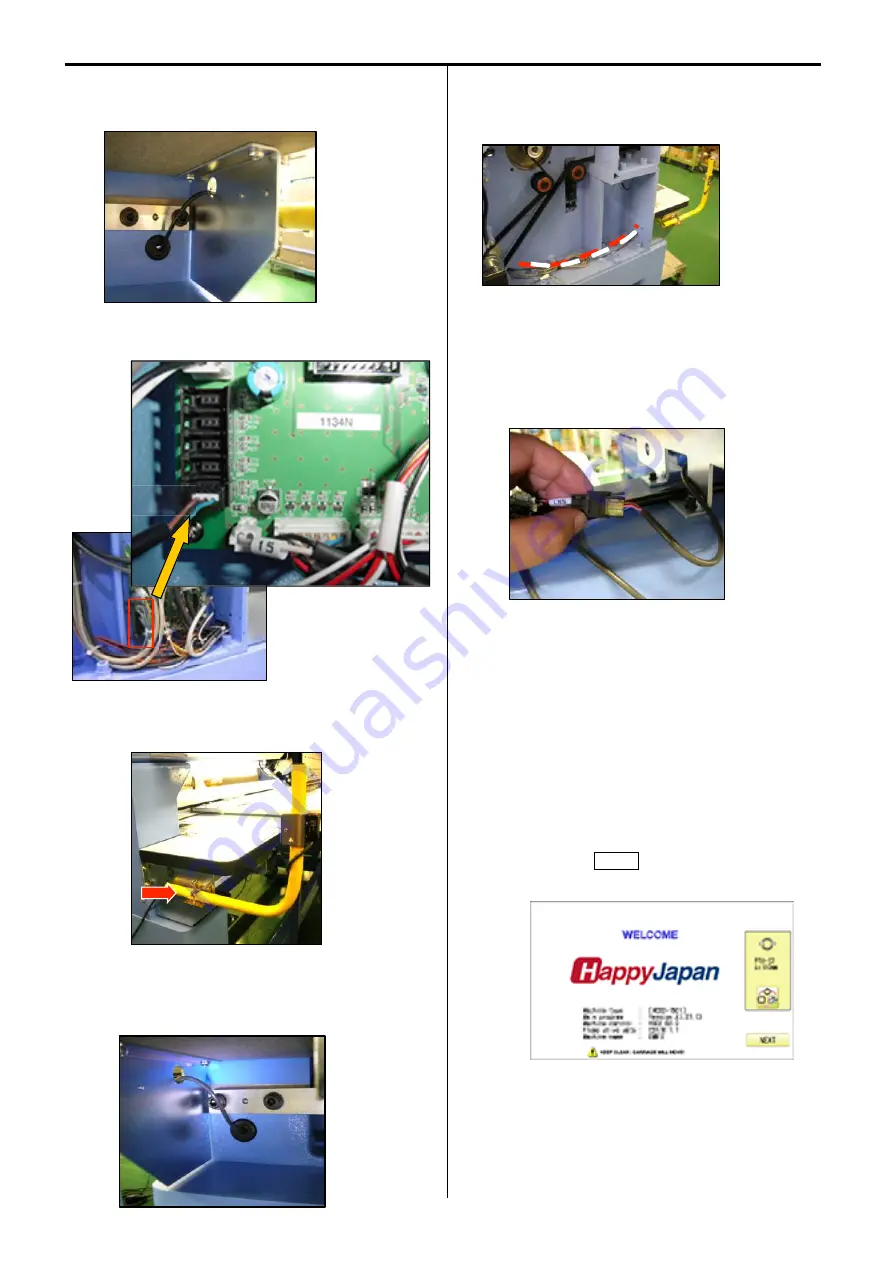
5. Cut center part of grommet and pass harness through
grommet as photo below.
6. Connect harnessinto CN13 on Drive circuit board
7. Install sensor(B) at left side
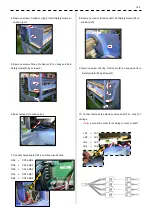
8. Cut center part of grommet and pass harness through
grommet as photo below.
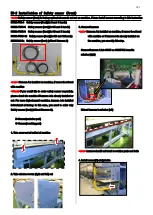
9. Pass harness through missin (left) and bring to front
<note>
harness should not touch to belt
10. Connect harness to extension harness(LS5) at lower
part of Y carriage
<note>
put cable in order for avoiding to touch to shaft
11. Set cover
<note>
harness should not get caught in the cover
12.
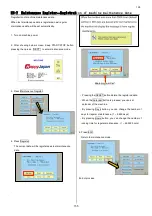
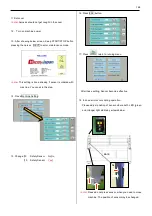
Turn on machine power
13.
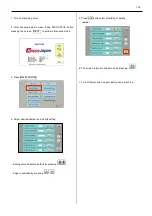
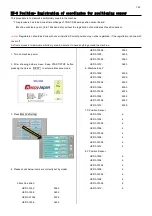
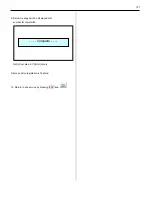
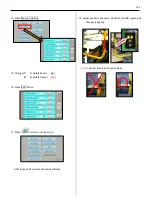
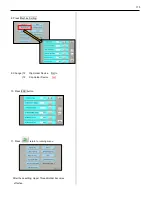
After showing below screen, Keep START/STOP button
pressing then press NEXT to enter maintenance mode.
<
note
>
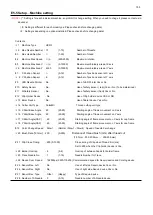
This setting is done already, if sensor is ordered
with nachine. You can skip this step.
CN13
Summary of Contents for HCR3-1502
Page 1: ... Maintenance Manual for Embroidery Machine HCR3E SERIES Version 1 2 HappyJapan Inc ...
Page 104: ...105 4 7 3 Adjustment of timing detecting unit 8 Finally put the cover back on ...
Page 107: ...107 ...
Page 172: ...172 E7 Electric system diagram E7 1 Pulse motor driver PMD wiring ...
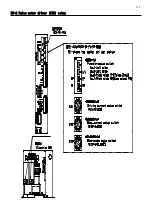
Page 173: ...173 E7 2 Pulse motor driver PMD setup ...
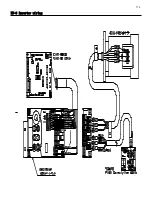
Page 174: ...174 E7 3 Inverter wiring ...
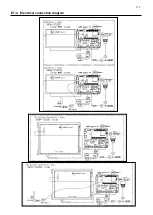
Page 175: ...175 E7 4 Electrical connection diagram ...
Page 176: ...176 ...
Page 177: ...177 ...
Page 178: ...178 E7 5 List of electrical connection diagram ...
Page 179: ...179 ...
Page 180: ...180 E7 6 Explanation of function clrcuit board HCD8122 LCD CE MX Board Ass y ...
Page 181: ...181 HCD8116 TP SW Circuit Board Ass y CN No Function CN1 Switch output LED input ...

