38
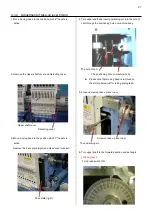
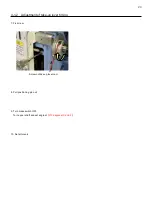
4-1-9 Adjustment of fixing of jump solenoid
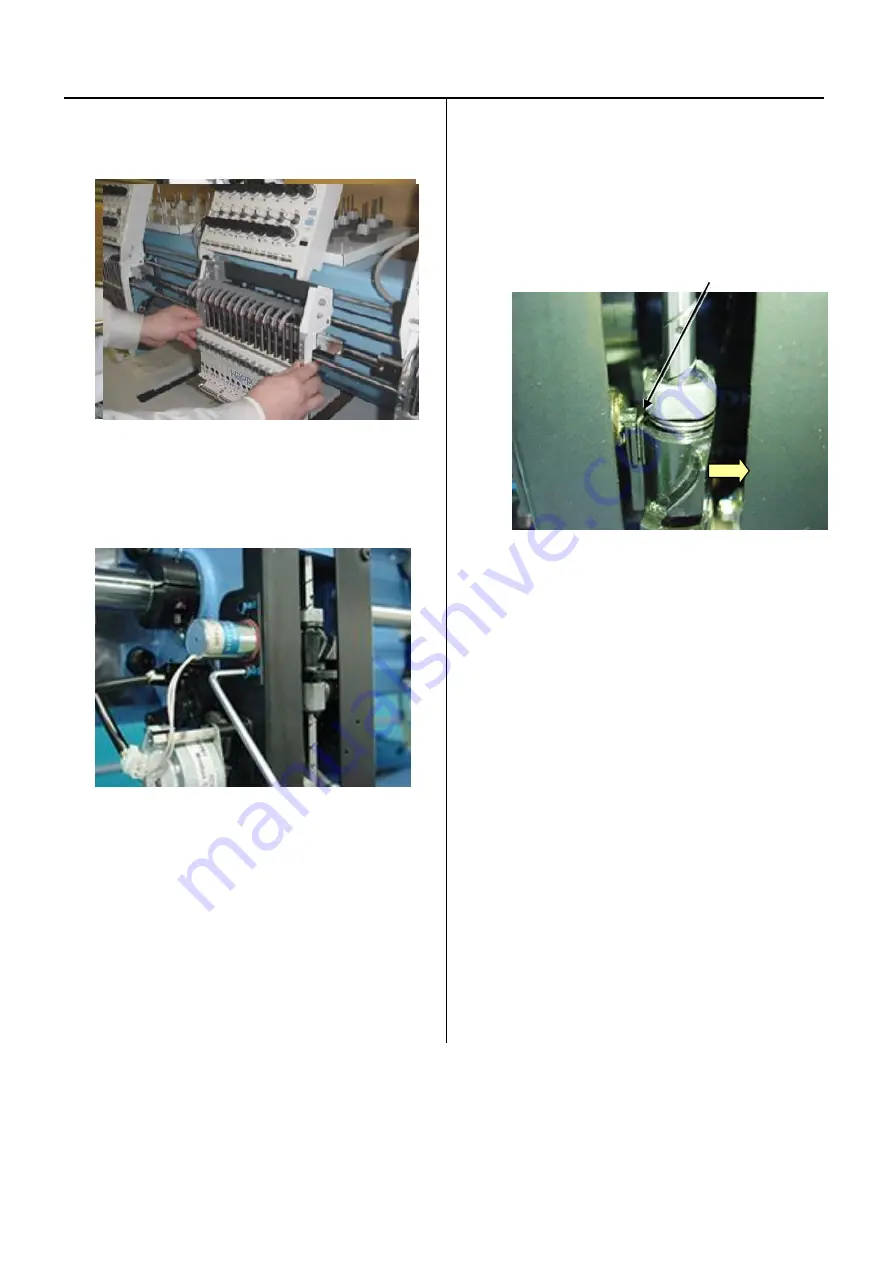
1.
Please refer to [ 4-2-1, 4-2-2 Assemble and remove
moving head ], remove moving head and face plate (right).
Moving head
2. Remove jump solenoid ass'y. (Fixing screw 2 pcs)
3. Install good parts.
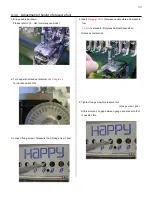
Please check Jump solenoid position.
Turn main shaft till touch plunger of jump solenoid
and needle bar driver and check main shaft indicator.
Should be between 83 to 87 degrees.
Just touched to plunger
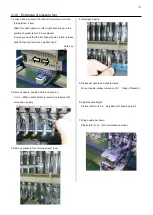
<Dubble check> Please double check Jump solenoid
position by following test.
Continually fillip needle bar driver to arrow
direction while main shaft turning and
hearing plunger touch ing noise.
Should change noise between 83 to 87
degrees shaft position.
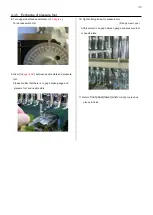
4. Please put parts back in reverse order to finish.
For adjustment of fixing of each unit, please refer to
process to adjust fixing of each unit.
Summary of Contents for HCR3-1502
Page 1: ... Maintenance Manual for Embroidery Machine HCR3E SERIES Version 1 2 HappyJapan Inc ...
Page 104: ...105 4 7 3 Adjustment of timing detecting unit 8 Finally put the cover back on ...
Page 107: ...107 ...
Page 172: ...172 E7 Electric system diagram E7 1 Pulse motor driver PMD wiring ...
Page 173: ...173 E7 2 Pulse motor driver PMD setup ...
Page 174: ...174 E7 3 Inverter wiring ...
Page 175: ...175 E7 4 Electrical connection diagram ...
Page 176: ...176 ...
Page 177: ...177 ...
Page 178: ...178 E7 5 List of electrical connection diagram ...
Page 179: ...179 ...
Page 180: ...180 E7 6 Explanation of function clrcuit board HCD8122 LCD CE MX Board Ass y ...
Page 181: ...181 HCD8116 TP SW Circuit Board Ass y CN No Function CN1 Switch output LED input ...

