39
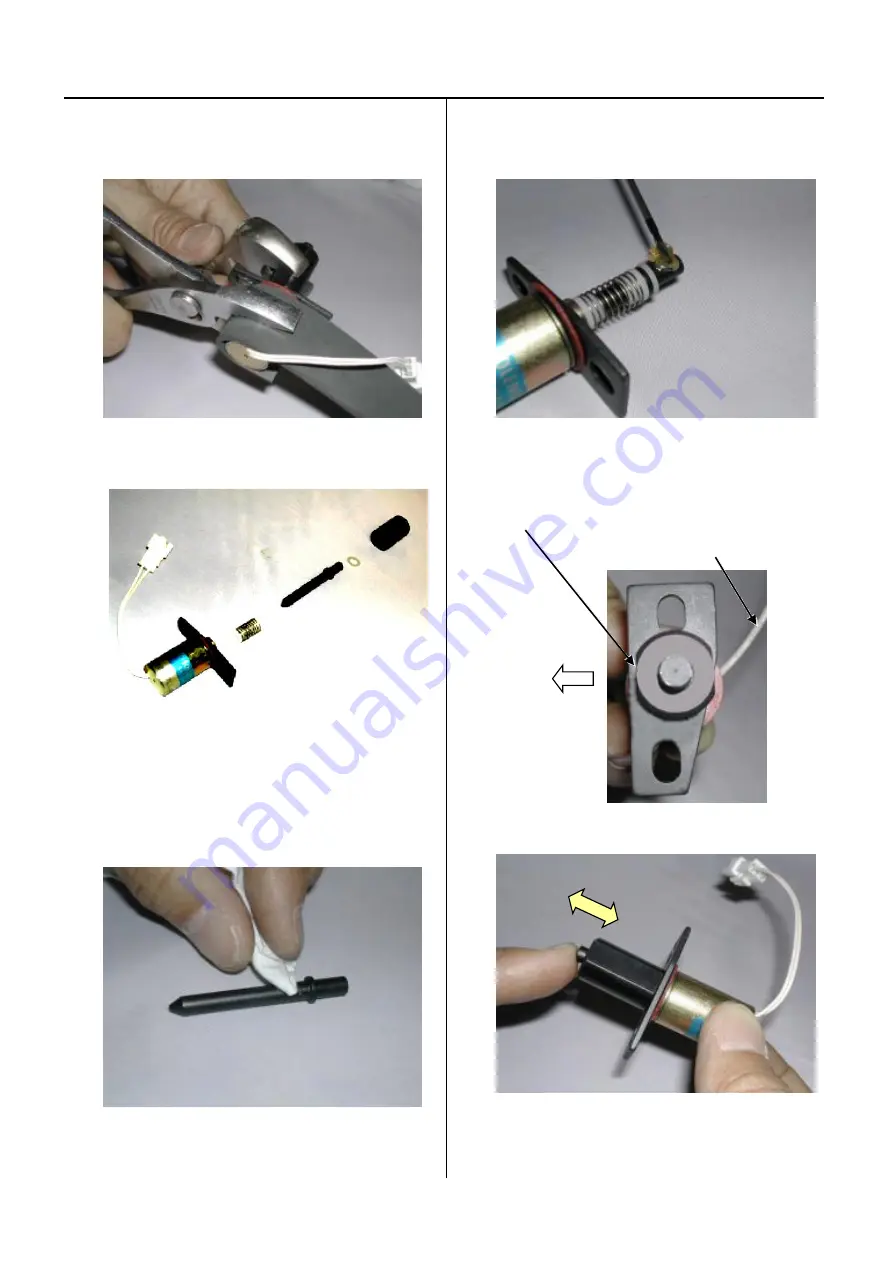
4-1-10 Disassembling and Cleaning of jump solenoid
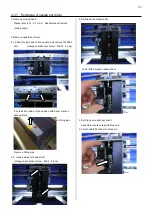
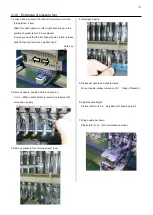
1. Disassemble the solenoid nut.
Use rubber sheet as safeguard.
2.Clean up the each part of the solenoid.
3. Put the designated grease on plunger part.
<Grease> Shell Grease7 MIL-G-23827B
Equivalent brand
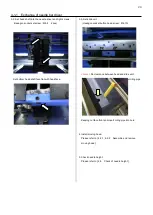
4. Assemble the solenoid to the original position.
The flat surface of the solenoid nut
should come to the front.
Solenoid cable should come to the back side.
Front face
5.Confirm the movement of the plunger is smooth enough.
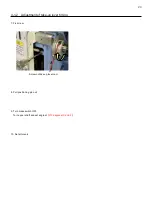
6.Procedure is done after assembling the Jump solenoid.
Referring to [4-1-9 Adjustment of fixing of jump solenoid].
Summary of Contents for HCR3-1502
Page 1: ... Maintenance Manual for Embroidery Machine HCR3E SERIES Version 1 2 HappyJapan Inc ...
Page 104: ...105 4 7 3 Adjustment of timing detecting unit 8 Finally put the cover back on ...
Page 107: ...107 ...
Page 172: ...172 E7 Electric system diagram E7 1 Pulse motor driver PMD wiring ...
Page 173: ...173 E7 2 Pulse motor driver PMD setup ...
Page 174: ...174 E7 3 Inverter wiring ...
Page 175: ...175 E7 4 Electrical connection diagram ...
Page 176: ...176 ...
Page 177: ...177 ...
Page 178: ...178 E7 5 List of electrical connection diagram ...
Page 179: ...179 ...
Page 180: ...180 E7 6 Explanation of function clrcuit board HCD8122 LCD CE MX Board Ass y ...
Page 181: ...181 HCD8116 TP SW Circuit Board Ass y CN No Function CN1 Switch output LED input ...

