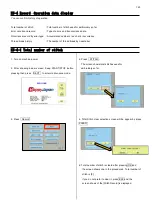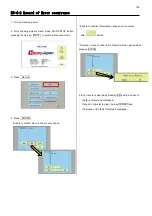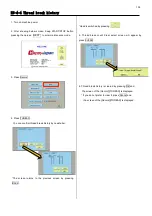
16
3
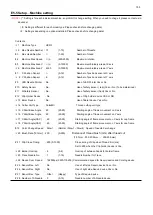
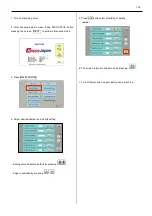
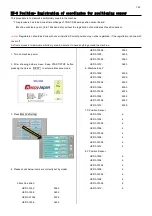
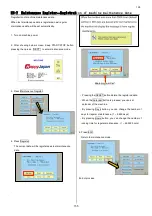
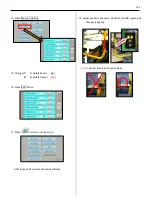
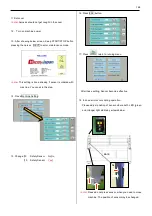
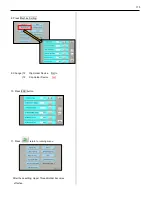
14. Press Machine Setting.
15. Change [11 N. Safety Sensor No]
[11 N. Safety Sensor
Yes
]
16. Press ESC button.
17. Press
, return to running menu.
After these setting, Sencor becomes effective
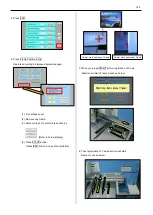
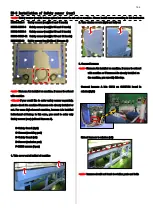
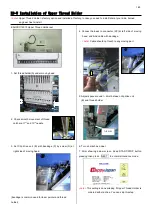
18. Adjust position of sensors. Confirm both LED (green and
Orange) is lighting
<note>
Sencor should be finxed vertical
Summary of Contents for HCR3-1502
Page 1: ... Maintenance Manual for Embroidery Machine HCR3E SERIES Version 1 2 HappyJapan Inc ...
Page 104: ...105 4 7 3 Adjustment of timing detecting unit 8 Finally put the cover back on ...
Page 107: ...107 ...
Page 172: ...172 E7 Electric system diagram E7 1 Pulse motor driver PMD wiring ...
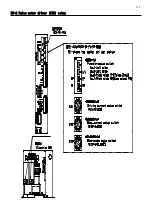
Page 173: ...173 E7 2 Pulse motor driver PMD setup ...
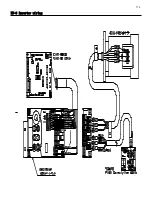
Page 174: ...174 E7 3 Inverter wiring ...
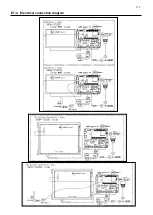
Page 175: ...175 E7 4 Electrical connection diagram ...
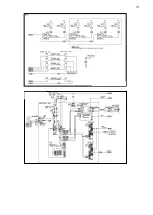
Page 176: ...176 ...
Page 177: ...177 ...
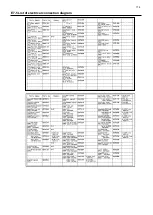
Page 178: ...178 E7 5 List of electrical connection diagram ...
Page 179: ...179 ...
Page 180: ...180 E7 6 Explanation of function clrcuit board HCD8122 LCD CE MX Board Ass y ...
Page 181: ...181 HCD8116 TP SW Circuit Board Ass y CN No Function CN1 Switch output LED input ...

