16
1
3
2
2
2-6, 2-7 Setting up the machine
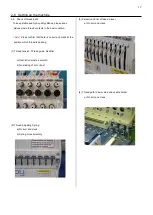
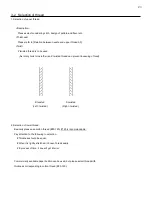
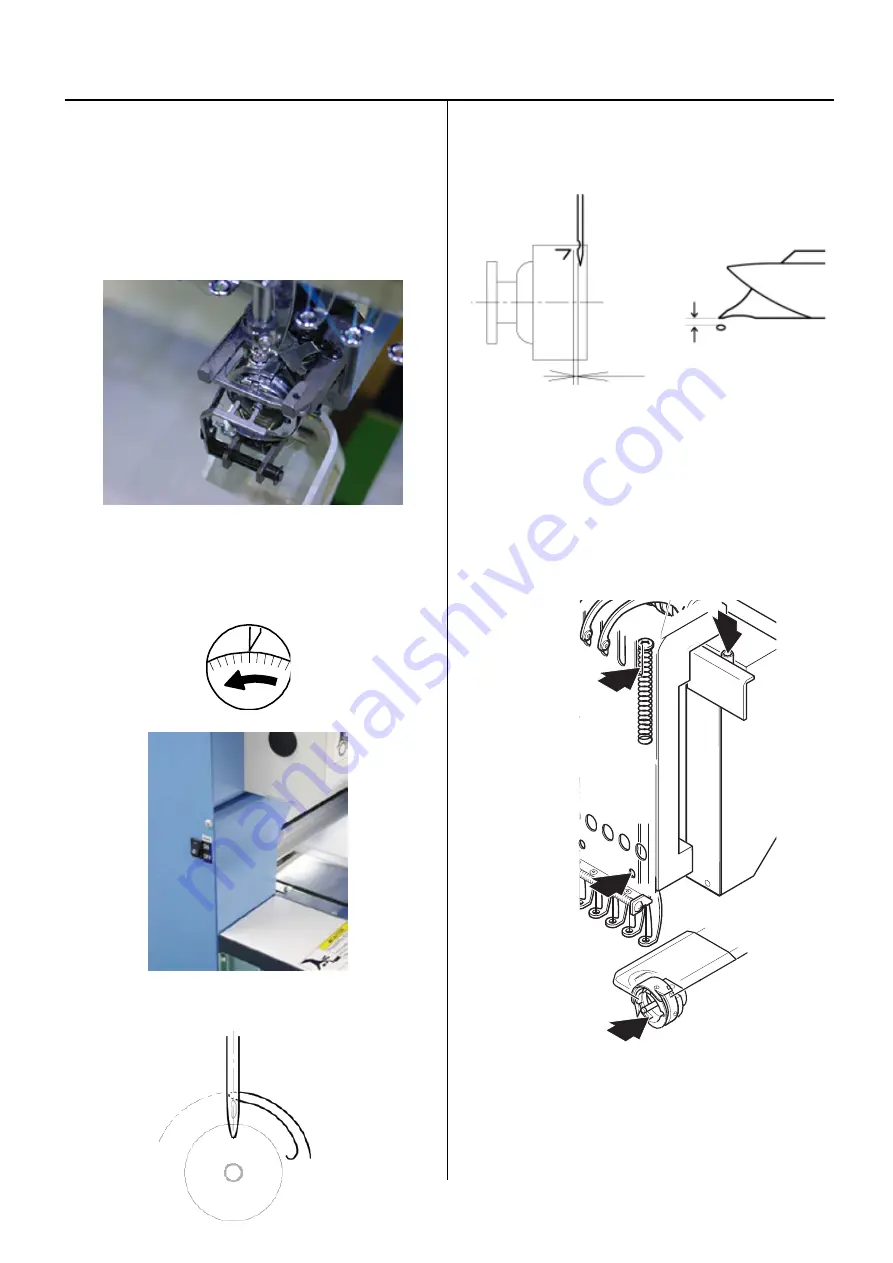
2-6 Check of rotary hook timing
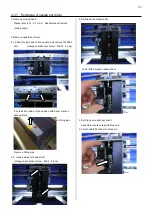
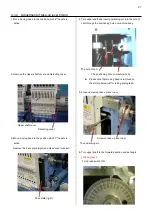
(1) Remove needle plate, Move moving head to the position
which 8
th
needle.
Turn upper shaft and set to lowest needle position [L]
Refer to [ 5 User maintenance mode ]
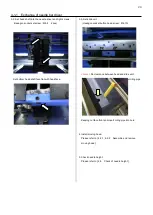
(2) Turn upper shaft anti-clockwise and set dial disc to [
25
degrees
].
Turn brake switch ON.
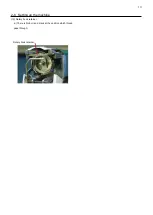
(3) Check the position of needle and tip of hook as below.
(4) Check the clearance between needle and rotary hook
should be [
0.1 ~ 0.2mm
].
(5) Fix the
needle plate.
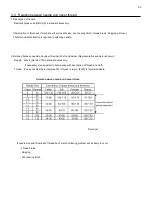
2-7. Oiling
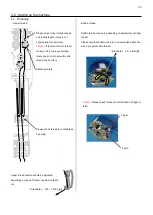
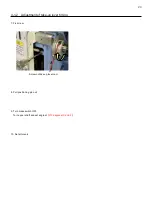
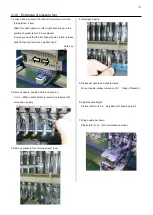
Lubricate the specified oil locations.
Oil : #10 Sewing machine oil
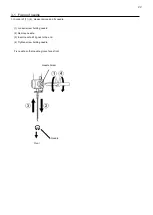
1) Rotary hook Between the outer and inner rotary hook
2) Needle bar
3) Head shaft
Summary of Contents for HCR3-1502
Page 1: ... Maintenance Manual for Embroidery Machine HCR3E SERIES Version 1 2 HappyJapan Inc ...
Page 104: ...105 4 7 3 Adjustment of timing detecting unit 8 Finally put the cover back on ...
Page 107: ...107 ...
Page 172: ...172 E7 Electric system diagram E7 1 Pulse motor driver PMD wiring ...
Page 173: ...173 E7 2 Pulse motor driver PMD setup ...
Page 174: ...174 E7 3 Inverter wiring ...
Page 175: ...175 E7 4 Electrical connection diagram ...
Page 176: ...176 ...
Page 177: ...177 ...
Page 178: ...178 E7 5 List of electrical connection diagram ...
Page 179: ...179 ...
Page 180: ...180 E7 6 Explanation of function clrcuit board HCD8122 LCD CE MX Board Ass y ...
Page 181: ...181 HCD8116 TP SW Circuit Board Ass y CN No Function CN1 Switch output LED input ...


