16
4
E6-3 Installation of Safety sensor (rear)
<note>
Safety sensor (rear) is factory option but sensor is not set on machine. Please install sensor according to this instruction
HCR2-RS2-4 Safety sensor (rear)(for 2 and 4 haeds)
HCR2-RSX4-6 Safety sensor (rear)(for X4 and 6 haeds)
HCR2-RSX6-8 Safety sensor (rear)(for X6 and 8 haeds)
HCR3-RSX8-12 Safety sensor (rear)(for X8 and 12 haeds)
HCRU28D10 Safety sensor (rear)
(without Harness A)
<note>
Harness A is installed on machine, if sensor is ordered
with machine
<Check>
If you would like to order safety sensor separately,
please check the machine if harness A is already installed or
not. For some high-demand countries, harness A is installed
beforehand at factory. In this case, you need to order only
Safety sensor (
rear
) (without Harness A).
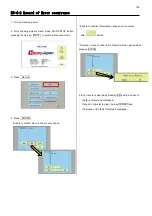
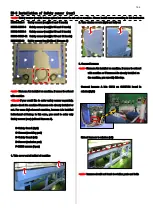
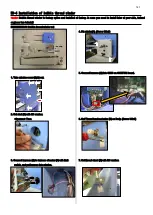
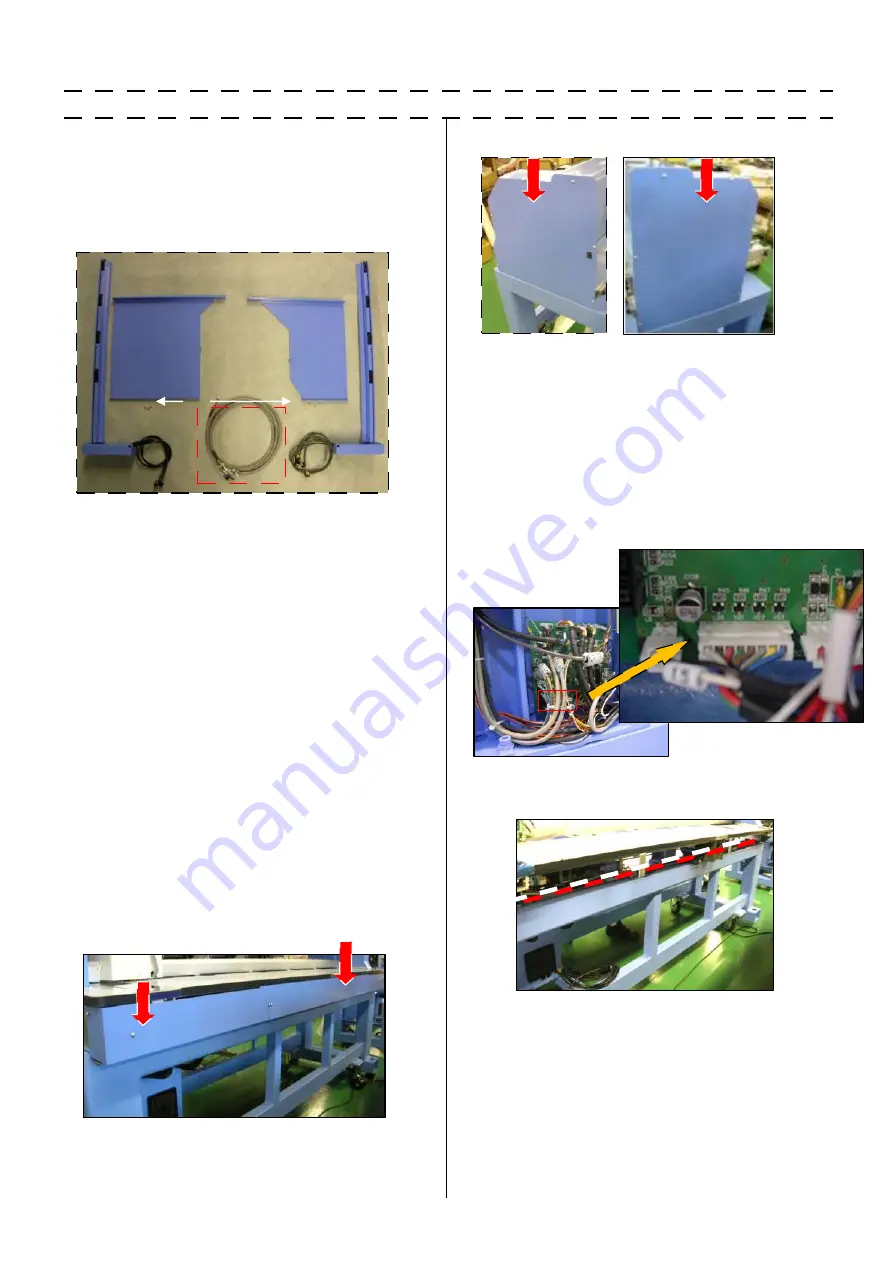
B=Safety Guard (right)
C=Sensor (receiving part)
D=Safety Guard (left)
E=Sencer (emission part)
F=M3X6 screws (6 pcs)
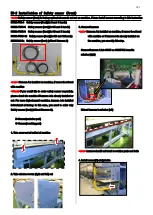
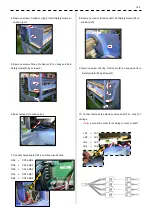
1. Take cover out at behind of machine
2. Take mission covers (right and left) out
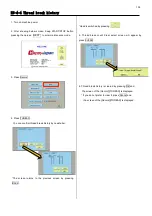
3. Connect harness
<note>
Harness A is installed on machine, if sensor is ordered
with machine or If harness A is already installed on
the machine, you can skip this step.
Connect harness A into CN12 on CONT-R2 board in
mission(right)
Extend harness to mission (left)
<note>
harness should not touch to rotation parts and belts
A
B
C
D
E
F
CN12
Summary of Contents for HCR3-1502
Page 1: ... Maintenance Manual for Embroidery Machine HCR3E SERIES Version 1 2 HappyJapan Inc ...
Page 104: ...105 4 7 3 Adjustment of timing detecting unit 8 Finally put the cover back on ...
Page 107: ...107 ...
Page 172: ...172 E7 Electric system diagram E7 1 Pulse motor driver PMD wiring ...
Page 173: ...173 E7 2 Pulse motor driver PMD setup ...
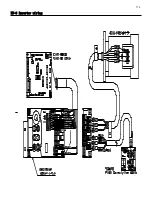
Page 174: ...174 E7 3 Inverter wiring ...
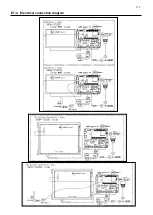
Page 175: ...175 E7 4 Electrical connection diagram ...
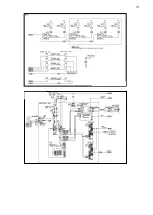
Page 176: ...176 ...
Page 177: ...177 ...
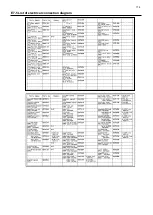
Page 178: ...178 E7 5 List of electrical connection diagram ...
Page 179: ...179 ...
Page 180: ...180 E7 6 Explanation of function clrcuit board HCD8122 LCD CE MX Board Ass y ...
Page 181: ...181 HCD8116 TP SW Circuit Board Ass y CN No Function CN1 Switch output LED input ...

