1
52
E
E5
5-
-4
4-
-4
4
T
Th
hr
re
ea
ad
d
b
br
re
ea
ak
k
h
hi
is
st
to
or
ry
y
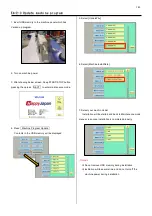
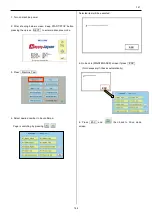
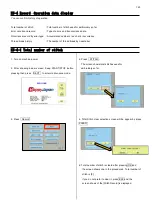
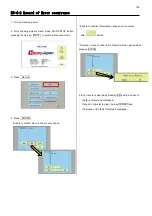
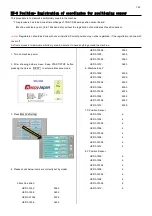
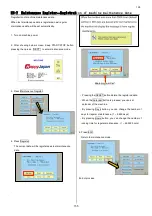
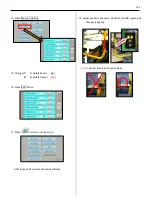
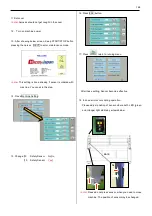
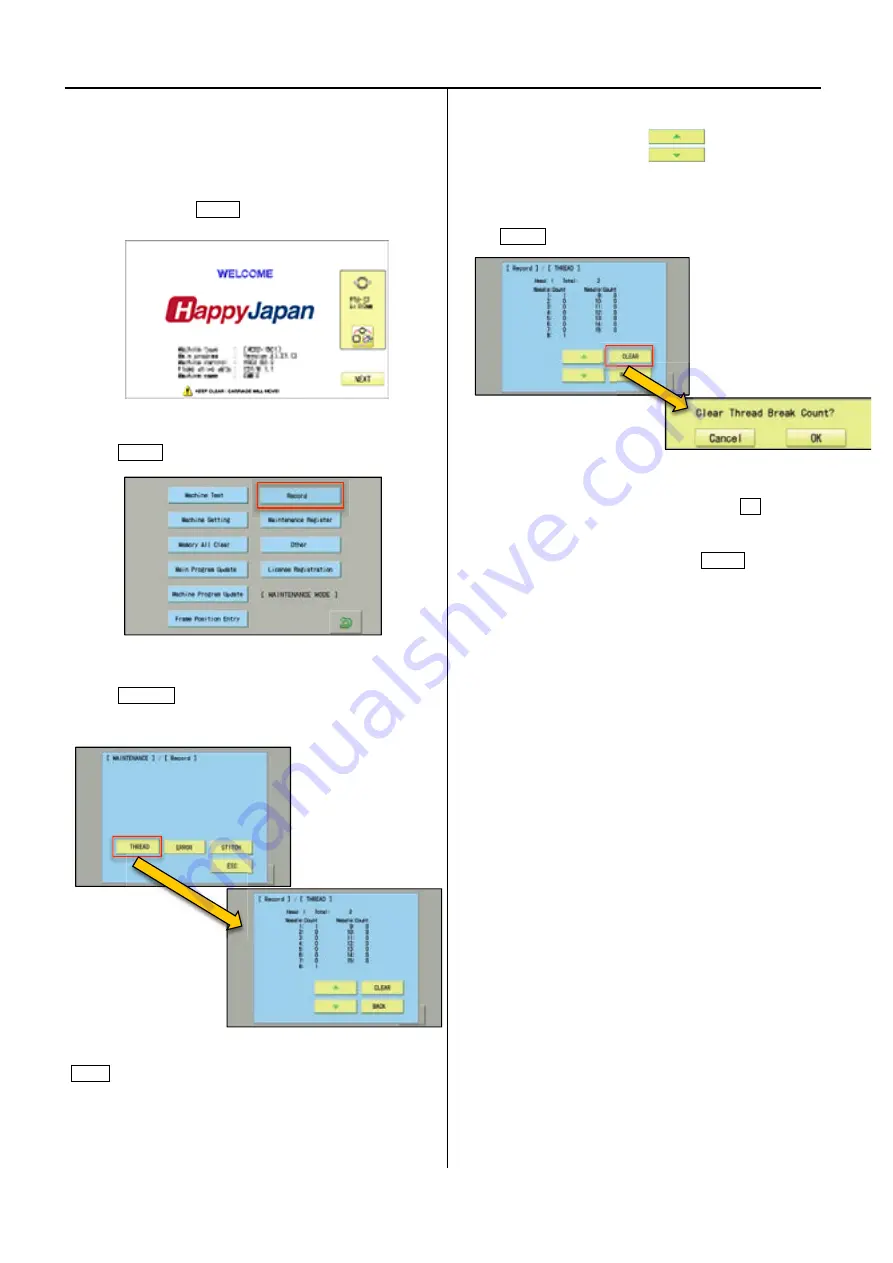
1. Turn on machine power
2.
After showing below screen, Keep START/STOP button
pressing then press NEXT to enter maintenance mode.
3. Press Record.
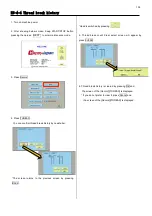
4. Press THREAD.
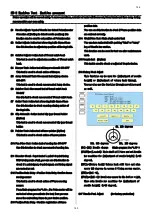
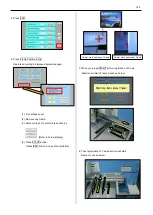
You can confirm thread break history by needle bar.
*The screen returns to the previous screen by pressing
BACK.
*Head is switched by pressing .
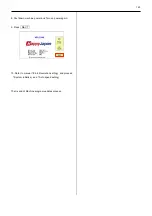
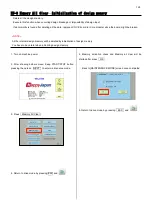
5. Thread break count Clear select screen will appear by
press CLEAR
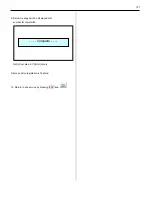
6. Thread break history is cleared by pressing OK and
the screen of the [Record]/[THREAD] is displayed.
* If you do not prefer to clear it, press Cancel and
the screen of the [Record]/[THREAD] is displayed.
Summary of Contents for HCR3-1502
Page 1: ... Maintenance Manual for Embroidery Machine HCR3E SERIES Version 1 2 HappyJapan Inc ...
Page 104: ...105 4 7 3 Adjustment of timing detecting unit 8 Finally put the cover back on ...
Page 107: ...107 ...
Page 172: ...172 E7 Electric system diagram E7 1 Pulse motor driver PMD wiring ...
Page 173: ...173 E7 2 Pulse motor driver PMD setup ...
Page 174: ...174 E7 3 Inverter wiring ...
Page 175: ...175 E7 4 Electrical connection diagram ...
Page 176: ...176 ...
Page 177: ...177 ...
Page 178: ...178 E7 5 List of electrical connection diagram ...
Page 179: ...179 ...
Page 180: ...180 E7 6 Explanation of function clrcuit board HCD8122 LCD CE MX Board Ass y ...
Page 181: ...181 HCD8116 TP SW Circuit Board Ass y CN No Function CN1 Switch output LED input ...


