Replacing the BlackDiamond 12802 PSU/Fan Controller and Fan Tray
Extreme Networks Consolidated ExtremeXOS Hardware Installation Guide
212
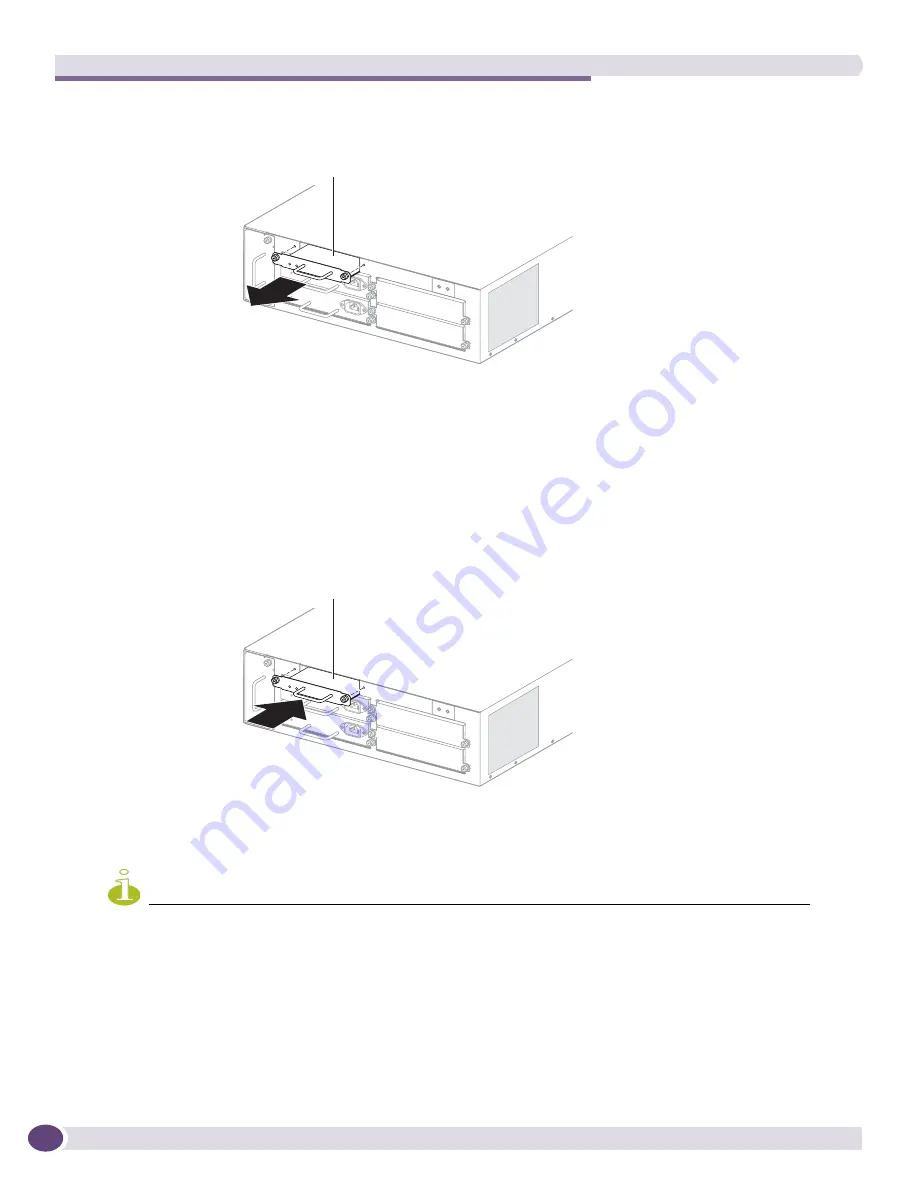
Figure 139: Removing a PSU/fan controller
4
Install the replacement controller as follows:
a
Remove the replacement PSU/fan controller from its antistatic packaging.
b
Insert the replacement controller into the controller slot on the BlackDiamond 12802 chassis
(
Figure 140
).
c
Align and tighten the captive retaining screws.
Figure 140: Installing a PSU/fan controller
5
Power on the switch.
NOTE
Leave the ESD-preventive wrist strap permanently connected to the switch so that it will always be available when
you need to handle ESD-sensitive components.
PSU/fan controller
module
BD_144
PSU/fan controller
module
BD_148
Summary of Contents for BlackDiamond 10808
Page 14: ...Table of Contents Extreme Networks Consolidated ExtremeXOS Hardware Installation Guide 14 ...
Page 18: ...Preface Extreme Networks Consolidated ExtremeXOS Hardware Installation Guide 18 ...
Page 19: ...1 Site Preparation ...
Page 20: ......
Page 40: ...Site Preparation Extreme Networks Consolidated ExtremeXOS Hardware Installation Guide 40 ...
Page 41: ...2 BlackDiamond Switches ...
Page 42: ......
Page 93: ...3 Installing BlackDiamond Switches and Modules ...
Page 94: ......
Page 189: ...4 Installing BlackDiamond Switch Accessories ...
Page 190: ......
Page 207: ...5 BlackDiamond Maintenance Procedures ...
Page 208: ......
Page 239: ...6 Summit Family of Switches ...
Page 240: ......
Page 335: ...7 Optics ...
Page 336: ......
Page 363: ...8 Initial Management Access ...
Page 364: ......
Page 369: ...9 Appendixes ...
Page 370: ......


