Extreme Networks Power Supply Units for BlackDiamond Switches
Extreme Networks Consolidated ExtremeXOS Hardware Installation Guide
142
3
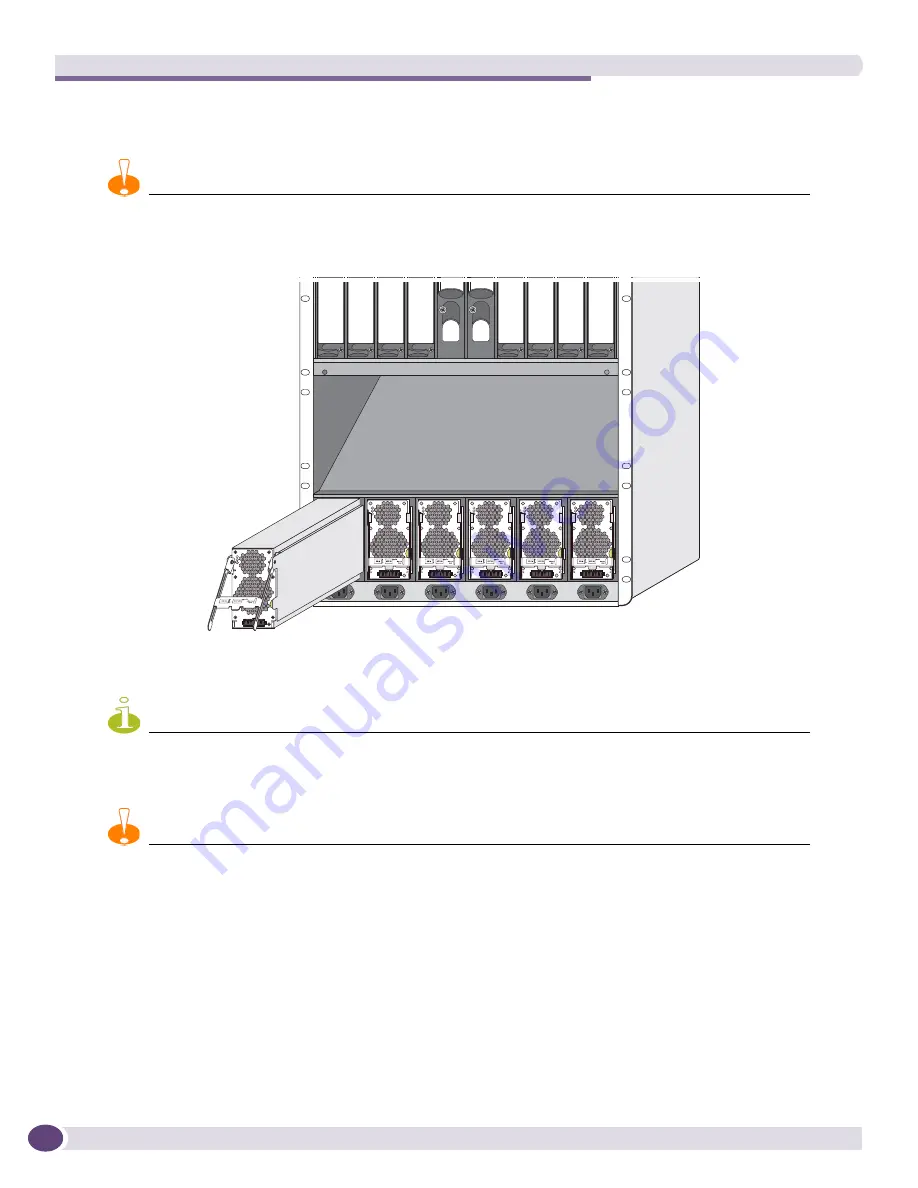
Carefully slide the 1200 W DC PSU all the way into the power supply bay (see
Figure 84
).
Be sure that the DC PSU is fully seated in the switch.
CAUTION
Do not slam the 1200 W DC PSU into the system switch backplane.
Figure 84: 1200 W DC PSU sliding into the power supply bay
4
Connect the input DC cable to the front of the 1200 W DC PSU as shown in
Figure 85
.
NOTE
An AC power cord is not required for proper functioning of the DC PSU.
5
Rotate the locking handle down to latch the input cable connector onto the DC PSU.
CAUTION
Always be sure that the DC circuit is not energized before you connect the input cable to the 1200 W DC PSU.
EX_131
Summary of Contents for BlackDiamond 10808
Page 14: ...Table of Contents Extreme Networks Consolidated ExtremeXOS Hardware Installation Guide 14 ...
Page 18: ...Preface Extreme Networks Consolidated ExtremeXOS Hardware Installation Guide 18 ...
Page 19: ...1 Site Preparation ...
Page 20: ......
Page 40: ...Site Preparation Extreme Networks Consolidated ExtremeXOS Hardware Installation Guide 40 ...
Page 41: ...2 BlackDiamond Switches ...
Page 42: ......
Page 93: ...3 Installing BlackDiamond Switches and Modules ...
Page 94: ......
Page 189: ...4 Installing BlackDiamond Switch Accessories ...
Page 190: ......
Page 207: ...5 BlackDiamond Maintenance Procedures ...
Page 208: ......
Page 239: ...6 Summit Family of Switches ...
Page 240: ......
Page 335: ...7 Optics ...
Page 336: ......
Page 363: ...8 Initial Management Access ...
Page 364: ......
Page 369: ...9 Appendixes ...
Page 370: ......


