Replacing the BlackDiamond 10808 Switch Fan Tray, Air Filter, and Power Supply Controller
Extreme Networks Consolidated ExtremeXOS Hardware Installation Guide
222
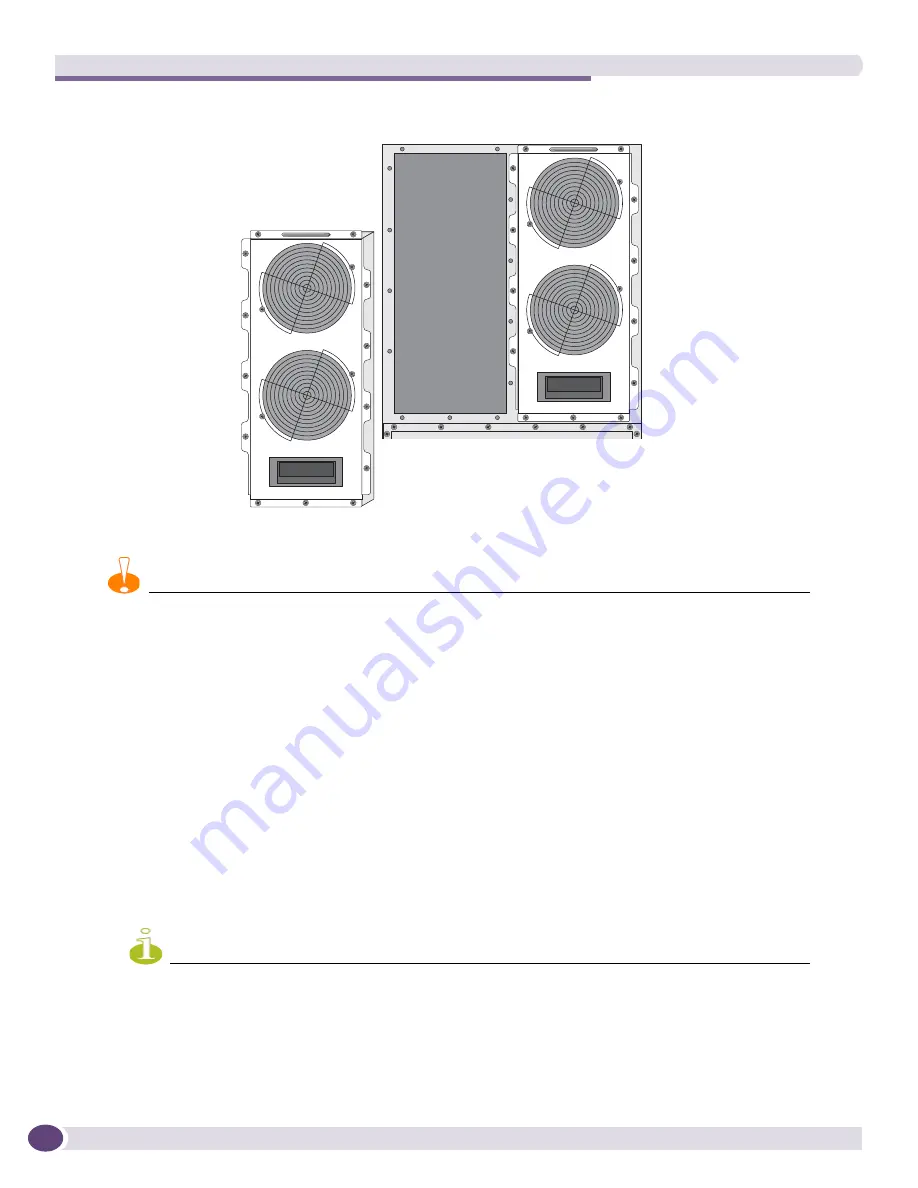
Figure 147: BlackDiamond 10808 series fan tray
4
Allow the fan blades to stop spinning completely and remove the fan tray from its slot.
CAUTION
Keep your hands away from rotating fan blades.
5
Place one hand under the fan tray for support and use the other hand to pull the fan tray from its
slot.
Leave the ESD-preventive wrist strap permanently connected to the chassis so that it is always available
when you need to touch ESD-sensitive components.
Installing the Replacement Fan Tray
To install the fan tray in the BlackDiamond 10808 switch:
1
Attach the ESD-preventive wrist strap to your wrist and connect the metal end to the ground
receptacle on the top-left corner of the switch front panel.
2
Check the connectors on the switch fan tray for dust and packing materials.
3
Support the fan tray with one hand under the tray as you guide the fan tray into the slot. Insert the
fan tray all the way into the slot.
NOTE
If the chassis is powered on, the fan blades will begin turning as soon as the tray makes contact with the
backplane.
4
Tighten the captive retaining screws to secure the fan tray to the chassis.
Leave the ESD-preventive wrist strap permanently connected to the chassis so that it is always available
when you need to handle ESD-sensitive components.
EX_012
Fan tray
Summary of Contents for BlackDiamond 10808
Page 14: ...Table of Contents Extreme Networks Consolidated ExtremeXOS Hardware Installation Guide 14 ...
Page 18: ...Preface Extreme Networks Consolidated ExtremeXOS Hardware Installation Guide 18 ...
Page 19: ...1 Site Preparation ...
Page 20: ......
Page 40: ...Site Preparation Extreme Networks Consolidated ExtremeXOS Hardware Installation Guide 40 ...
Page 41: ...2 BlackDiamond Switches ...
Page 42: ......
Page 93: ...3 Installing BlackDiamond Switches and Modules ...
Page 94: ......
Page 189: ...4 Installing BlackDiamond Switch Accessories ...
Page 190: ......
Page 207: ...5 BlackDiamond Maintenance Procedures ...
Page 208: ......
Page 239: ...6 Summit Family of Switches ...
Page 240: ......
Page 335: ...7 Optics ...
Page 336: ......
Page 363: ...8 Initial Management Access ...
Page 364: ......
Page 369: ...9 Appendixes ...
Page 370: ......


