Extreme Networks 325 W AC Power Supply
Extreme Networks Consolidated ExtremeXOS Hardware Installation Guide
169
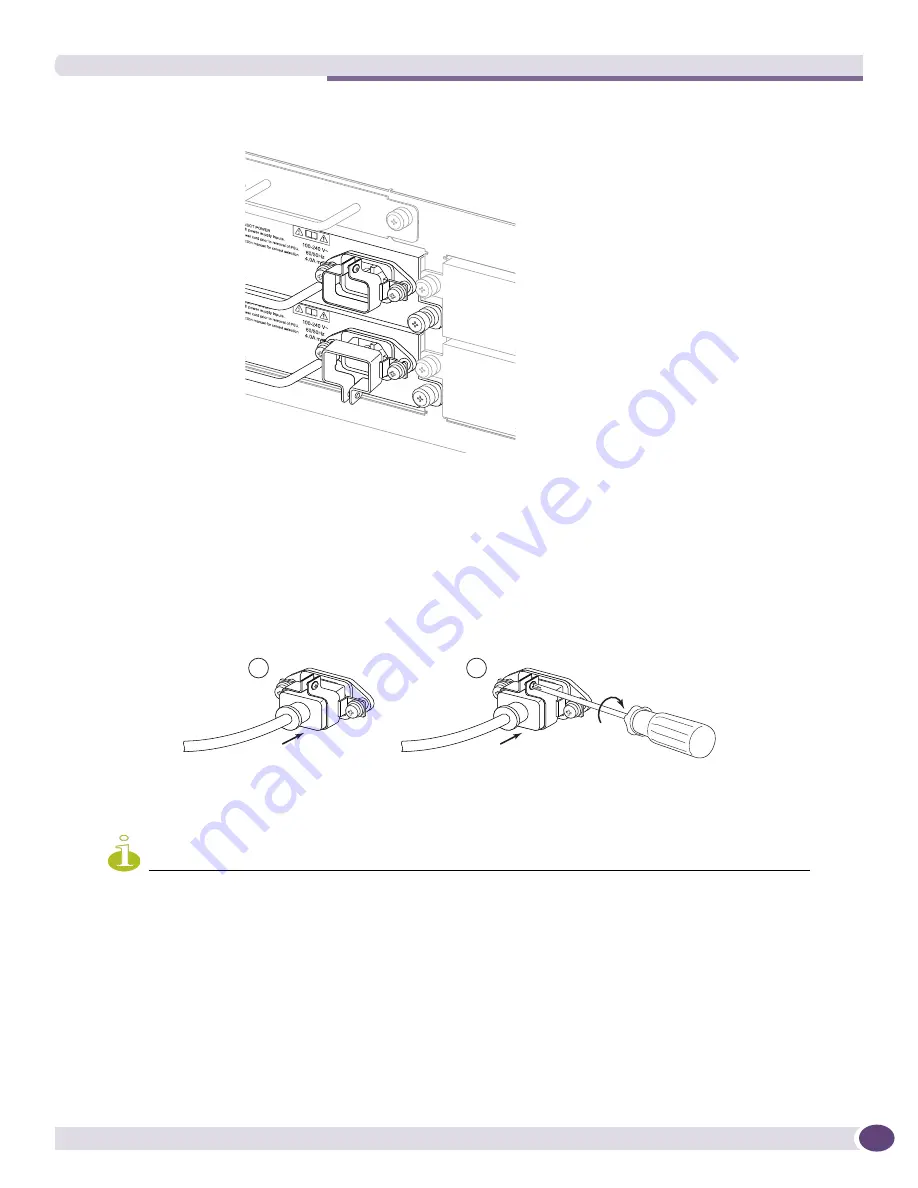
Figure 101: Power cord brackets on two adjacent power supplies
2
Connect the AC power cord to the PSU as follows:
a
Connect the AC power cord to the AC input on the front of the PSU (see
Figure 102
). If needed,
loosen the middle screw of the power cord bracket to allow installation of the power cord.
b
After the power cord is connected, tighten the middle screw of the bracket to secure the power
cord in place (see
Figure 102
).
Figure 102: Connecting the AC power cord
3
Connect the opposite end of the AC power cord to the wall outlet.
NOTE
Leave the ESD strap permanently connected to the switch, so that the strap is always available when you need to
handle ESD-sensitive components.
Torino AC PSU_09
Torino AC PSU_08
1
2
Summary of Contents for BlackDiamond 10808
Page 14: ...Table of Contents Extreme Networks Consolidated ExtremeXOS Hardware Installation Guide 14 ...
Page 18: ...Preface Extreme Networks Consolidated ExtremeXOS Hardware Installation Guide 18 ...
Page 19: ...1 Site Preparation ...
Page 20: ......
Page 40: ...Site Preparation Extreme Networks Consolidated ExtremeXOS Hardware Installation Guide 40 ...
Page 41: ...2 BlackDiamond Switches ...
Page 42: ......
Page 93: ...3 Installing BlackDiamond Switches and Modules ...
Page 94: ......
Page 189: ...4 Installing BlackDiamond Switch Accessories ...
Page 190: ......
Page 207: ...5 BlackDiamond Maintenance Procedures ...
Page 208: ......
Page 239: ...6 Summit Family of Switches ...
Page 240: ......
Page 335: ...7 Optics ...
Page 336: ......
Page 363: ...8 Initial Management Access ...
Page 364: ......
Page 369: ...9 Appendixes ...
Page 370: ......


