M
ANAGEMENT
I
NTERFACE
Table 3-110.
Switching > X-Ring Pro > Configuration (Continued)
Parameter
Description
Interface 2
Click the drop-down menu to select the secondary member interface for the X-Ring
group.
For the X-Ring group denoted as "Ring", the value is either physical port or
LAG (Link-Aggregation-Group) port.
For the X-Ring group denoted as "Coupling", the value is physical port or LAG
(Link-Aggregation-Group) port or "None". The value "None" implies that the X-Ring
group is not created for coupling dual-homing application.
Ring ID
Displays the Ring ID.
Mode
Displays the configured mode for the selected ring.
Interface 1
Displays the configured interface port for the selected ring.
Interface 2
Displays the configured interface port for the selected ring.
Master Ring
Displays the selected master ring for the selected ring.
Create
Click
Create
to make a new X-Ring group in accordance to "Ring ID" and the other
values specified on the screen. If you want the switch to retain the new values
across a power cycle you must perform a save.
Delete
Click
Delete
to remove a current X-Ring group in accordance to "Ring ID" specified
on the screen. If you want the switch to retain the new values across a power cycle
you must perform a save.
Status
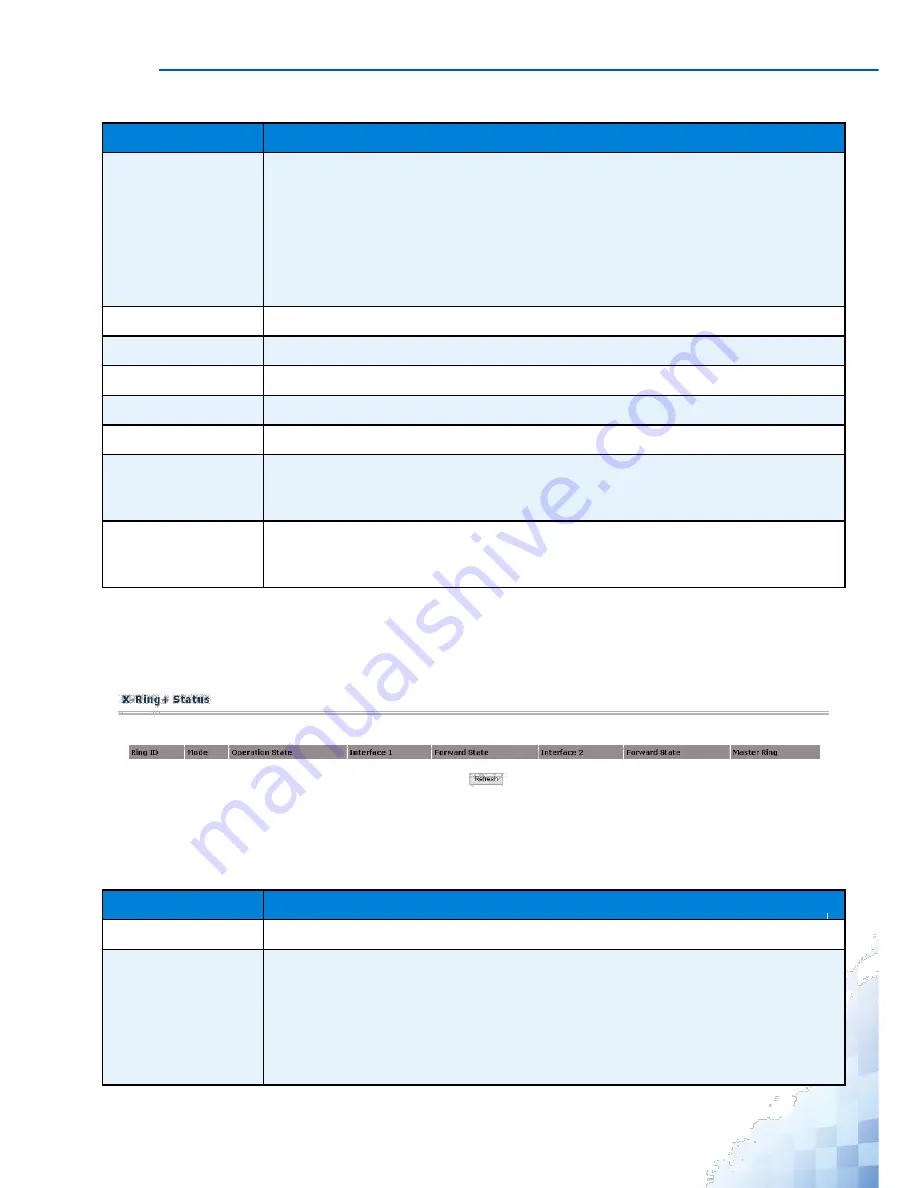
The X-Ring Pro Status page displays a summary of the details for each ring ID. To
access this page, click
Switching
>
X-Ring Pro
>
Status
.
Figure 3-114.
Switching > X-Ring Pro > Status
The following table describes the items in the previous menu.
Table 3-111.
Switching > X-Ring Pro > Status
Parameter
Description
Ring ID
Displays a number ranging from 1 to 99 to identify a given X-Ring group.
Mode
Displays the mode of the X-
Ring group. The value is either “Ring” or “Coupling”.
The default value is “Ring”.
The X-
Ring group denoted as mode “Ring” means it is a switch connected to
the other switches to form a ring topology.
The X-Ring group
denoted as “Coupling” means it is a switch that is used to
inter-connect two X-Ring networks.
163
Summary of Contents for EKI-9312P Series
Page 13: ...Hardware Installation Chapter 1...
Page 43: ...First Time Setup Chapter 2...
Page 48: ...Management Interface Chapter 3...
Page 285: ...Troubleshooting Chapter 4...


