8-50
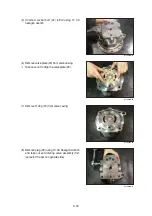
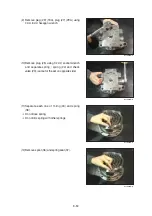
Remove plug (29) (1EA), plug (27) (2EA) using
4 mm, 6 mm hexagon wrench.
(9)
Remove spool (36) and spring seat (37).
(12)
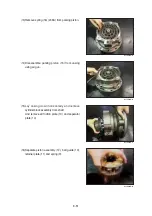
Separate each one of O-ring (40) and spring
(38).
Do not lose spring.
Do not mix spring with other springs.
(11)
※
※
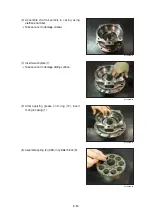
Remove plug (25) using 32 mm socket wrench
and separate spring ; spring (24) and check
valve (23). (same for the set on opposite side)
(10)
125LCR8SM11
125LCR8SM12
125LCR8SM13
125LCR8SM14
Содержание HX145 LCR
Страница 11: ...SECTION 1 GENERAL SECTION 1 GENERAL Group 1 Safety Hints 1 1 Group 2 Specifications 1 10...
Страница 204: ...4 5 MEMORANDUM HYUNDAI HEAVY INDUSTRIES CO LTD CONSTRUCTION EQUIPMENT DIV...
Страница 553: ...8 82 Insert O rings to the relief valve 30 and reassemble them to rear cover 20 This completes assembly 17 32038SM42...
Страница 627: ...8 155 125LCR8TM30 Turn casing 1 upside down and remove oil seal 3 using jig 29...
Страница 636: ...8 164 125LCR8TM61 After assembling spring 44 in order clamp plug 41 Tightening torque 5 kgf m 36 lbf ft 31...
Страница 657: ...8 185 8 185 Remove lock nut 22 and then boot 23 14 36078RL14 2507ARL10...
Страница 668: ...8 196 14 15 3 Install cover 3 to body 1 and tighten bolts 14 Torque 10 12 5 kgf m 72 3 90 4 lbf ft 7 21078DA10...


