Section 7 — Sampling/Signal Source Concepts
Multi-Sampling
149
MultiSampling
Many sounds require that you make more than one sample, with each sample covering a
different range of the instrument. This is because if you transpose a sound too far (up or down)
from its original pitch it begins to sound unnatural. Another application for making multiple
samples is when you are sampling something like a drum set, where you want several entirely
different sounds on the keyboard at once.
The ASR-10 makes it easy to “multisample” — which is what we call this process of making
several samples within one Instrument.
• Make your first sample as described above in “Easy Sampling.”
• Press the Sample•Source Select button.
• Press the Instrument•Sequence Track button of the instrument you just sampled.
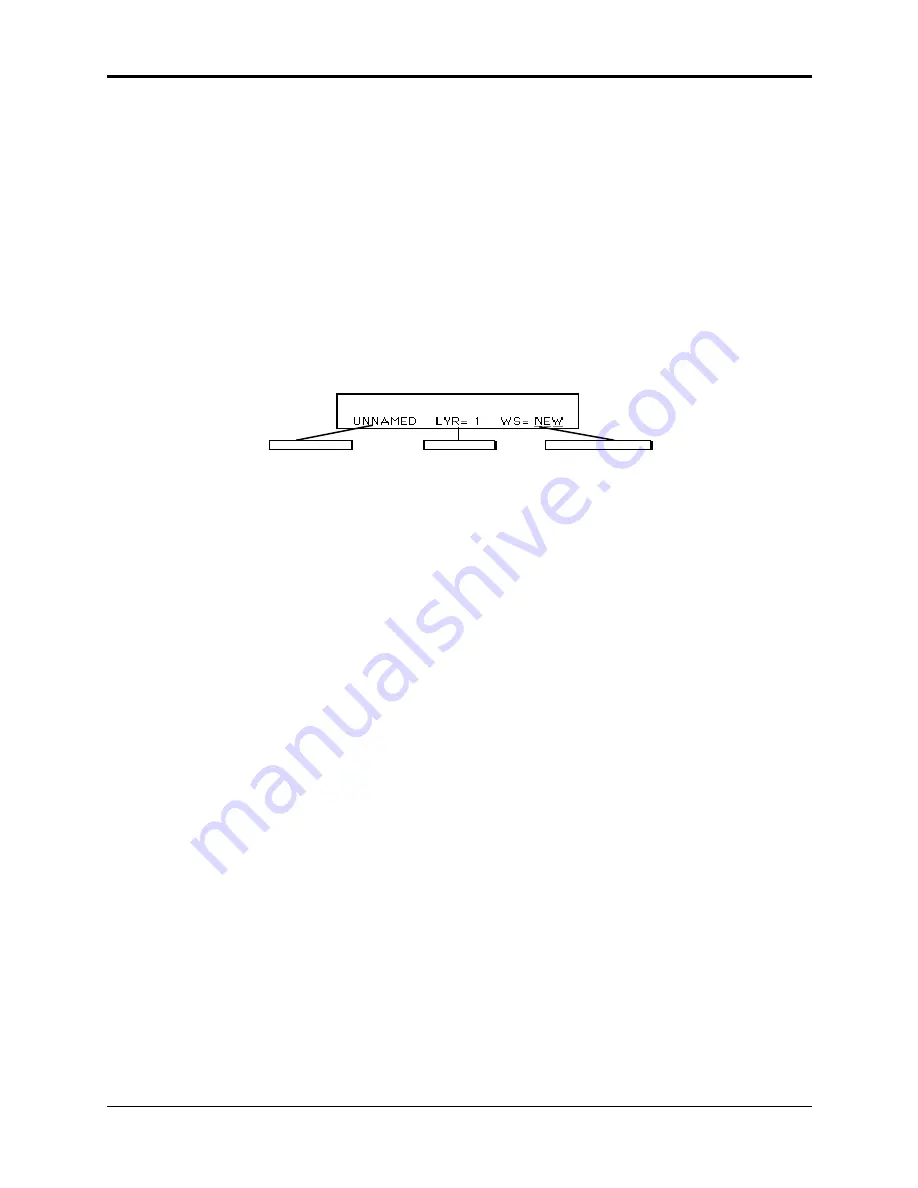
When you select an existing instrument from the REC SRC screen, the following multisampling
screen (also called the Sampling Context screen) appears:
Layer Number
Wavesample Number
Instrument Name
Here you see:
• The first eight letters of the instrument name (which is always UNNAMED for newly sampled
sounds);
• The number of the current layer; and
• Which WaveSample will be sampled after you press Enter•Yes. The default here is NEW,
meaning that a new WaveSample will be created in the same layer of the instrument.
• Press Enter•Yes. This puts you back in Level-Detect mode. Now proceed to sample the new
WaveSample just as you did the first one:
• Adjust the incoming level so that it doesn’t clip.
• Press Enter•Yes or the Left Foot Switch to begin sampling.
• Play the sound to be sampled.
• Press Cancel•No to stop sampling.
• Play the new Root Key — the key at which you want the new sample to play back.
Once you have assigned a Root Key to the new sample, the ASR-10 automatically adjusts the split
point to be midway between the Root Keys of the two samples.
Follow the exact same procedure to continue making multiple samples within the instrument.


