180
Camera
3
Point the camera at the object and press
o
or
C
The countdown sound is heard and the auto
timer starts countdown. The indicator and
counter show an estimate of the remaining time
before shooting and the remaining number of
seconds. The interval of sounds becomes shorter
as the shooting time approaches. After the
specified number of seconds has elapsed, the
shutter sound is heard and shooting is started.
・
If you press
o
or
C
when shooting a still
image with auto focus, countdown is started
after focusing, and when the set number of
seconds has passed, the image is shot in that
focus.
・
To stop the auto timer on the way:
p
・
Shooting stops if a call or PushTalk call arrives,
the time set for the alarm or schedule alarm
arrives, or
b
is pressed during auto timer
countdown.
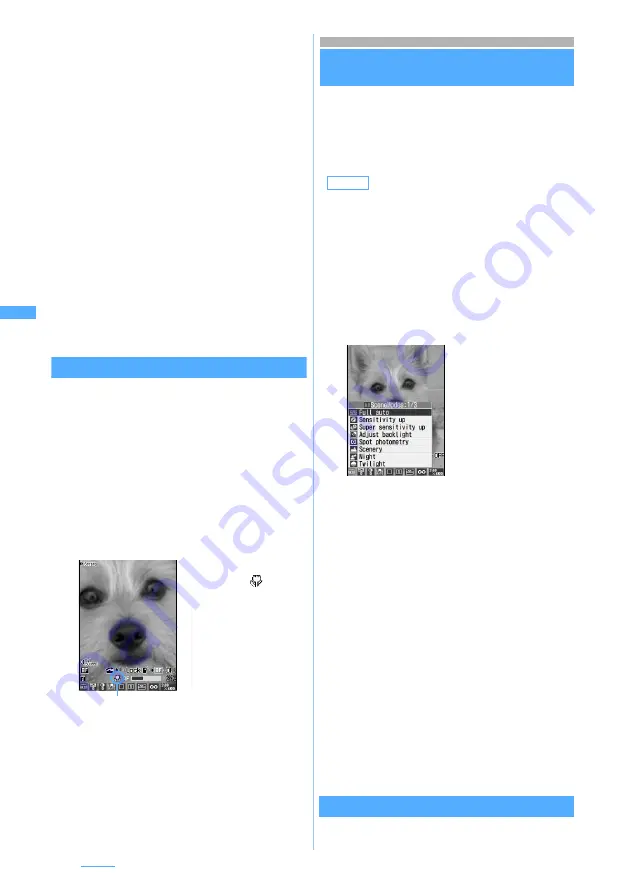
Shooting nearby object
Macro
When shooting a object from a very short distance,
switching to Macro enables the camera to bring into
focus. Macro is unavailable for shooting with the in-
camera. The distances in which the camera can be
brought into focus by Macro are about 5 to 30 cm for
shooting still images with auto focus. Except the time
of shooting still images with auto focus, the camera is
brought into focus in about 7 to 11 cm.
1
Press
#
on the still image shooting
screen or the video recording screen
Changing the settings during shooting
・
The following settings will be maintained even after
you terminates still image shooting or video recording.
・
Brightness
・
Color density
・
Shake reduce
・
Quality
・
Size restrictions
・
Image size
・
Flicker adjustment
1
&
to highlight the icon on the still image
shooting screen or the video recording
screen
・
Keypads of
1
to
9
and
0
are assigned
for each icon from the left. Icons can be
selected also by pressing the relevant keypad.
2
%
to highlight an item to set
z
Press
o
・
Alternatively, you can set a frame by pressing
6
repeatedly to choose a frame and pressing
o
.
・
To cancel the frame, hold down
6
on the
shooting screen for over a second.
Scene mode/effect
Setting types are available according to color tone
and shooting situation.
Switches to the macro
mode and
is
indicated.
・
To cancel the
setting:
#
again
・
Shooting procedures
for still images and
videos are the same
as in normal
shooting.
Icon of the macro mode
Default
SceneModes: Full auto Brightness:
±
0
ColorDnsty:
±
0 WhiteBalance: Auto
ShakeReduce: Auto Frame: not set
Quality: <Still image> Standard <Video> STD
(Standard)
Size Limit: <Still image> None <Video> Msg
attach:Large Size: (Still image) 240 x 400
<Video> 176 x 144 (QCIF) Adjust flicker: Auto
1
:
Scene mode/effect
2
:
Brightness
3
:
Color density
4
:
White balance
5
:
Shake reduction (only for video recording)
6
:
Frame
7
:
Continuous shooting (only when
shooting still images)
☛
P174
8
:
Quality
9
:
Size restrictions
0
:
Image size
・
Flicker adjustment
cannot be set by the
icon. Setting flicker
adjustment
☛
P184
For scene mode/effect


