6-14
Cisco TelePresence System Release 1.5 Administrator Guide
OL-13676-04
Chapter 6 Troubleshooting the CTS 1100
Managing Hardware Setup
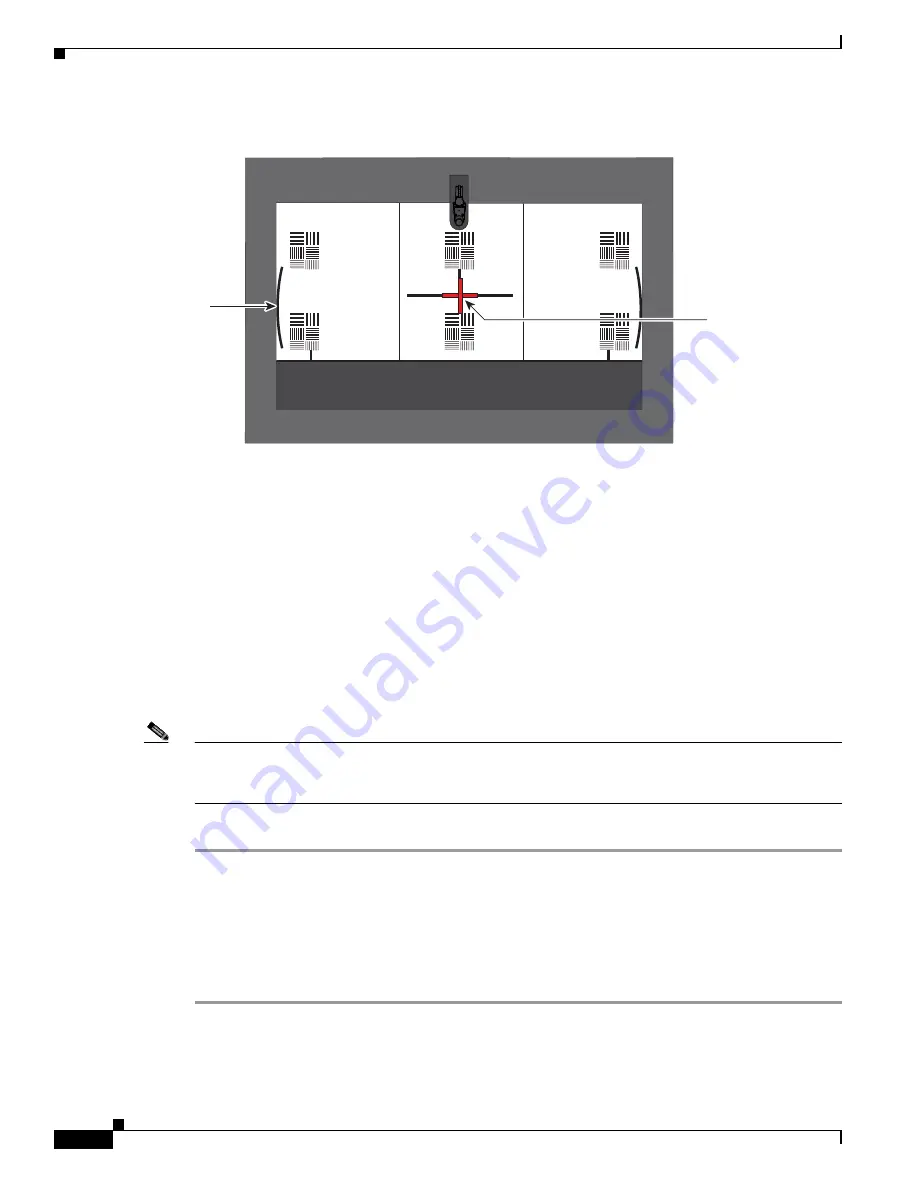
Figure 6-11
Adjusting the Camera Zoom
Step 12
Tighten the thumbscrews for the zoom and focus rings.
Step 13
Click Hide Camera Targets.
Step 14
Perform final zoom adjustments to ensure that the camera projects a life-size image by completing the
following steps:
a.
Using the paper ruler or tape measure, measure 12 inches or 250 cm from the rear edge of the table.
b.
Using another tape measure, measure 12 inches or 250 cm from where the table edge is projected
on the display.
c.
If the measurements do not match, perform additional adjustments to the zoom until the
measurements are the same.
Step 15
Click the Setup button, then click the Auto Adjust button.
The auto adjust procedure completes. This procedure takes several seconds.
Note
If there is sufficient light for the system to operate, the gain will be greater than 1 and less than 7 and
the process completes normally. If there is insufficient light, the auto adjust procedure terminates; in this
case, add more light to the room to bring the gain value below 7. Then, repeat the auto adjust procedure.
Step 16
Click Done.
Focusing the Camera
When you focus a TelePresence system, you focus within a range of distances. The ranges are
represented by small and large targets that you place in front of the camera.
To focus the camera, follow these steps from the Cisco TelePresence administration application:
Step 1
In the CTS Administration application, click the Center radio button.
Step 2
Click the Setup button that is located below the center screen icon.
Step 3
Click Show Focus Targets.
206618
Red plus
sign within
black cross
Note curved
lines touching
screen border


