4-56
Cisco Wireless LAN Controller Configuration Guide
OL-17037-01
Chapter 4 Configuring Controller SettingsWireless Device Access
Configuring Voice and Video Parameters
Using the GUI to Configure Video Parameters
Follow these steps to configure video parameters using the GUI.
Step 1
Make sure that the WLAN is configured for WMM and the Gold QoS level.
Step 2
Disable all WLANs with WMM enabled and click
Apply
.
Step 3
To disable the radio network, click
Wireless
and then
Network
under 802.11a/n or 802.11b/g/n, uncheck
the
802.11a
(or
802.11b/g
)
Network
Status
check box, and click
Apply
.
Step 4
Click
Video
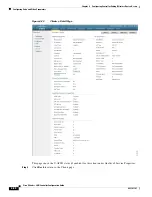
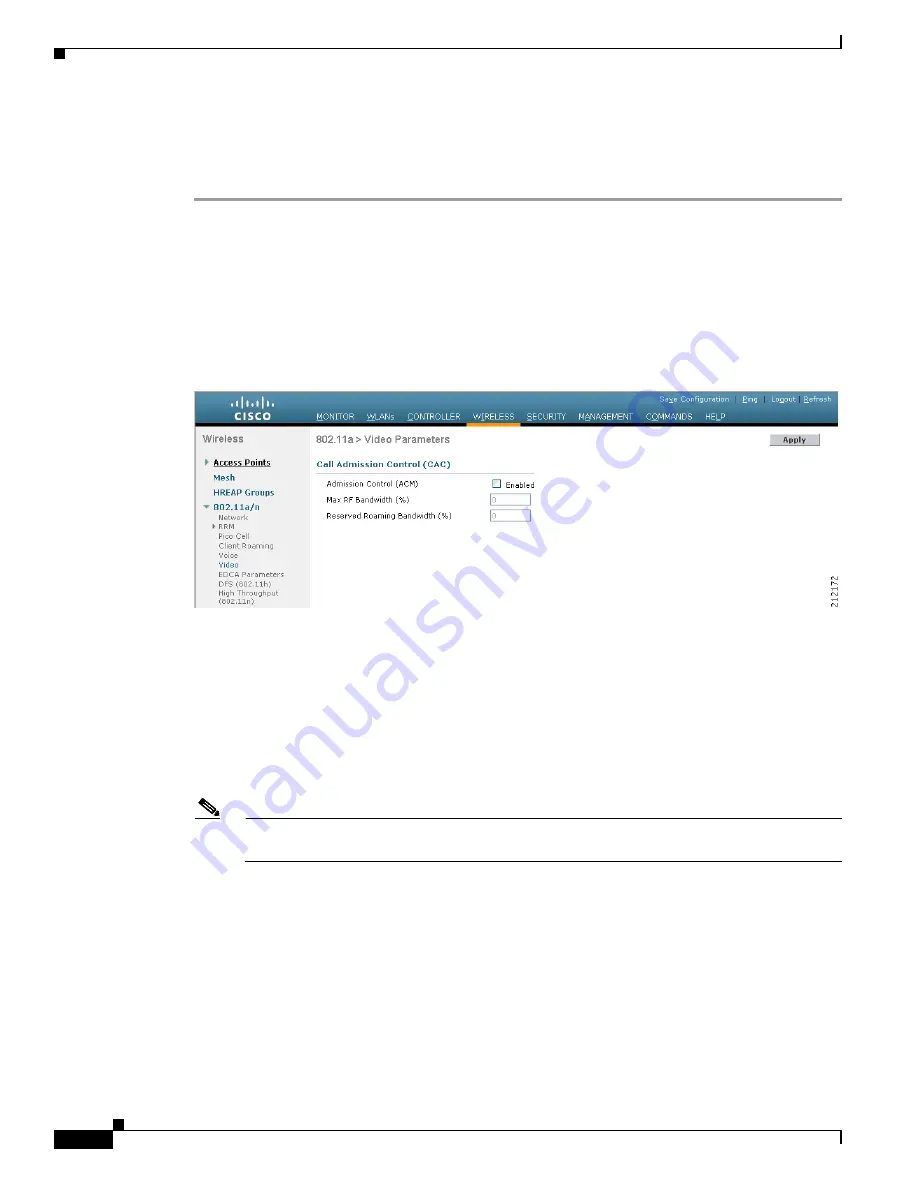
under 802.11a/n or 802.11b/g/n. The 802.11a (or 802.11b) > Video Parameters page appears
(see
).
Figure 4-18
802.11a > Video Parameters Page
Step 5
To enable video CAC for this radio band, check the
Admission Control (ACM)
check box. The default
value is disabled.
Step 6
In the Max RF Bandwidth field, enter the percentage of the maximum bandwidth allocated to clients for
video applications on this radio band. Once the client reaches the value specified, the access point rejects
new requests on this radio band.
Range:
0 to 100% (However, the maximum RF bandwidth cannot exceed 100% for voice + video.)
Default:
0%
Note
If this parameter is set to zero (0), the controller assumes that the operator does not want to do
any bandwidth allocation and, therefore, allows all bandwidth requests.
Step 7
In the Reserved Roaming Bandwidth field, enter the percentage of maximum allocated bandwidth
reserved for roaming video clients. The controller reserves this much bandwidth from the maximum
allocated bandwidth for roaming video clients.
Range:
0 to 25%
Default:
0%
Step 8
Click
Apply
to commit your changes.
Step 9
Re-enable all WMM WLANs and click
Apply
.
Step 10
To re-enable the radio network, click
Network
under 802.11a/n or 802.11b/g/n, check the
802.11a
(or
802.11b/g
)
Network
Status
check box, and click
Apply
.

