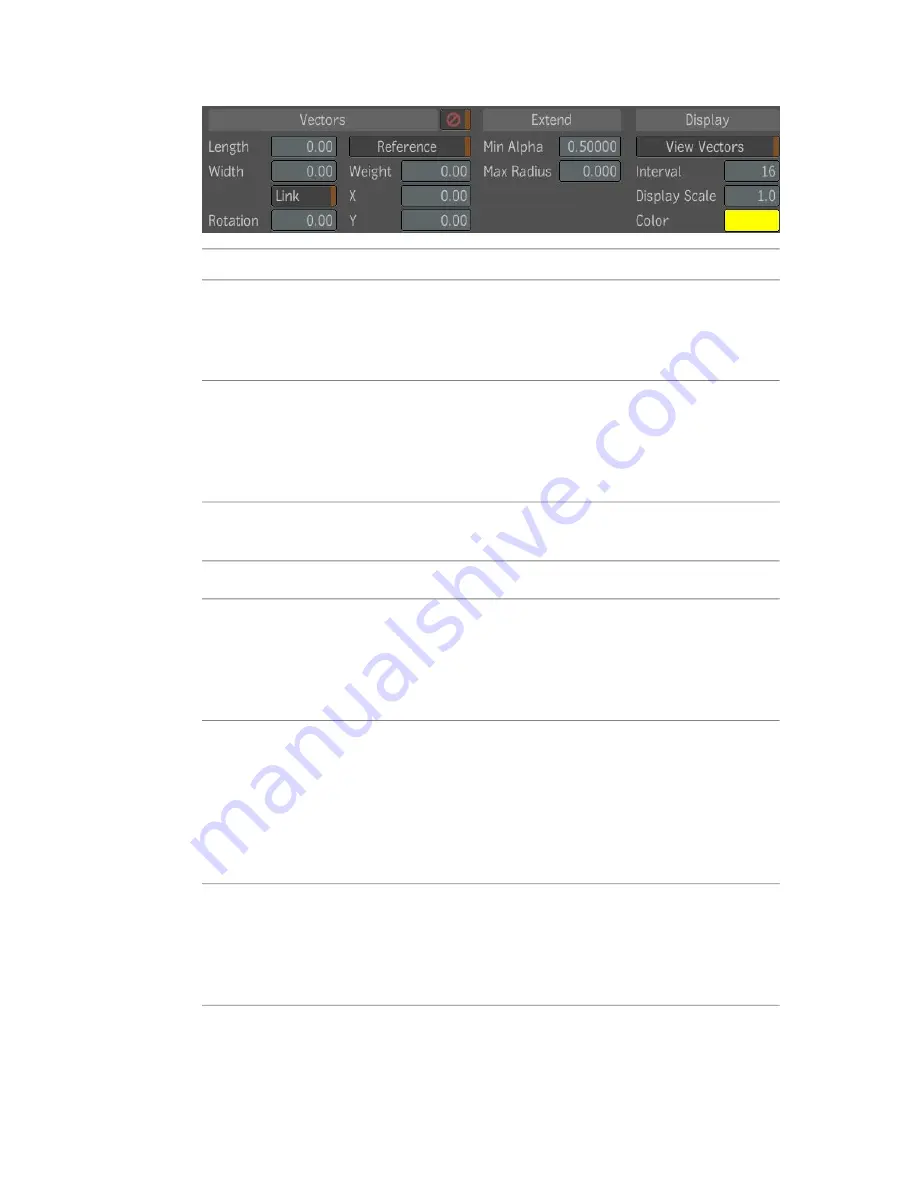
To:
Use:
Set the amount of blur to apply in direction of the forward
vectors (before taking into account the rotation parameter).
Length
The amount of blur applied per pixel is also modulated by the
length of the vectors.
Set the amount of blur to apply in a direction perpendicular
to the forward vectors (before taking into account the rotation
Width
parameter.) The amount of blur applied per pixel is also
modulated by the length of the vectors. It would often be left
at 0, so that the vector length would not affect it.
When enabled, changing the Length or Width parameter
causes the other one to change in the same proportion.
Link
Set the amount of vector rotation around their own origin.
Rotation
Enable the reference vector offset. If reference is set, the vector
at the Reference Position is subtracted from all forwards vectors
Reference
in the image. The result is that the pixel at the reference pos-
ition will not be blurred, and so will pixels with similar forward
vectors.
Set the amount of blur to apply at the reference position. A
value of zero means that no blur should be applied. This is
Weight
the default. A value of one means to blur by the same amount
as the forward vectors at the Reference Position. This is equi-
valent to disabling the use of a reference vector offset. A value
of one half means to blur half as much as the forward vectors
at the Reference Position.
Set the nominal coordinates of the reference position. When
the reference is enabled, a manipulator is displayed in the
Reference Position X
and Y
player to allow the user to interactively set the reference pos-
ition by simply dragging the manipulator (click-drag-release).
The reference position can also be set using the Tracker.
396 | Chapter 17 Image Processing Tools
Содержание 495B1-05A111-1301 - 3ds Max Design 2010
Страница 1: ...Composite User Guide ...
Страница 16: ...4 ...
Страница 18: ...6 ...
Страница 88: ...76 ...
Страница 92: ...6 A new composition has been created 80 Chapter 4 Start Compositing Now ...
Страница 101: ...8 The Render dialog appears Click the Start button to start the rendering process To Render the Composition 89 ...
Страница 102: ...90 ...
Страница 122: ...110 ...
Страница 126: ...114 ...
Страница 186: ...174 Chapter 9 Getting Familiar with Your Workspace ...
Страница 195: ...UdaTextField XML Resource Files 183 ...
Страница 196: ...UdaValueEditor UdaMenu 184 Chapter 9 Getting Familiar with Your Workspace ...
Страница 197: ...UdaPushedToggle XML Resource Files 185 ...
Страница 198: ...UDA Declaration 186 Chapter 9 Getting Familiar with Your Workspace ...
Страница 200: ...188 ...
Страница 250: ...238 ...
Страница 309: ...The stereo rig is ready to use You can adjust left and right eye convergence Setting up a Stereo Camera Rig 297 ...
Страница 310: ...298 ...
Страница 348: ...336 ...
Страница 399: ...About Blurs 387 ...
Страница 411: ...Output Controls The Output UI allows you to control the following parameters About Blurs 399 ...
Страница 450: ...438 ...
Страница 478: ...466 ...
Страница 520: ...508 ...
Страница 548: ...536 ...
Страница 578: ...566 ...
Страница 596: ...The last step is to add the sun s reflection to the water 584 Chapter 24 Raster Paint ...
Страница 606: ...594 ...
Страница 670: ...658 ...
Страница 710: ... a Tool time cursor b Global time frame markers 698 Chapter 28 Time Tools ...
Страница 722: ...710 ...
Страница 729: ...Backward vectors Forward and backward vectors The Show Vectors tool has the following parameters Show Vectors 717 ...
Страница 805: ...8 Add any correction using the Translation Rotation Scale parameters Simultaneous Stabilizing and Tracking 793 ...
Страница 806: ...794 ...
Страница 828: ...816 ...
Страница 870: ...858 ...
Страница 888: ...876 ...
Страница 898: ...886 ...


