NOTE
You can also type values directly into the value fields and press
Enter
.
NOTE
The Linear Ramp tool's Fill, Start, End, and Ramp Center parameters are
animatable by setting keyframes or using expressions—see
Setting Keys Manually
on page 676 and
Validating and Applying the Expression String
on page 729.
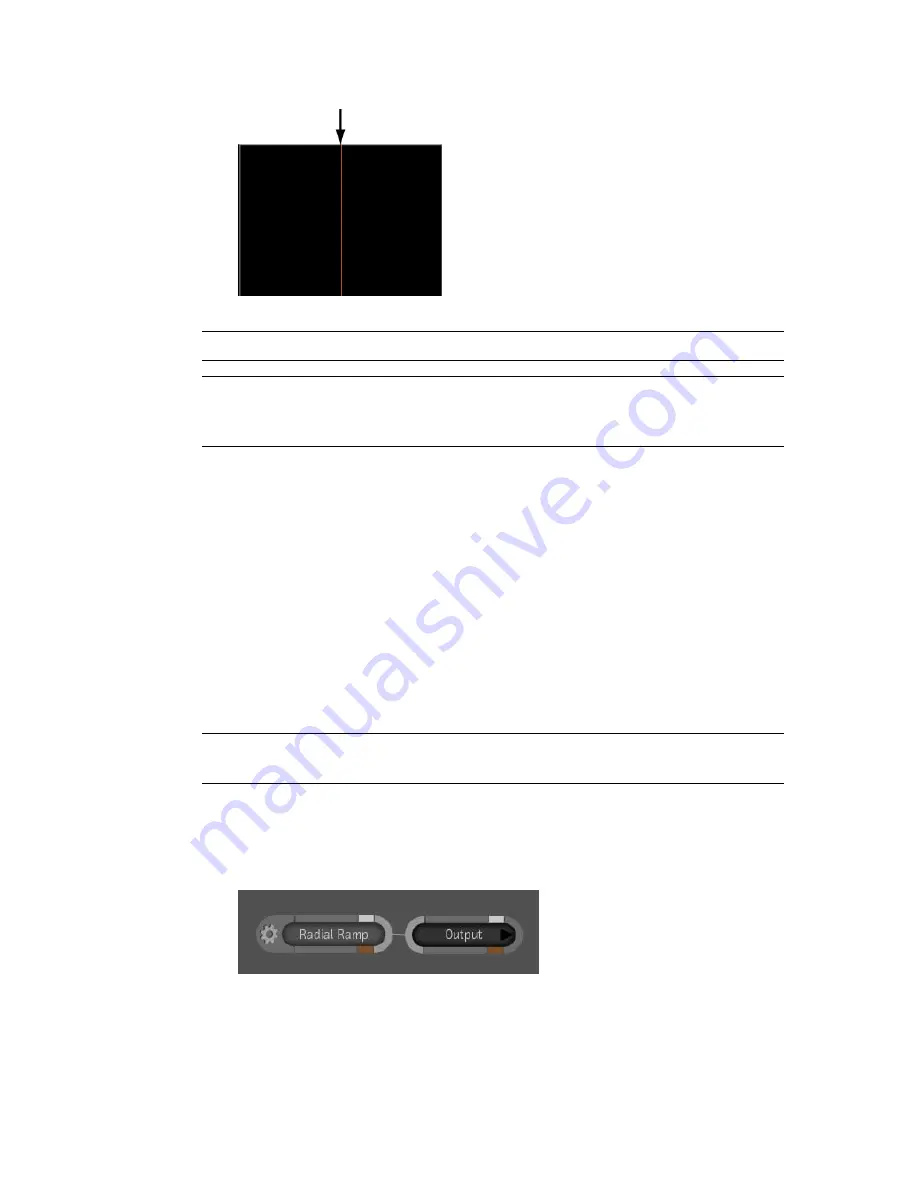
Radial Ramp Tool
The Radial Ramp tool lets you create images with a variety of properties and
in several formats. The Radial Ramp tool has three sets of color channel value
fields that allow you to generate a multi-color image based on RGBA values.
One set of values is for generating the fill color, and two sets are for generating
start and end radially ramped colors arranged around a central axis region of
definition (ROD). The fill color is defined as those pixels residing outside the
ROD. Other controls let you to position the X and Y axes of the central ramp
at any location, stretch the ramp vertically or horizontally, and define the
falloff center point and range.
NOTE
The following procedure assumes that you have a Schematic and a Player
view open.
To create a radially ramped image using the Radial Ramp tool:
1
Drag the Radial Ramp tool from the Tools tab to the dependency graph
in the Schematic view and attach it to the Output node.
426 | Chapter 17 Image Processing Tools
Содержание 495B1-05A111-1301 - 3ds Max Design 2010
Страница 1: ...Composite User Guide ...
Страница 16: ...4 ...
Страница 18: ...6 ...
Страница 88: ...76 ...
Страница 92: ...6 A new composition has been created 80 Chapter 4 Start Compositing Now ...
Страница 101: ...8 The Render dialog appears Click the Start button to start the rendering process To Render the Composition 89 ...
Страница 102: ...90 ...
Страница 122: ...110 ...
Страница 126: ...114 ...
Страница 186: ...174 Chapter 9 Getting Familiar with Your Workspace ...
Страница 195: ...UdaTextField XML Resource Files 183 ...
Страница 196: ...UdaValueEditor UdaMenu 184 Chapter 9 Getting Familiar with Your Workspace ...
Страница 197: ...UdaPushedToggle XML Resource Files 185 ...
Страница 198: ...UDA Declaration 186 Chapter 9 Getting Familiar with Your Workspace ...
Страница 200: ...188 ...
Страница 250: ...238 ...
Страница 309: ...The stereo rig is ready to use You can adjust left and right eye convergence Setting up a Stereo Camera Rig 297 ...
Страница 310: ...298 ...
Страница 348: ...336 ...
Страница 399: ...About Blurs 387 ...
Страница 411: ...Output Controls The Output UI allows you to control the following parameters About Blurs 399 ...
Страница 450: ...438 ...
Страница 478: ...466 ...
Страница 520: ...508 ...
Страница 548: ...536 ...
Страница 578: ...566 ...
Страница 596: ...The last step is to add the sun s reflection to the water 584 Chapter 24 Raster Paint ...
Страница 606: ...594 ...
Страница 670: ...658 ...
Страница 710: ... a Tool time cursor b Global time frame markers 698 Chapter 28 Time Tools ...
Страница 722: ...710 ...
Страница 729: ...Backward vectors Forward and backward vectors The Show Vectors tool has the following parameters Show Vectors 717 ...
Страница 805: ...8 Add any correction using the Translation Rotation Scale parameters Simultaneous Stabilizing and Tracking 793 ...
Страница 806: ...794 ...
Страница 828: ...816 ...
Страница 870: ...858 ...
Страница 888: ...876 ...
Страница 898: ...886 ...