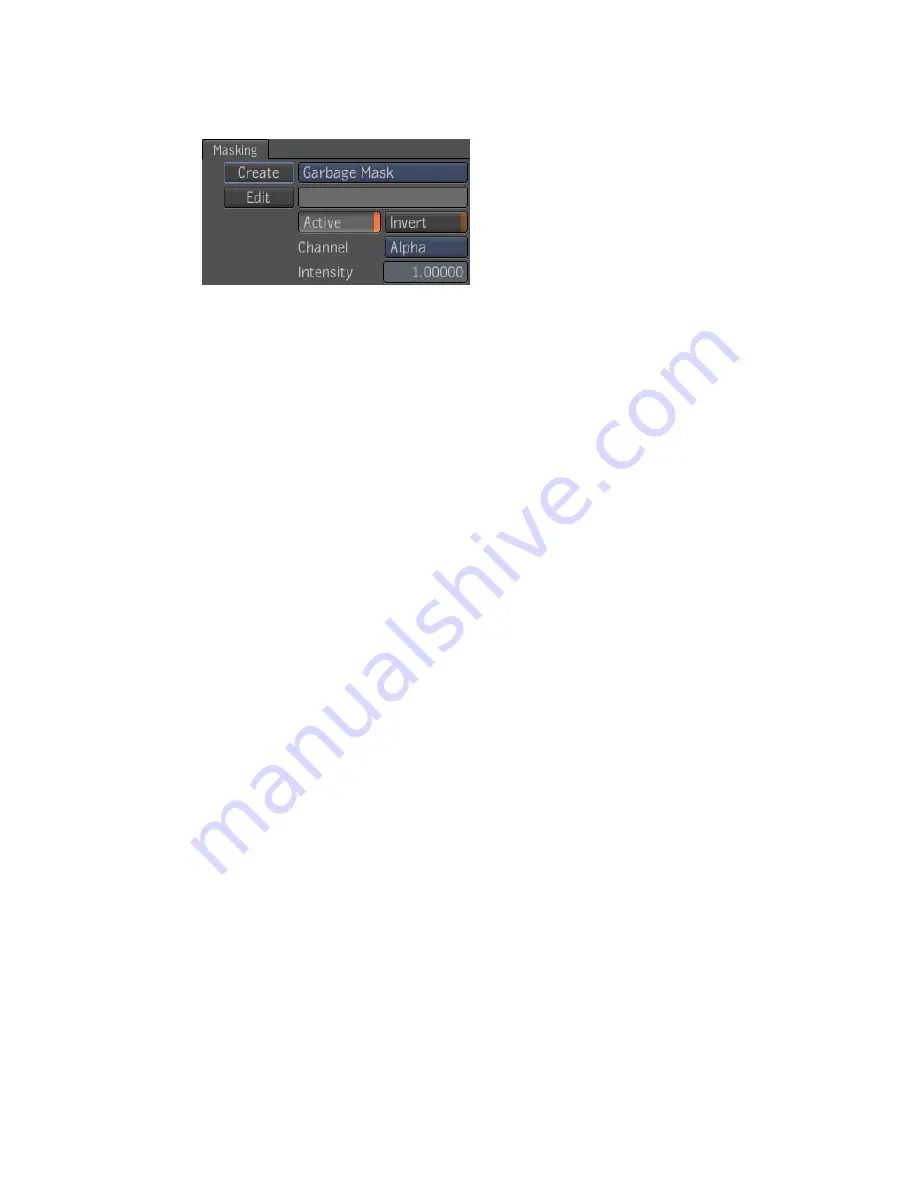
Masking Tab
The Lens Blur tool has a masking input and a Masking tab—see
Pixel Masking
on page 560.
Median Tool
The Median tool is an edge-preserving smoothing filter that works particularly
well for removing impulse noise.
For grayscale images, the median filter works by ranking the pixels under the
kernel according to their value and selecting the median to replace the pixel
at the center of the kernel. This approach effectively removes spikes in the
original image without the blurring typically introduced by common
smoothing kernels (e.g. Gaussian).
For color images, there is no single concept of ranking, so several different
criteria are supported. Component-wise ranking computes the median of each
color component independently, however, this can result in pixel colors that
did not belong in the original image. Luminance ranking computes the median
of the luminance of each pixel under the kernel. This approach is fast and
does not introduce new colors in the original image, however, luminance is
not the best criteria for similarity in a color image. RGB Vector does not really
rank the pixels under the kernel, but rather it chooses as the median the one
pixel with the smallest sum of square distances (in RGB space) to all the other
ones under the kernel. It selects the pixel that is closest to the center of the
point cloud obtained by looking at the pixels under the kernel as points in
3D space. This approach is computationally intensive, but can yield better
results than either of the other ranking criteria.
The median filter uses a square neighborhood and can round the corners of
axes-aligned rectangular objects in an image.
As any noise reduction filter, the median filter may also affect the sharpness
of small details in the input image. When this problem arises, the result of
the median filter can be blended with the original image to decrease its effect.
406 | Chapter 17 Image Processing Tools
Содержание 495B1-05A111-1301 - 3ds Max Design 2010
Страница 1: ...Composite User Guide ...
Страница 16: ...4 ...
Страница 18: ...6 ...
Страница 88: ...76 ...
Страница 92: ...6 A new composition has been created 80 Chapter 4 Start Compositing Now ...
Страница 101: ...8 The Render dialog appears Click the Start button to start the rendering process To Render the Composition 89 ...
Страница 102: ...90 ...
Страница 122: ...110 ...
Страница 126: ...114 ...
Страница 186: ...174 Chapter 9 Getting Familiar with Your Workspace ...
Страница 195: ...UdaTextField XML Resource Files 183 ...
Страница 196: ...UdaValueEditor UdaMenu 184 Chapter 9 Getting Familiar with Your Workspace ...
Страница 197: ...UdaPushedToggle XML Resource Files 185 ...
Страница 198: ...UDA Declaration 186 Chapter 9 Getting Familiar with Your Workspace ...
Страница 200: ...188 ...
Страница 250: ...238 ...
Страница 309: ...The stereo rig is ready to use You can adjust left and right eye convergence Setting up a Stereo Camera Rig 297 ...
Страница 310: ...298 ...
Страница 348: ...336 ...
Страница 399: ...About Blurs 387 ...
Страница 411: ...Output Controls The Output UI allows you to control the following parameters About Blurs 399 ...
Страница 450: ...438 ...
Страница 478: ...466 ...
Страница 520: ...508 ...
Страница 548: ...536 ...
Страница 578: ...566 ...
Страница 596: ...The last step is to add the sun s reflection to the water 584 Chapter 24 Raster Paint ...
Страница 606: ...594 ...
Страница 670: ...658 ...
Страница 710: ... a Tool time cursor b Global time frame markers 698 Chapter 28 Time Tools ...
Страница 722: ...710 ...
Страница 729: ...Backward vectors Forward and backward vectors The Show Vectors tool has the following parameters Show Vectors 717 ...
Страница 805: ...8 Add any correction using the Translation Rotation Scale parameters Simultaneous Stabilizing and Tracking 793 ...
Страница 806: ...794 ...
Страница 828: ...816 ...
Страница 870: ...858 ...
Страница 888: ...876 ...
Страница 898: ...886 ...