


Sketching and Work Planes
Each view in Revit Architecture is associated with a work plane. In some views (such as plan, 3D, and drafting)
and for views in the Family Editor, the work plane is automatically set. In other views, such as elevation and
section views, you need to set the work plane. The work plane is necessary for sketching operations such as
creating an extruded roof, and for enabling tools in particular views, such as Rotate and Mirror in a 3D view.
When you set a work plane in a view, it is saved with that view. You can change the work plane as necessary.
When sketching, you can snap to the work plane grid, but you cannot align or dimension to it.
Setting the Work Plane
1
Click Home tab
➤
Work Plane panel
➤
Set.
2
In the Work Plane dialog, under Specify a new Work Plane, select one of the following options:
■
Name
—Choose an available work plane from the list, which contains names of levels, grids,
and named reference planes.
NOTE
The list is active even if you have not selected the Name option. If you choose a name
from the list, Revit Architecture automatically selects the Name option.
■
Pick a plane
—Revit Architecture creates a plane coincident to the selected plane. You can
select any plane that can be dimensioned, including wall faces, faces in linked Revit models,
extrusion faces, levels, grids, and reference planes.
■
Pick a line and use the work plane it was sketched in
—Revit Architecture creates a work
plane that is coplanar with the work plane of the selected line.
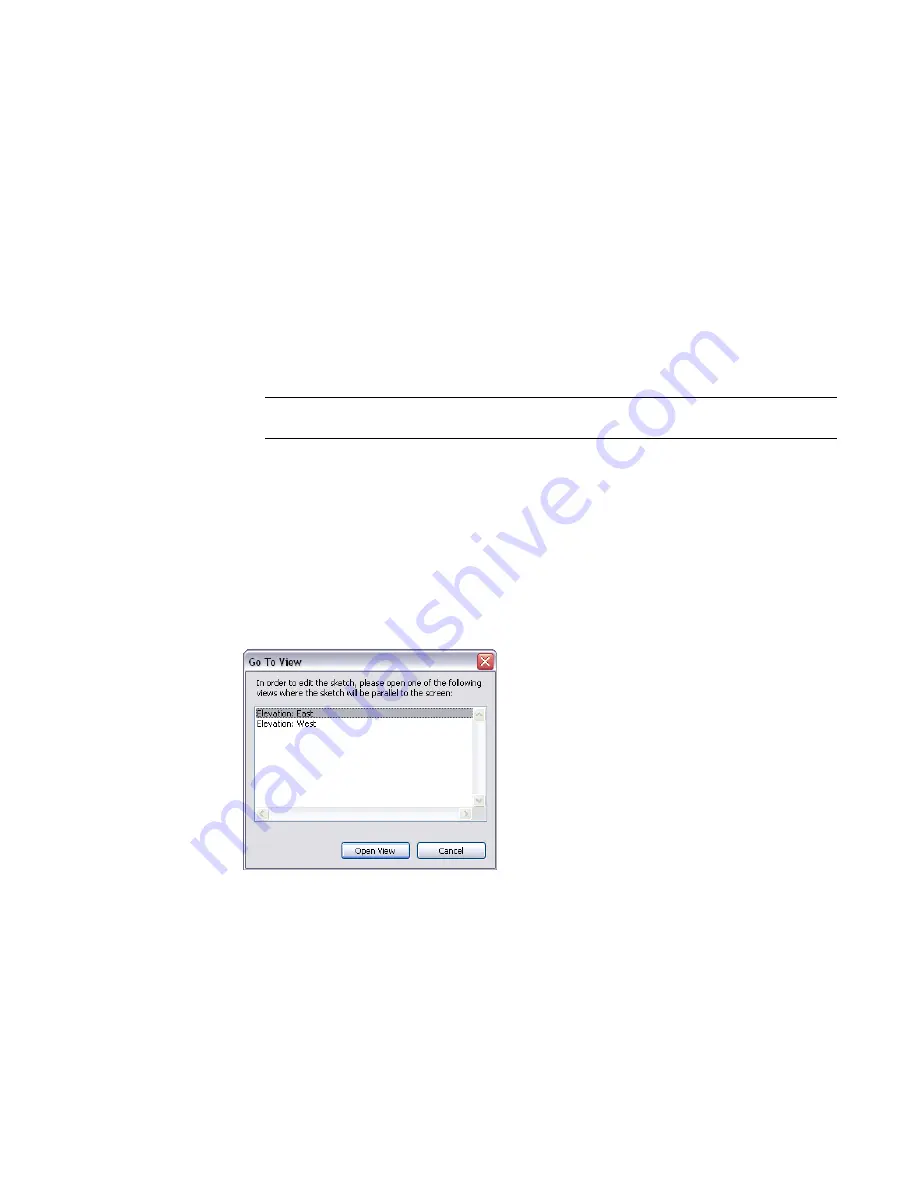
If the plane you choose is perpendicular to the current view, the Go to View dialog opens, giving
you options of which view to open based on your selection.
For example, if you select a north-facing wall, the upper pane in the dialog lets you choose a
parallel view (east or west elevation), or in the lower pane you can choose a 3D view, as shown.
3
Select a view, and click Open View.
Making the Work Plane Visible
Click Home tab
➤
Work Plane panel
➤
Show.
The work plane appears as a grid in the view.
Sketching and Work Planes | 317
Содержание 256B1-05A761-1301 - AutoCAD Revit Structure Suite 2010
Страница 1: ...Revit Architecture 2010 User s Guide March 2009 ...
Страница 4: ......
Страница 42: ...xlii ...
Страница 84: ...42 ...
Страница 126: ...84 ...
Страница 166: ...124 ...
Страница 229: ...Schedule Field Formatting Calculating Totals Specifying Schedule Properties 187 ...
Страница 230: ...Schedule with Grid Lines Schedule with Grid Lines and an Outline 188 Chapter 5 Project Views ...
Страница 304: ...262 ...
Страница 427: ...Defining the first scale vector Defining the second scale vector Resizing Graphically 385 ...
Страница 454: ...Before painting applying material to stairs 412 Chapter 8 Editing Elements ...
Страница 456: ...414 ...
Страница 486: ...444 ...
Страница 674: ...632 ...
Страница 802: ... Attachment Style Cut Column Attachment Justification Intersect Column Midline 760 Chapter 13 Architectural Design ...
Страница 809: ...Curtain wall Curtain Grid Curtain Walls Curtain Grids and Mullions 767 ...
Страница 994: ...952 ...
Страница 1016: ...974 ...
Страница 1204: ...1162 ...
Страница 1290: ...1248 ...
Страница 1318: ...1276 ...
Страница 1372: ...1330 ...
Страница 1382: ...1340 ...
Страница 1462: ...1420 ...
Страница 1492: ...1450 ...


